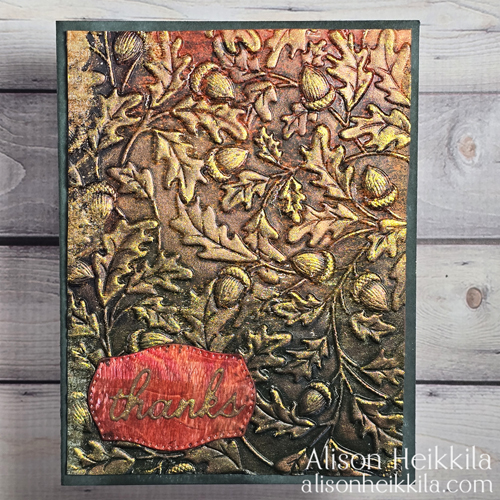
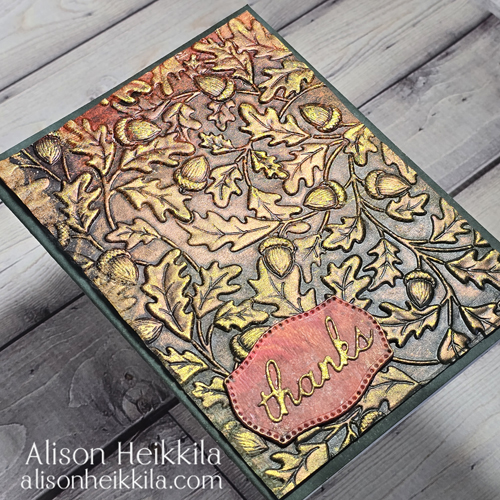
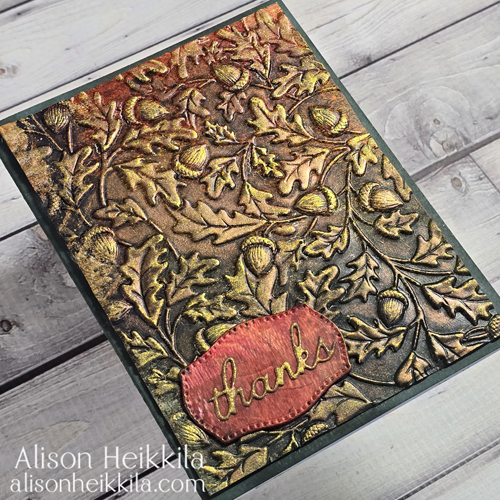
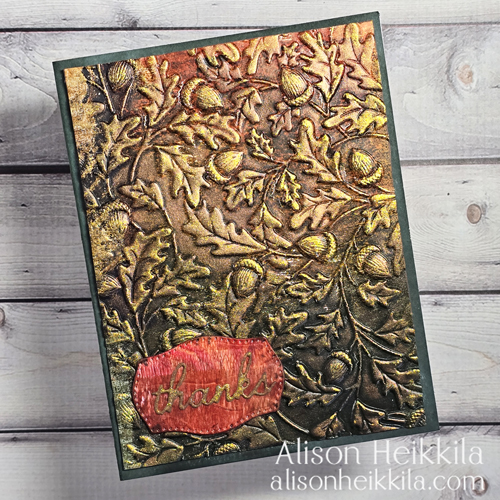
Hello! I had shared THIS post earlier in the month, and when I shared it around social media some folks mentioned how their roll-off prints never look as good as mine. Let’s take a step back. What’s a roll-off print? It’s really just whatever ink/paint/other medium that’s left on your brayer is rolled onto a scrap piece of paper. You can get some really beautiful colors and effects with prints like these, and I never throw them away. I use them for die cutting, stenciling, heat embossing, and for backgrounds. Today’s video shows how I use roll-off prints with embossing folders. We’ll be using the gorgeous Oak Forest Embossing Folder from Spellbinders.
*Some affiliate links are used in this post. That means that if you shop through these links, I may receive a small compensation, at no cost to you. For more information, please see my Affiliates page, where I also have some coupon codes.

Here is the YouTube video. If it doesn’t play properly, please click HERE.

Supplies:
Spellbinders: Oak Forest Embossing Folder
Spellbinders: Pierced Mini Labels
Spellbinders and Simon Hurley: Handwritten Sentiments Dies
Craft-T Products: Metallic Rub-Ons Color Kit #1
Imagine: Creole Spice Kaleidacolor Inks
Imagine: Golden Glitz Delicata Ink
Imagine: Pinecone VersaFine Clair Ink
Imagine: Northern Pine Memento Ink
Ranger/Tim Holtz: Small Brayer
Roll-Off Prints
Accent Opaque: 100lb. White Cardstock
Bearly Arts Glue


Even though my mojo wasn’t really working, I still really like how this card came out. That focal panel is even more beautiful in person. I love that those rich colors are still showing through. If I were to change anything, I would have perhaps used the shadow layer for the “thanks” to help break things up a bit further on the label. Hopefully, I’ll get something made with the other panel soon. Be sure to visit Spellbinders to see all of the latest products. Thanks so much for stopping by. Have an inspiring day!

Leave a Reply