Hello! I’m Alison Heikkila and I have a fun gift idea to share with you today using Artesprix’s January Blank of the Month, which is the Heart Ornament. I’m not personally into Valentine’s Day, so I needed to find a way to use the heart that was more my style. I wanted to make a gift for a fellow BTS fan (the fan base is known as ARMY), so I decided the heart was the perfect item for the job. I opted to do a technique with shaving cream and Artesprix’s Sublimation Ink Pad Refills that I’ve done in the past, as well as use a stencil I had custom made for BTS projects like this one. Don’t worry, even if you don’t know who BTS is, you can still apply these same techniques to your sublimation projects. And if you want to learn about who BTS is, just do a Google search and try not to fall down the rabbit hole.
*Some affiliate links are used in this post. That means that if you shop through these links, I may receive a small compensation, at no cost to you. For more information, please see my Affiliates page.
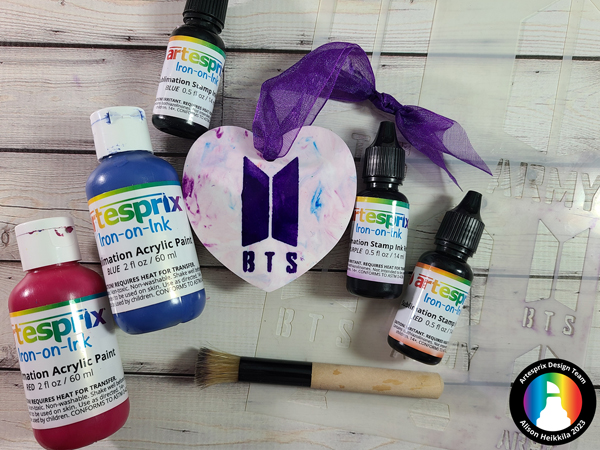
What is Iron-On Ink?
Artesprix Sublimation Markers, Ink, and Paint are specially formulated to allow you to use basic copy paper to: color, stamp, stencil, and monoprint anything you wish and turn it into a heat-transferable design. These designs are then applied to a polyester or polyester coated substrate with heat and pressure. You can use a heat press or a home iron! These designs, through this process of sublimation, will become permanent on your substrates.
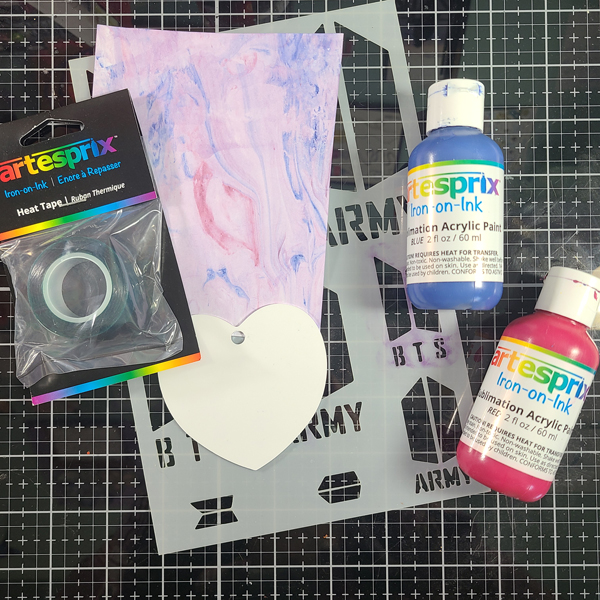
Materials:
Artesprix Heart Ornament
Artesprix Ink Refills: I used Purple, Blue, and Red
Artesprix Acrylic Paint: I used Blue and Red
Heat Tape
Protective Paper
Stencil of your choice: Mine was custom made for me from A Colorful Life Designs
Stencil Brush
Paste Spreader: I prefer a metal one but you can use an old gift card in a pinch
Iron or Heat Press
Pencil
Copy Paper
Shaving Cream: The cheap stuff
Optional: Small mixing cups for paint storage
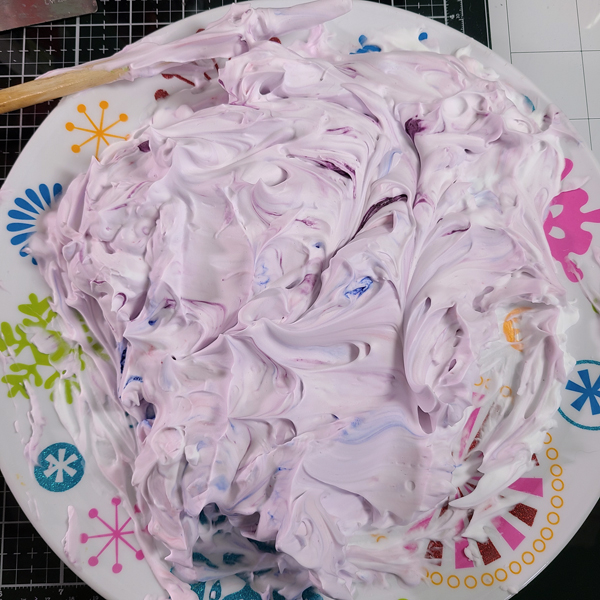
Step 1: Add shaving cream to a plate or small container. I used way too much here, so definitely start with less.
Step 2: Add several drops of each of your reinker colors to the shaving cream.
Step 3: Swirl the colors through the shaving cream with the back of a paintbrush or pen. Don’t over mix. We want a marbleized look.
Step 4: Dip your paper into the colored shaving cream. Push the paper into it to get the colors to transfer.
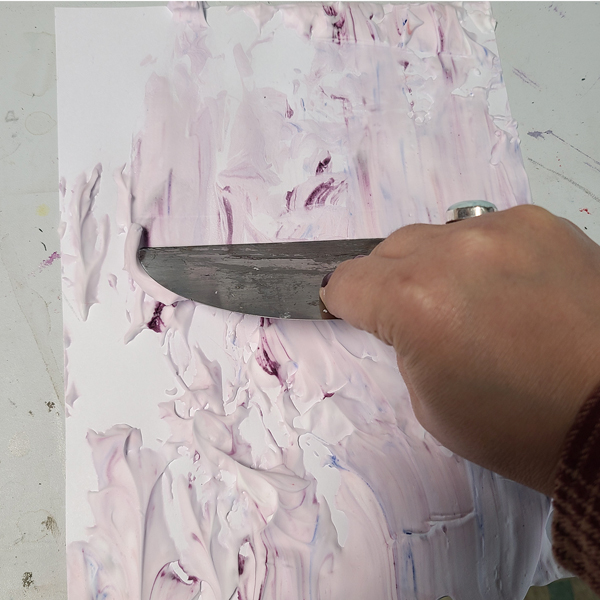
Step 5: Hold your scraper at an angle at the top of your paper, and swipe down to remove the shaving cream. You should be left with a marbleized design.
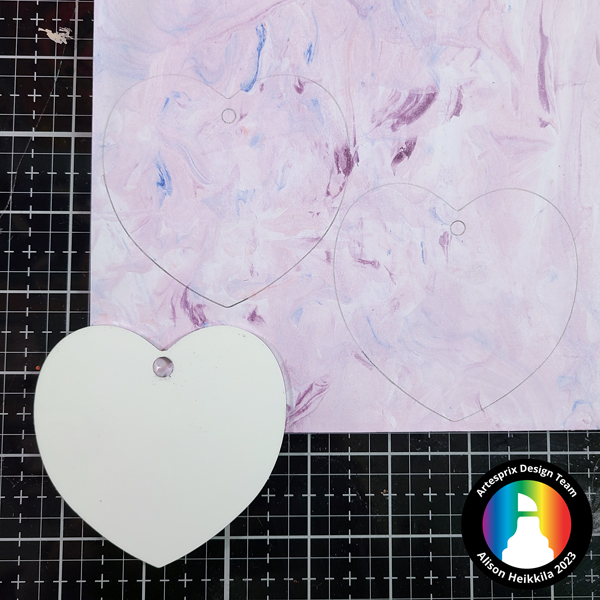
Step 6: Take the Heart Ornament and find the areas you want to use for it. Trace the outline of the heart with a pencil. The ornament is double sided, so I traced it twice.
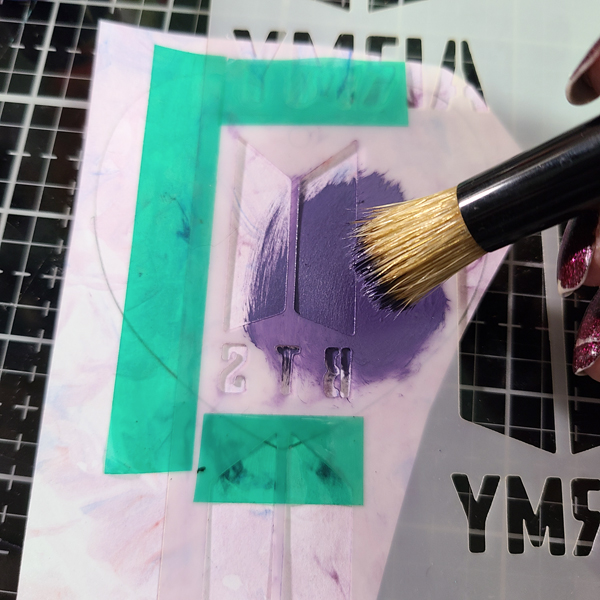
Step 7: Mix up some purple paint using Artesprix’s Sublimation Acrylic Paint. According to the Color Mixing Chart (found on the Artesprix website), you use a 1:1 ratio of red and blue.
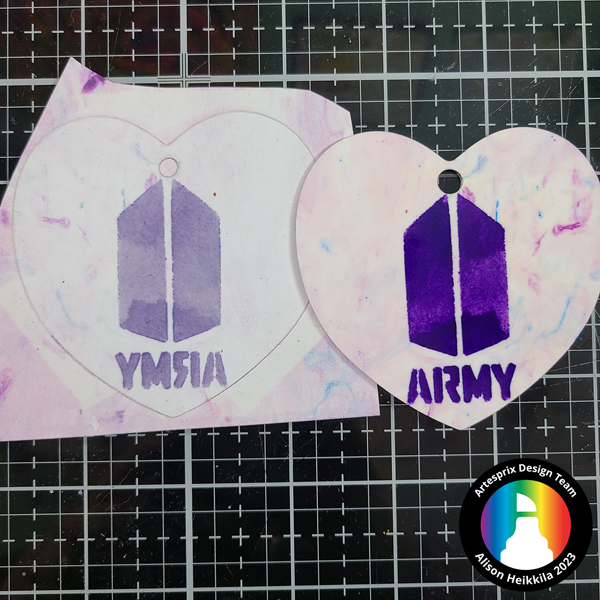
Step 8: It’s time to stencil! If your stencil has letters or numbers like mine, be sure to put the stencil down with the wrong way facing up. This way it will sublimate facing the correct way. It’s really helpful to tape the stencil down so that it doesn’t move. I used Heat Tape, since I know it won’t tear my paper, but you can use washi or other low tack tape.
Step 9: Add a small amount of paint to your stencil brush. Rub off any excess onto scrap paper or a paper towel. You do not want too much paint on the brush, as it could seep under the stencil.
Step 10: Using a circular motion, apply the paint to the stencil. Again, be sure there isn’t too much paint on the brush.
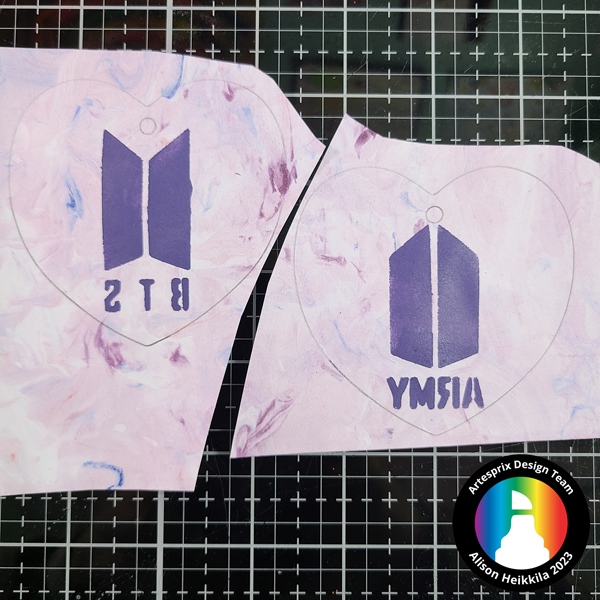
Step 11: Repeat the stenciling process for the other side of the ornament.
This is what my finished designs look like. I love how bold the stenciling is!
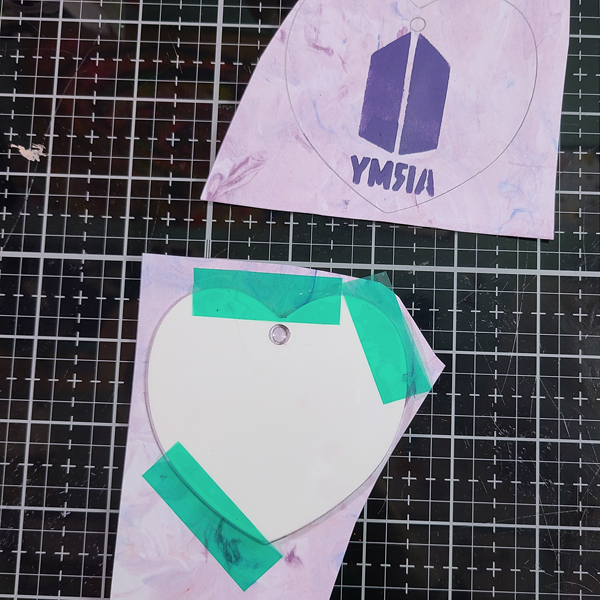
Step 12: Tape your first design to one side of the Heart Ornament using Heat Tape.
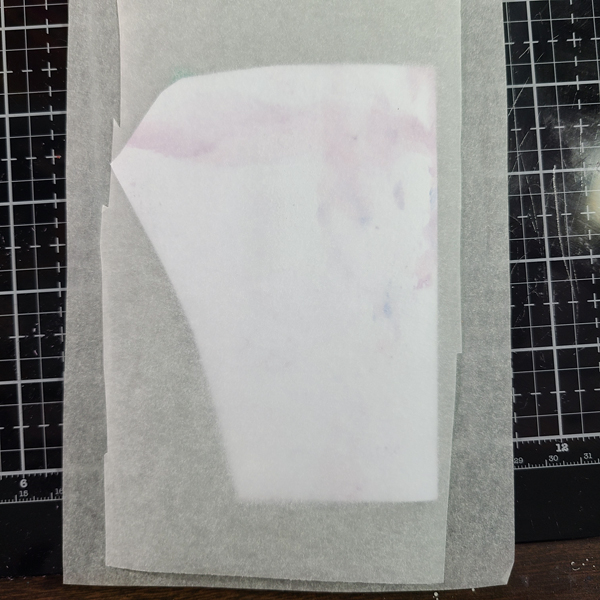
Step 13: Let’s make the Sublimation Sandwich! Put down a layer of Protective Paper that is bigger than the overall taped piece. Then, lay the ornament with the taped design on top, followed by another layer of Protective Paper.
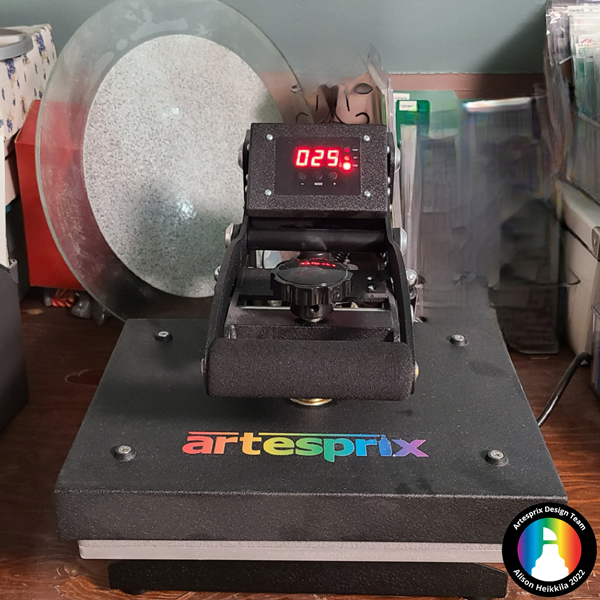
Step 14: Sublimate the Heart Ornament for 75 seconds at 400 degrees.
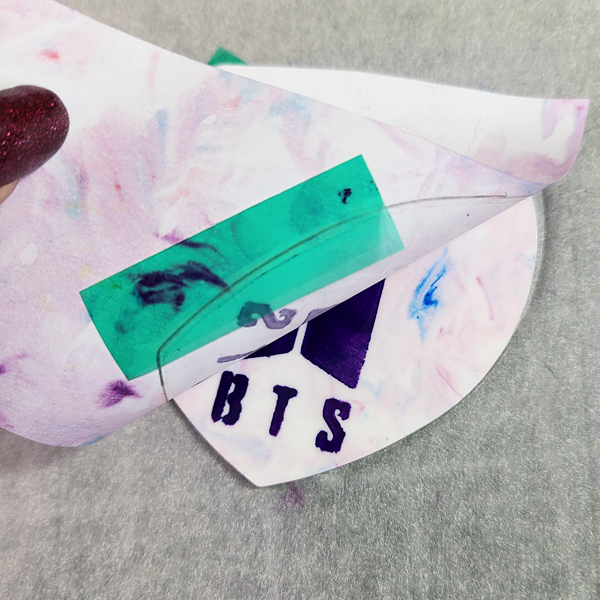
Step 15: Let’s do a Peek Test. We need to make sure our design transferred well, so pull up a small piece of the paper to check. This looks great, so we can finish pulling off the paper.
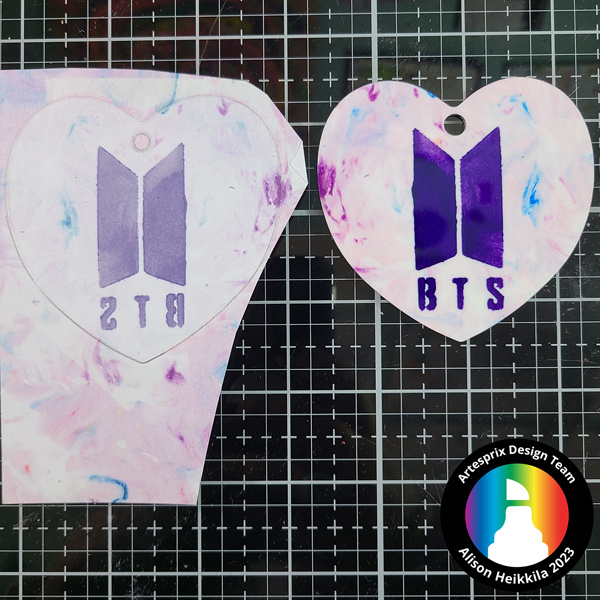
This is what my completed first side looks like. I am really happy with it! Now, we can repeat Steps 12-15 to sublimate the other side.
The other side came out great too! Now I just need to add some ribbon. The ornament comes with red ribbon, but I wanted to use purple.
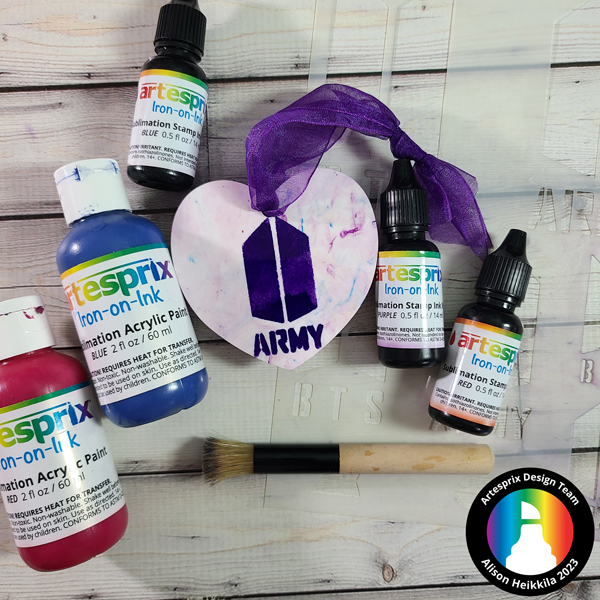
I really like how this turned out. The marbelizing is a bit more subtle than I wanted, but that’s because I used too much shaving cream. I need to remember that for next time.
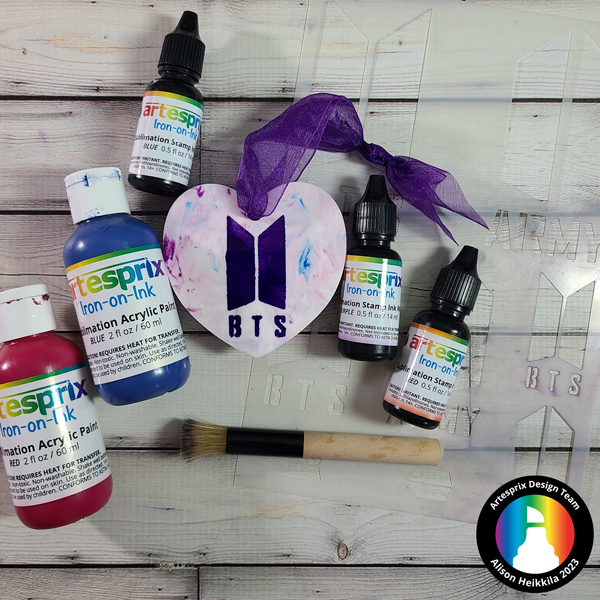
I love how striking and bold the stenciling is. That purple is such a great color and it stands out so nicely. I am happy to say that the person I made this for really loved it. How would you like to get more ideas on how to use Artesprix’s Iron-On Inks, Paints, and Markers? There’s a Facebook Group that’s just for fans of Artesprix! You can click HERE to join. Also, don’t forget to visit the Artesprix store to see all of the available blanks and bundles, so you can get started with sublimation. Use my code Alison10 to save 10%! Thanks so much for stopping by. Have an inspiring day!

Leave a Reply