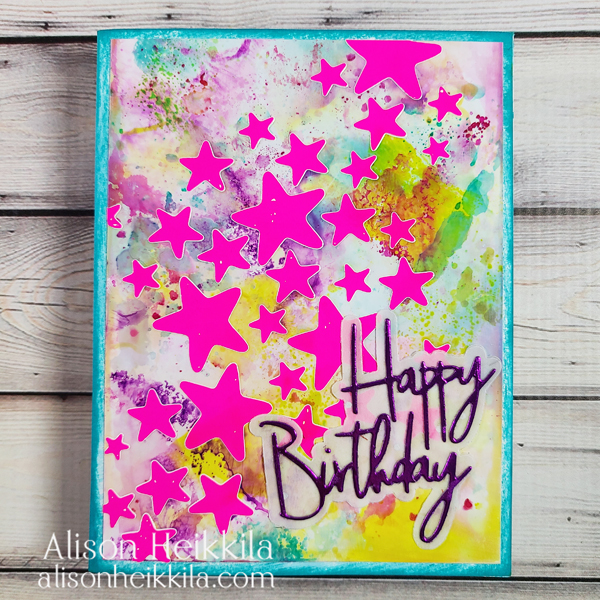
Hello! The newest release from A Colorful Life Designs is here! Many of the stencils have a baby theme this month, though I will not be using any for baby cards. I want to show you how to stretch some of these stencils to use them for other things. My card today uses the Dream Stars stencil, and it’s a great one. There are lots of bold stars in varying sizes are done on a diagonal to fill up the space nicely.
*Some affiliate links are used in this post. That means that if you shop through these links, I may receive a small compensation, at no cost to you. For more information, please see my Affiliates page.

My background was made on glossy photo paper and I ink smooshed a variety of Distress Oxides onto it. Once the inks dried, I buffed the paper with a tissue which removes the oxidation, but leaves glorious, layered colors behind. It’s a great technique and I highly recommend it.

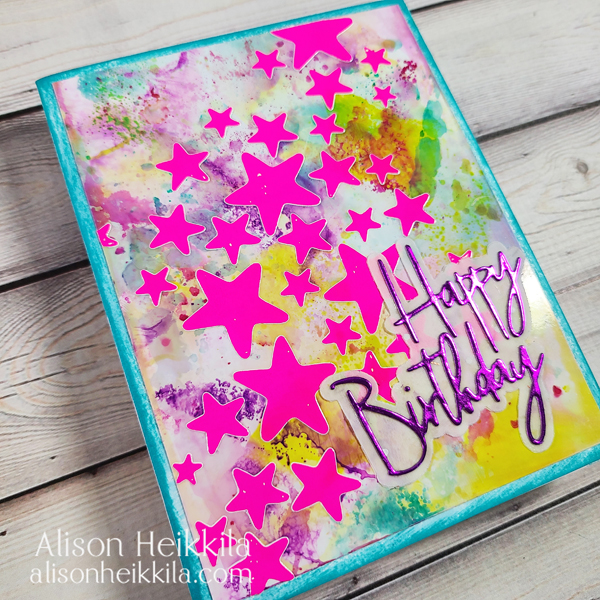
On top of that background, I applied Therm O Web’s Transfer Gel Blanco though the Dream Stars stencil. Be sure to clean your stencil immediately! After the paste was dry, I applied a Neon Enamel Transfer Sheet in Poppin’ Pink and ran it through my laminator. Let me tell you, this pink is really poppin’. It’s so bright and looks amazing on that ink smooshed background. To top it off, I used a PinkFresh die cut sentiment (with purple metallic cardstock, backed with vellum) and inked the edges of my card base with Peacock Feathers Distress Ink.

This card has so much colorful shine! The glossy paper, enamel sheets and the sentiment all look even better when the light hits it. I hope you’ll check out the new release from A Colorful Life Designs. You can use my code, AlFan10 to save 10% off of your purchase, not including Master Bundles. You can also visit the A Colorful Life Designs Fan Group on FB to get more ideas. Thanks so much for stopping by. Have an inspiring day!

Leave a Reply