Hello! I’m Alison Heikkila and I am really happy you stopped by today. I have kind of a silly collection….kitchen towels. I just love them. They’re a fun, inexpensive and easy way to decorate the kitchen and give it a refreshed feel. I have a ton, so I was really excited to find out that the August Blank of the Month from Artesprix is a Dish Towel. I was really excited to design my own towel for my kitchen!
*Some affiliate links are used in this post. That means that if you shop through these links, I may receive a small compensation, at no cost to you. For more information, please see my Affiliates page.
What is Iron-On Ink?
Artesprix Sublimation Markers, Ink, and Paint are specially formulated to allow you to use basic copy paper to: color, stamp, stencil, and monoprint anything you wish and turn it into a heat-transferable design. These designs are then applied to a polyester or polyester coated substrate with heat and pressure. You can use a heat press or a home iron! These designs, through this process of sublimation, will become permanent on your substrates.

Supplies:
Dish Towel
Ink Pads (All except Black)
Protective Paper
Heat Tape
Heat Source: Home Iron or Artesprix Heat Press
AALL & Create: Sunflower Power Stencil #77
Blending Brushes (A dedicated brush for each color)
Large Paper (I used Canson Mixed Media XL to accommodate the large size of the stencil)
Pencil
Optional: Therm O Web: Pixie Spray
Directions:
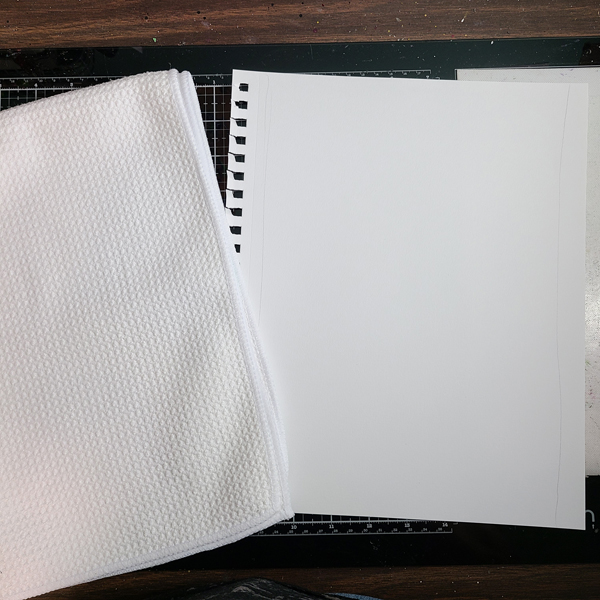
Step 1: Trace the vertical sides of the Dish Towel.
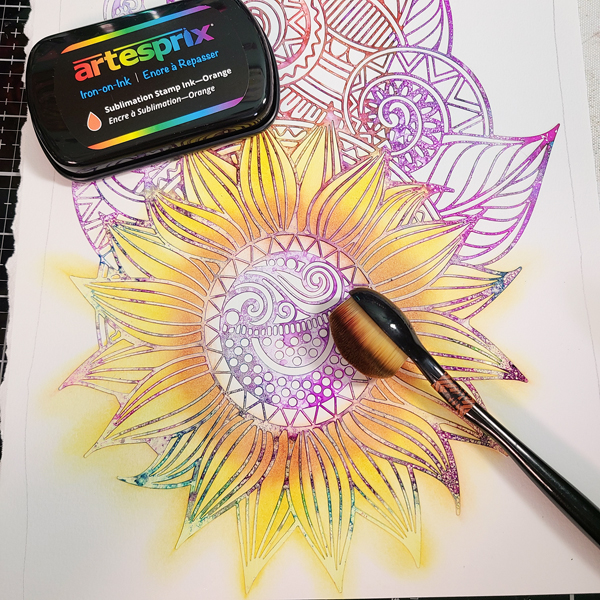
Step 2: If you have Pixie Spray, apply it to the back of the stencil to keep it from shifting. Next, start inking up the stencil using all of the Artesprix Ink Pads. The colors blend beautifully, so be sure to overlap them to create new colors.
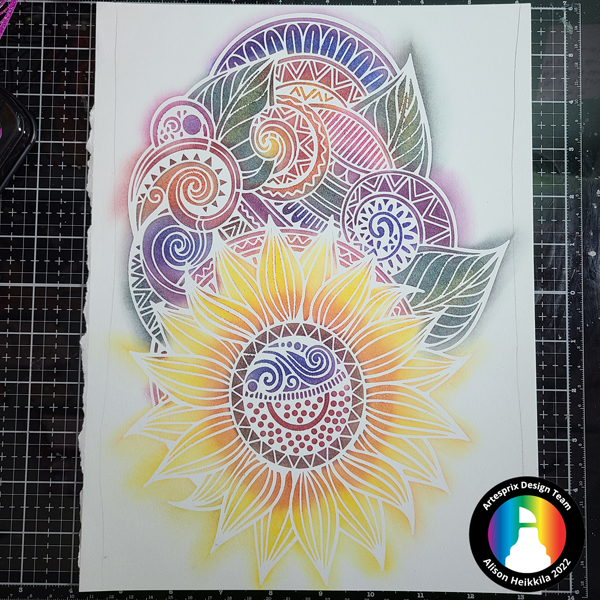
Here is what the finished design looks like. You can see I let some ink go past the stencil, so that the full outline will show.
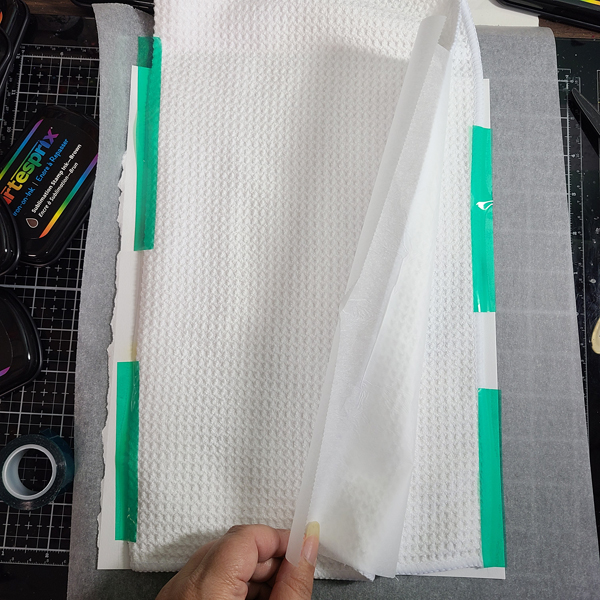
Step 3: Tape your design to the Dish Towel. Be sure to secure it well. You may want to add a piece of Protective Paper in between layers before it’s taped.
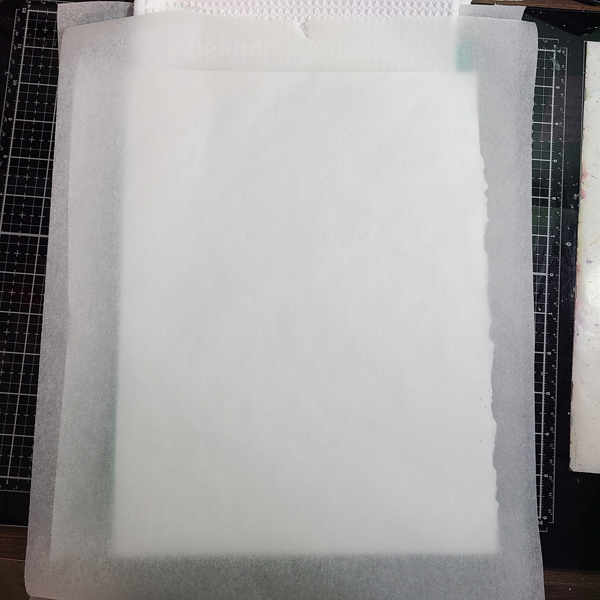
Step 4: Let’s make our Sublimation Sandwich! Add a layer of siliconized paper to the top and bottom of your Blank. Your sandwich will be: Protective Paper-Colored Image-Blank-Protective Paper. The Protective Paper prevents any images accidentally transferring to either side of your Heat Press or to your home iron.
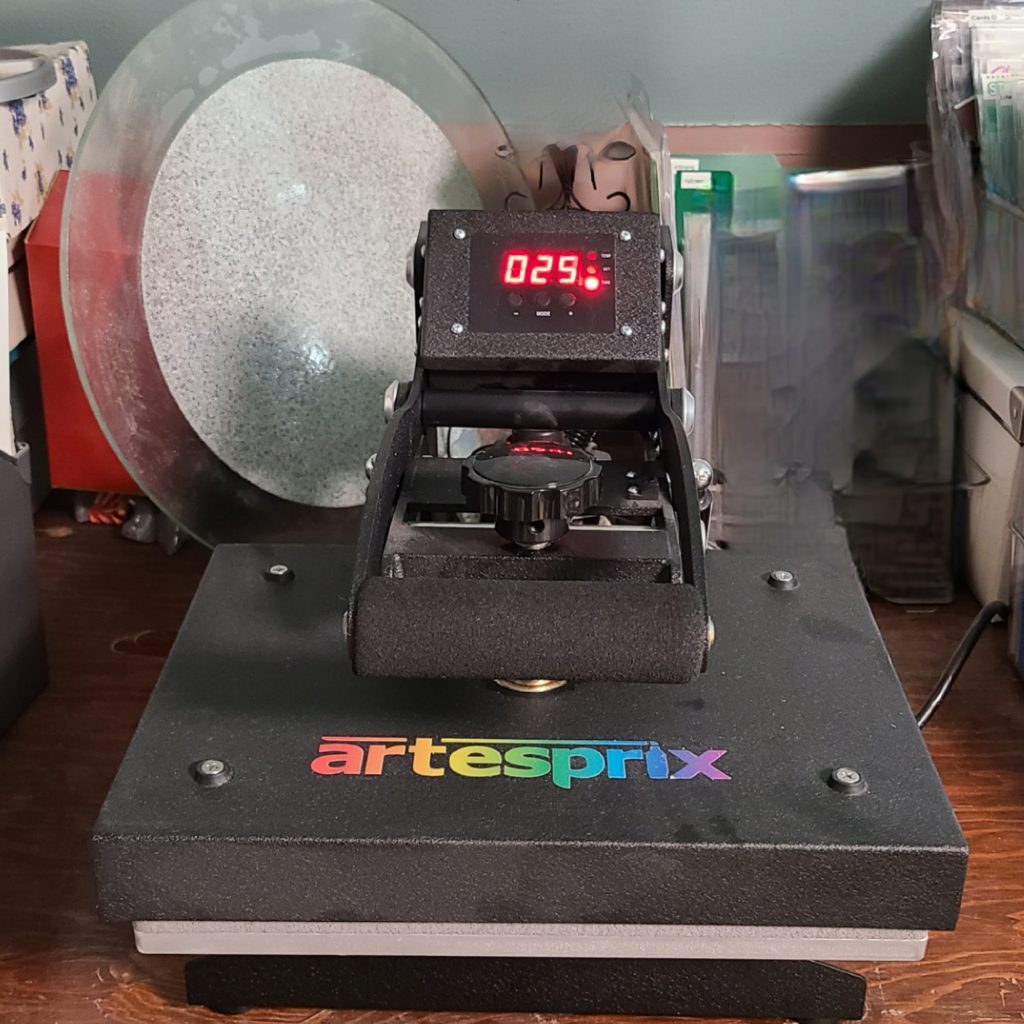
Step 5: Sublimate the Dish Towel at 380 degrees for 60 seconds, with medium pressure.
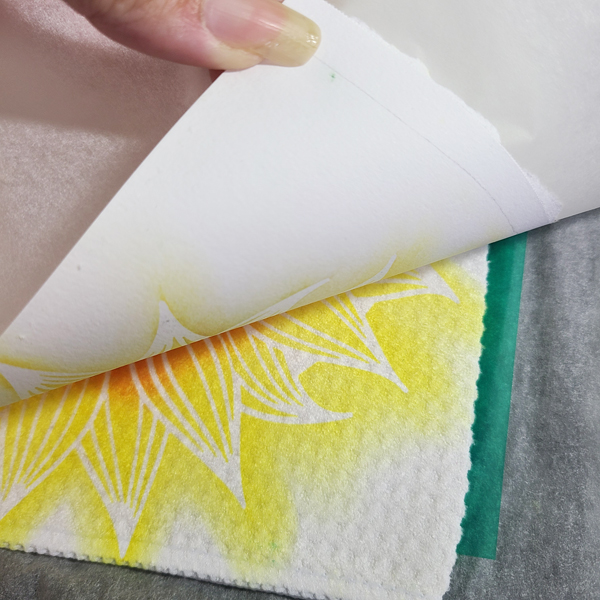
Step 5: Time for the Peek Test! Carefully lift a small portion of your art off of the Blank to ensure a good transfer. If you need to re-press your piece, you can do it since you haven’t moved the art out of place. Mine looks good, so I can remove the art from the Blank.
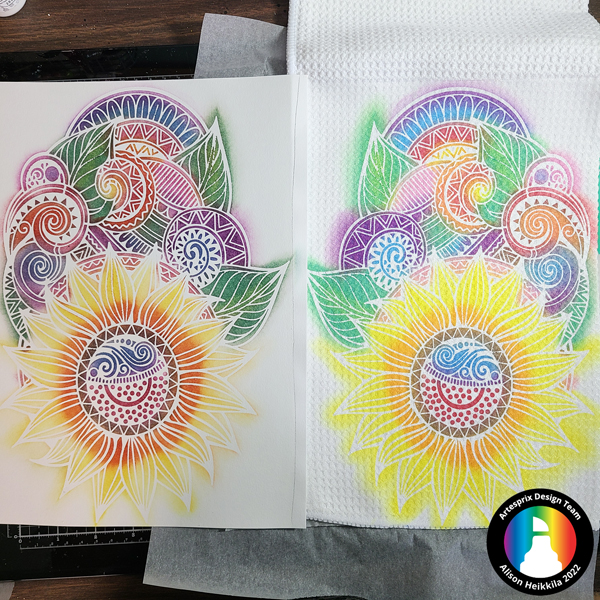
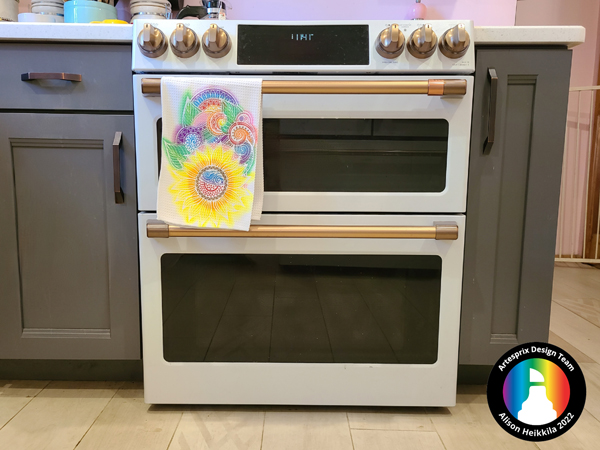
Take a look at the finished Dish Towel next to the original design. I love seeing how bold the colors become, and the inks blend so beautifully together.
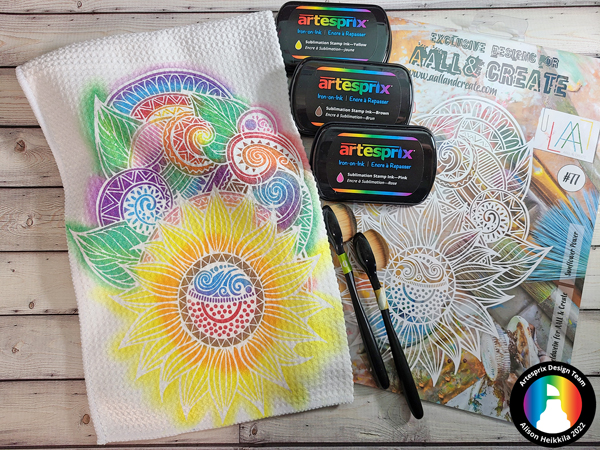
Using a big stencil like this was perfect for such a large Blank. And it’s such a useful project!
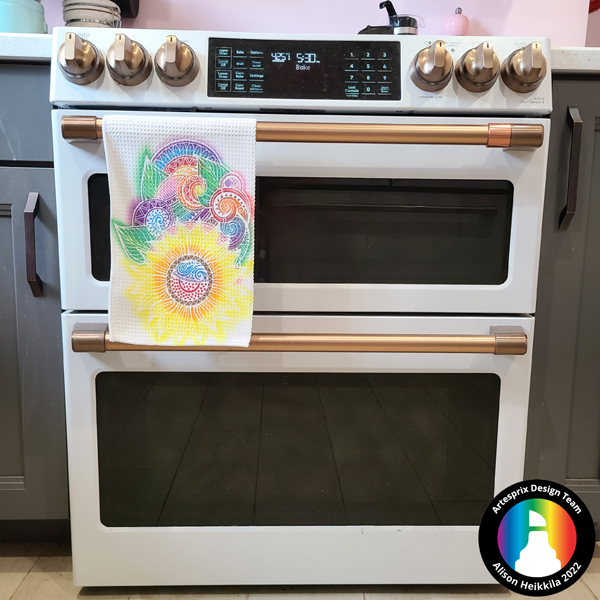
And here it is on display in my kitchen. Remember, this Blank is only available in August. How would you like to get more ideas on using Artesprix’s Sublimation Ink Pads, Markers, and Paint? There’s a Facebook Group that’s just for fans of Artesprix! You can click HERE to join. Also, don’t forget to visit the Artesprix store to see all of the available blanks and bundles, so you can get started with sublimation. You can use my code, ALISON10 to save 10% off of your purchase. Thanks so much for stopping by. Have an inspiring day!

Leave a Reply