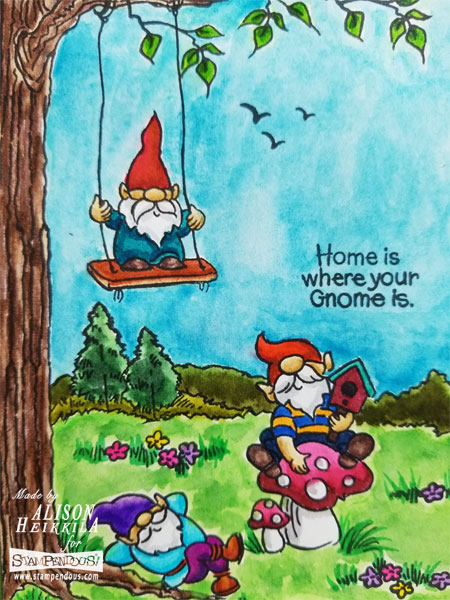
Hello! This week, the Stampendous team has been sharing projects that use some of the many fun gnome themed stamp sets that are available. For my card today, I used Gnoming Around, and Meadows Edge (which does not have any gnomes…. it’s a landscape scene building set).

Supplies:
Stampendous:
SSC1344: Gnoming Around
SSC1294: Meadows Edge
Other:
My Colors Cardstock: Parrot
Imagine: VersaFine Ink in Nocturne
Zig Clean Color Markers: 022, 023, 024, 026, 031, 032, 033, 036, 037, 038, 041, 042, 043, 044, 045, 046, 048, 050, 052, 060, 061, 062, 064, 065, 068, 071, 072, 080, 083, 091, 202, 260
Scrapbook Adhesives: EZ Runner
Turquoise Watercolor Paint
Watercolor Paper
Optional: Stamp Positioning Tool
Directions:
1. On a piece of 4″ x 5 1/4″ watercolor paper, begin stamping your scene by placing the tree. I added a few of the middle sections to make the tree tall. ***You may want to use a stamp positioning tool for the entire stamping process, depending on your watercolor paper. It often has a lot of texture, which may require you to double stamp for a clean, crisp image.
2. Stamp the gnome on the swing. I extended his swing by stamping just where I wanted him, and then just the top of the swing on the branch. I used a black liner pen to extend the lines.
3. Stamp your other gnomes. It’s a good rule of thumb to stamp your foreground/focal images, and work your way back.
4. Create a mask of any of the gnomes that will have a background behind him, like the gnome on the mushroom in my example.
5. Stamp the background hills, leaves and flowers from the Meadows Edge stamp set.
6. Color the image using the markers listed.
7. I opted to use a turquoise watercolor paint for my background, as I thought it would be faster and less streaky. I kept some areas lighter than others to give the appearance of clouds.
8. Let the panel dry completely.
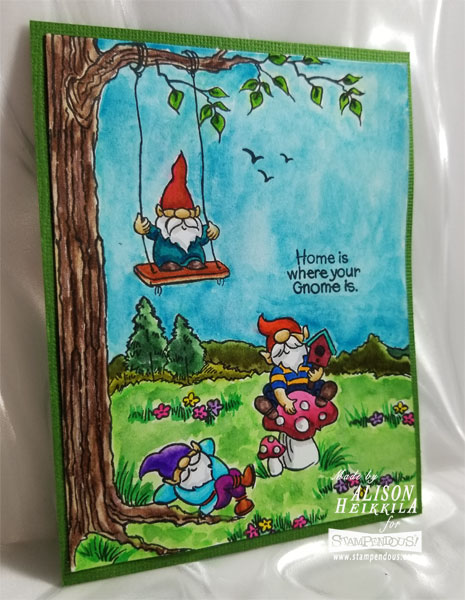
9. Create the card base out of Parrot cardstock, cut to 5 1/2″ x 8 1/2.”
10. Adhere the colored layer to the card base.
I enjoy creating scenes like this with my stamps. These gnome sets are really full of plenty of fun stamps and can be used in conjunction with lots of other Stampendous sets. Be sure to head over to the Stampendous Blog for some more ideas with these gnomes. Thanks so much for stopping by. Have an inspiring day!
Thank you so much for your kind words!