Hello! It’s time for my newest project for Therm O Web! Get ready for me to be sharing lots of projects with shining foil, versatile Toner Card Fronts and more! Today’s project uses both of those items to make a birthday card that really pops! I love the versatility of Toner Card Fronts and I wanted to share a fun way to customize them beyond choosing the foil(s) you want to use. There are many ways to enhance the cool factor of a Toner Card Front, and today I opted to use markers to add lots of fun, bold colors to my project.
*Some affiliate links are used in this post. That means that if you shop through these links, I may receive a small compensation, at no cost to you. For more information, please see my Affiliates page, where I also have some coupon codes.
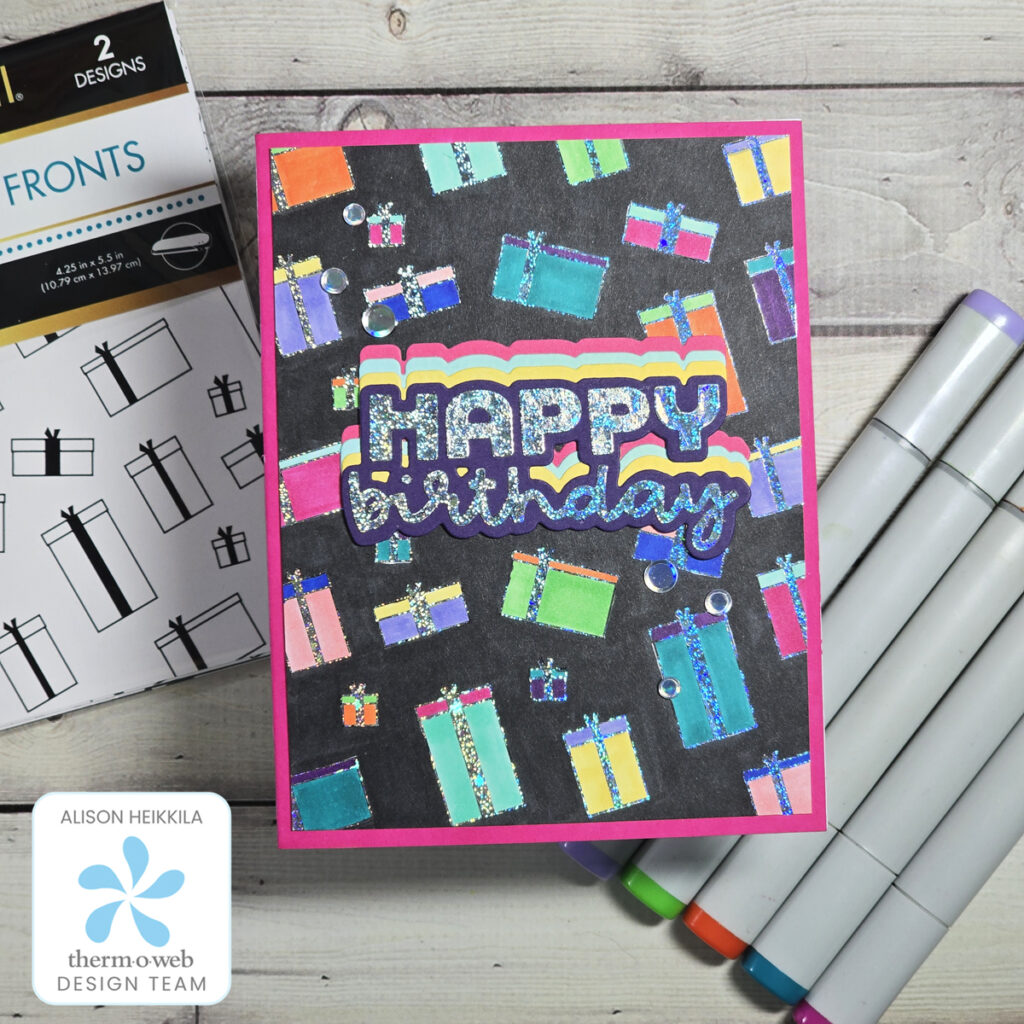
I decided to use the presents in the Birthday Wish Toner Card Front Pack. This was the first time I used markers on a Toner Card Front, so I wanted to experiment a bit. I started by choosing some bold Copic Markers and colored some of the presents before I added my Fancy Foil. That worked really well, so I decided to try it after I foiled to test the results.
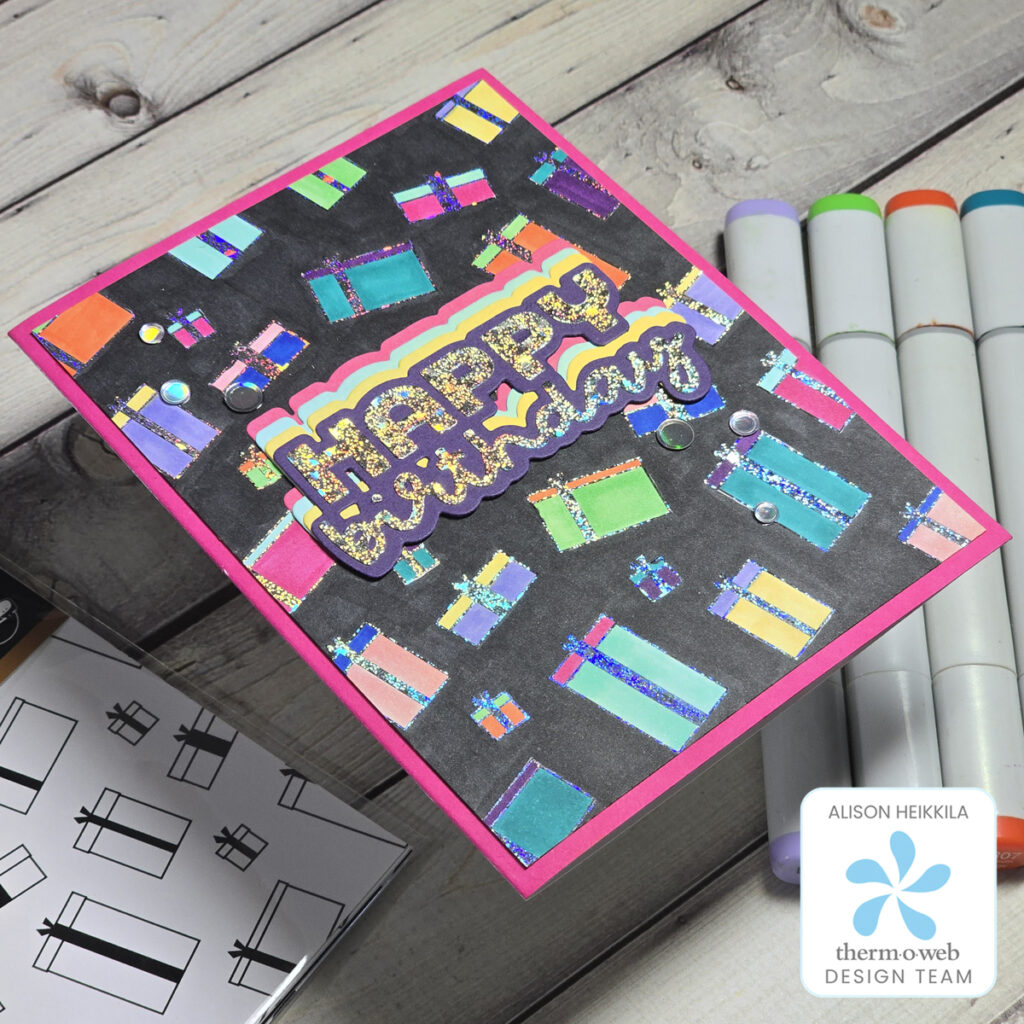
I wanted lots of sparkle and shine, and there’s really no better choice than Gina K’s Fancy Transfer Foil in Sparkling Silver. It’s absolutely stunning. It’s silver with lots of holographic dots and stars. After foiling, I went back to coloring the presents, and the Copics worked just as well. I had no trouble if a marker accidentally slipped and went over the foil. The silver still shined brightly. As you may notice from my photos, the uncolored card fronts have a white background. I decided to go for a bit more drama and I colored the entire background with the N9 marker. I really made those gifts pop!
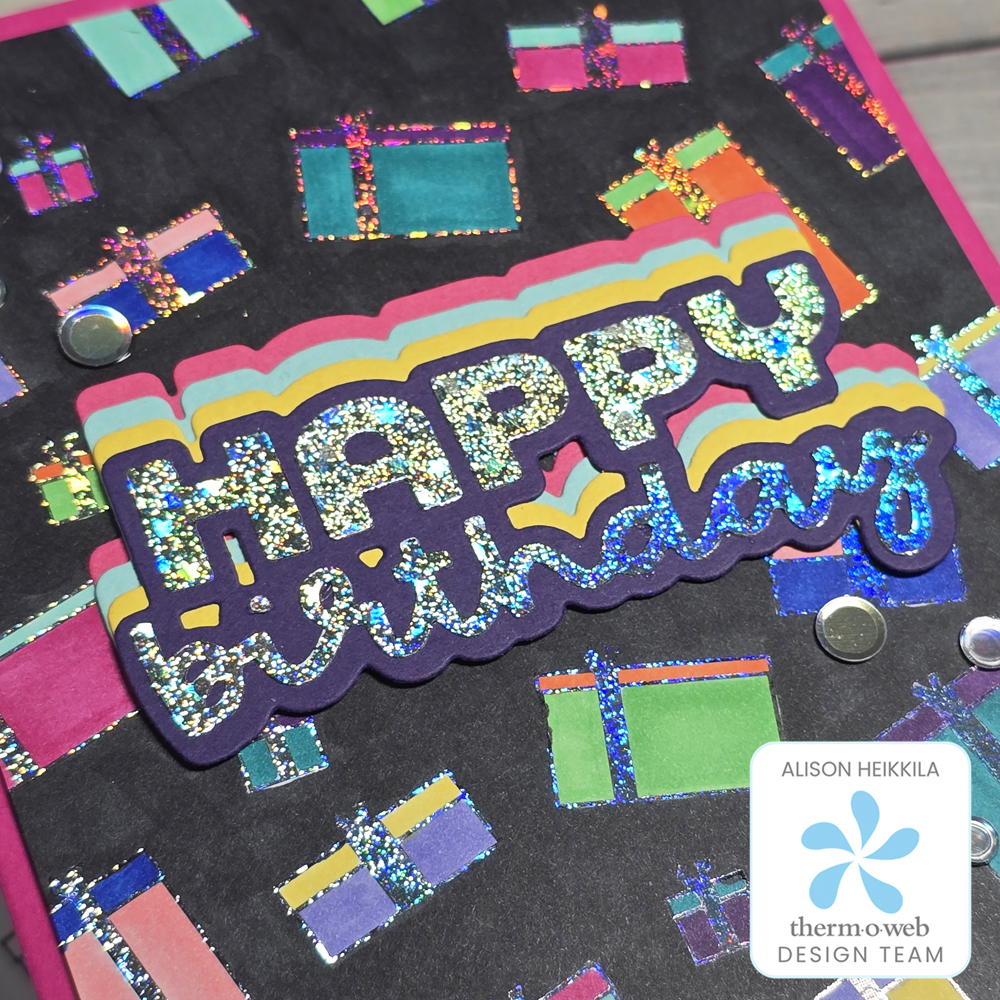
For such a bold background, I needed a sentiment that would really stand out against it. I decided to use Scrapbook.com’s Let’s Celebrate Die Set. I die cut the shadow layer from several colors of cardstock and the focal layer from a Toner Sheet. Then I used that gorgeous Sparkling Silver Fancy Foil again for that top layer. If I were to make this again, I would probably die cut after I foiled, but it works either way. Things would just be a little less fiddly if I foiled first before die cutting. To finish things off, I trimmed my focal panel down and inked the edge of my card base with Picked Raspberry Distress Ink. I also added some Hologram Silver Card Bling from A Colorful Life Designs.
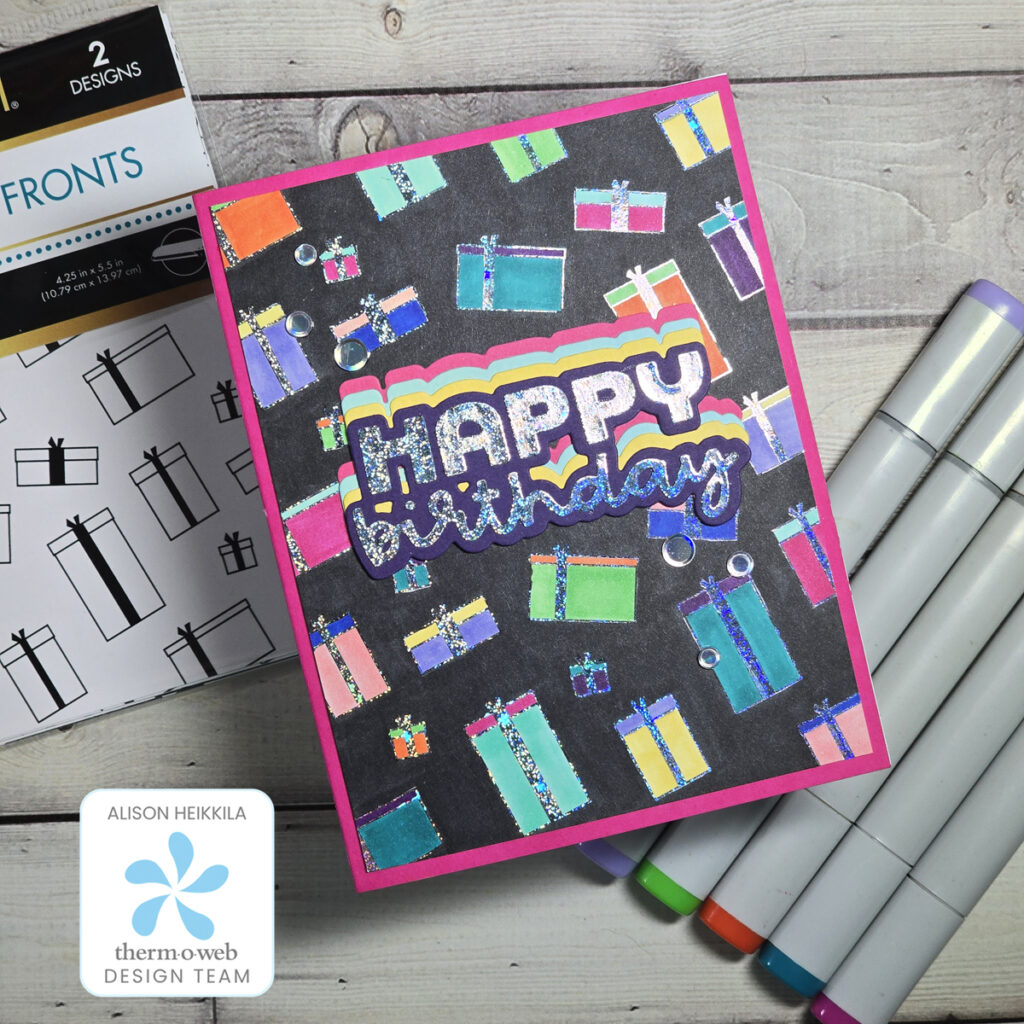
There is so much sparkle on this card, and I love how the foil and the bold colors pop against the dark gray. You can change the marker colors to suit your style or the recipient as you like. I hope you’ll try experimenting with some Toner Card Fronts soon too! Thanks for stopping by. Have an inspiring day!

Thank you so much for your kind words!