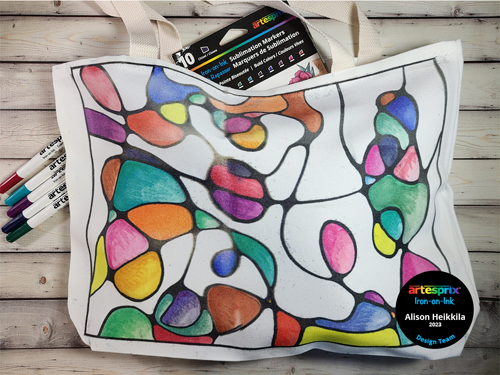
Hello! I am happy you stopped by. My latest Artesprix Iron-On-Ink project features the Canvas Tote Bag. I love this Blank (or substrate) because it’s so big and you can create a design for both sides. I decided to create some Neurographic Art for my bag, which was relaxing and a lot of fun. If you’ve never tried Neurographic Art, I highly encourage you to give it a go. HERE is a great video explaining what it is and the process.
*Some affiliate links are used in this post. That means that if you shop through these links, I may receive a small compensation, at no cost to you. For more information, please see my Affiliates page, where I also have some coupon codes.
What is Iron-On Ink?
Artesprix Sublimation Markers, Ink, and Paint are specially formulated to allow you to use basic copy paper to: color, stamp, stencil, and monoprint anything you wish and turn it into a heat-transferable design. These designs are then applied to a polyester or polyester coated substrate with heat and pressure. You can use a heat press or a home iron! These designs, through this process of sublimation, will become permanent on your substrates.
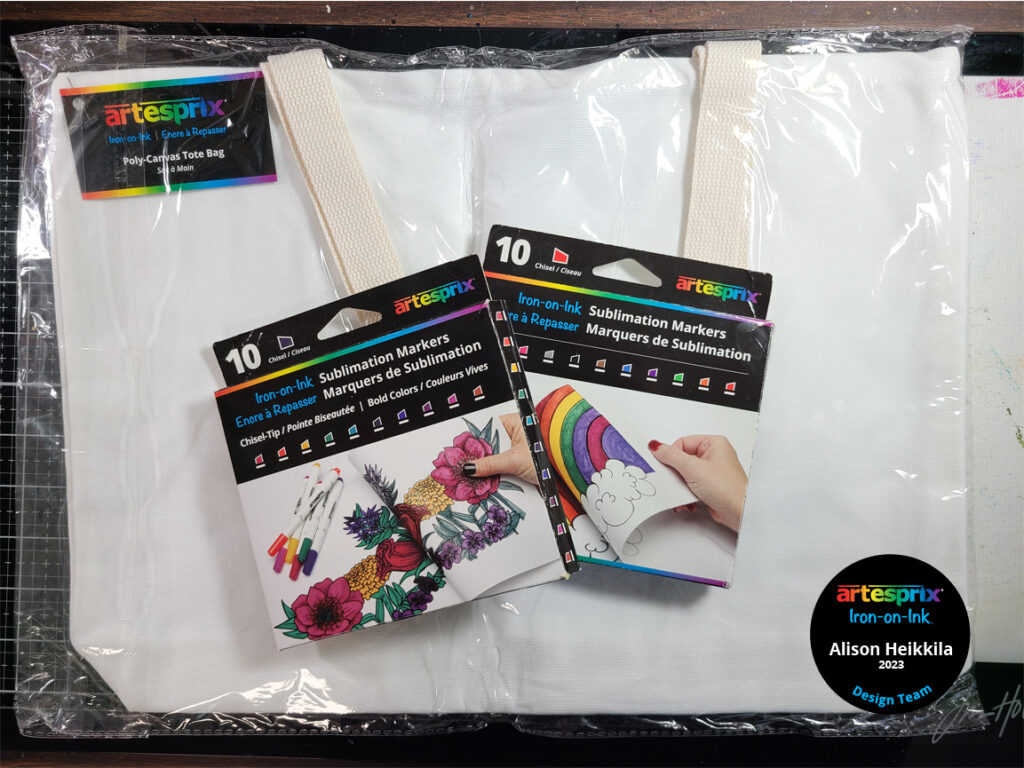
Materials:
Artesprix:
Canvas Tote Bag
Sublimation Markers- Bold Chisel
Original Sublimation Markers
Heat Tape
Protective Paper
Other:
Blick: 10 x 14 Watercolor Paper
Princeton: Snap Watercolor Brushes Round- Size 4, 6, 10 (but certainly use what you have!)Heat Source: Home Iron or Heat Press
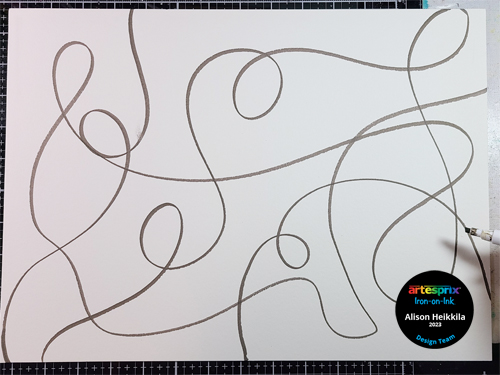
Step 1: Draw curvy/loopy lines all over your paper for at least 3 seconds. Be sure to have no lines stop on the page. Use your Black Sublimation Marker for this. If you see areas you want to add to, you can do it now, or later.
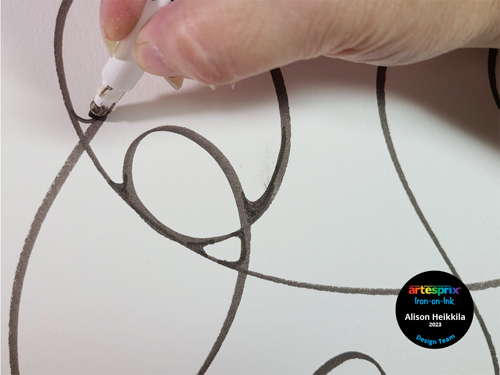
Step 2: Add curves wherever two lines intersect. This is a really relaxing process.
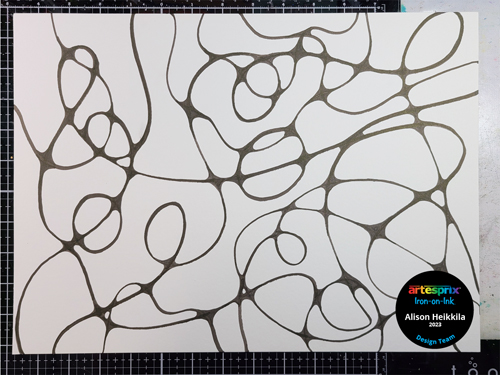
This is what my finished design looks like after adding additional lines and curving all of my intersections. Now we get to color it all in!
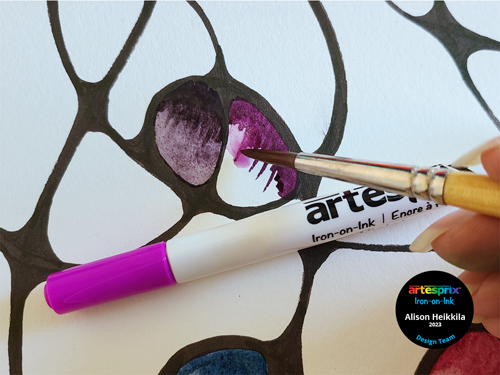
Step 3: Color as much or as little as you like of your design. I colored the right side of shapes, then used a wet brush to blend and fade out the color. I also drew a black border around the edge of my design.
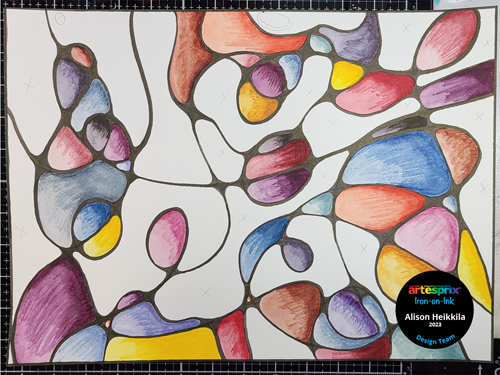
Here is my completed design, all colored in. You may notice some “x’s” in pencil here and there. Those were the areas I didn’t want to color. Pencil lines don’t transfer or effect sublimation, so it was helpful to mark those areas off.
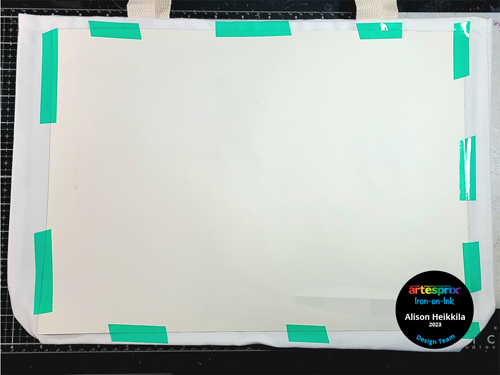
Step 4: Use LOTS of Heat Tape to secure your design face down on to the tote. I should have used more than this.
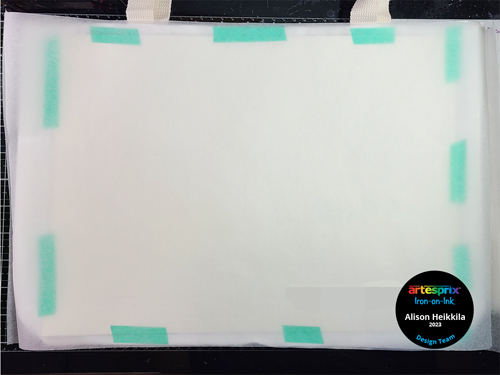
Step 5: Let’s make the Sublimation Sandwich! Add a piece of Protective Paper to the inside of the Tote Bag. Next, add a layer of Protective Paper on top of the taped design.
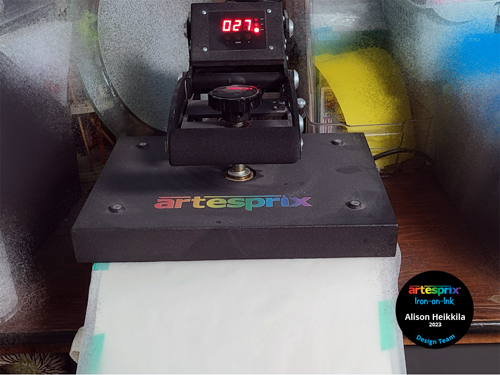
Step 6: After letting your Heat Press warm up to 400 degrees, place half of the design on the bed of the Press. Our design won’t fit completely, so we’ll do one half at a time. Press for 45 seconds.
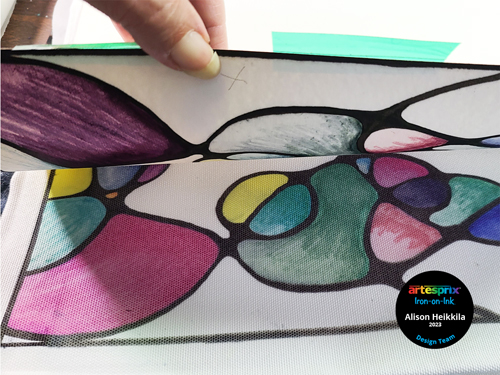
Step 7: Time for the Peek Test, OR you can turn the Tote Bag around and sublimate the other side. Looking back, I probably should have sublimated the other side before doing my Peek Test. The Peek Test is to make sure your design has sublimated properly. By using lots of Heat Tape, your design should stay in place. Mine shifted because I didn’t use enough Tape, and I had to carry my Tote across my room twice. But, look at those gorgeous colors!
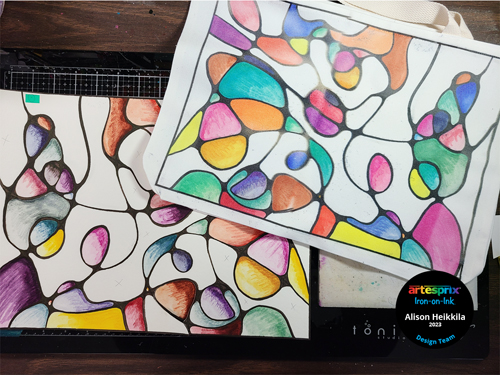
Here is my finished Tote Bag with the original art. I love how these colors just pop!
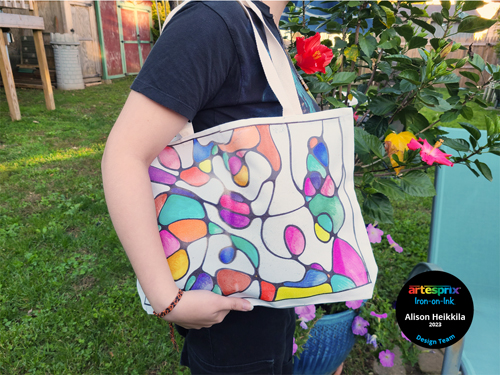
My Tote Bag with Neurographic Art is ready to be used and shown off to the world! It’s so cool, and was a fun project to make. How would you like to get more ideas on using Artesprix’s Sublimation Ink Pads, Markers, and Paint? There’s a Facebook Group that’s just for fans of Artesprix! You can click HERE to join. Also, don’t forget to visit the Artesprix store to see all of the available blanks and bundles, so you can get started with sublimation. You can use my code, ALISON10 to save 10% off of your purchase. Thanks so much for stopping by. Have an inspiring day!
Thank you so much for your kind words!