
Hello! Sometimes you need a card for a special event, holiday or occasion and you may not have the right stamps for it. That’s one reason why I love having abstract stamps and solid image stamps. You can easily make a very cool card for any occasion and just add an appropriate sentiment to it to make it work for you. Let me show you how to make a Hanukkah card using abstract shapes and lots of blue inks from Imagine.
*Some affiliate links are used in this post. That means that if you shop through these links, I may receive a small compensation, at no cost to you. For more information, please see my Affiliates page.
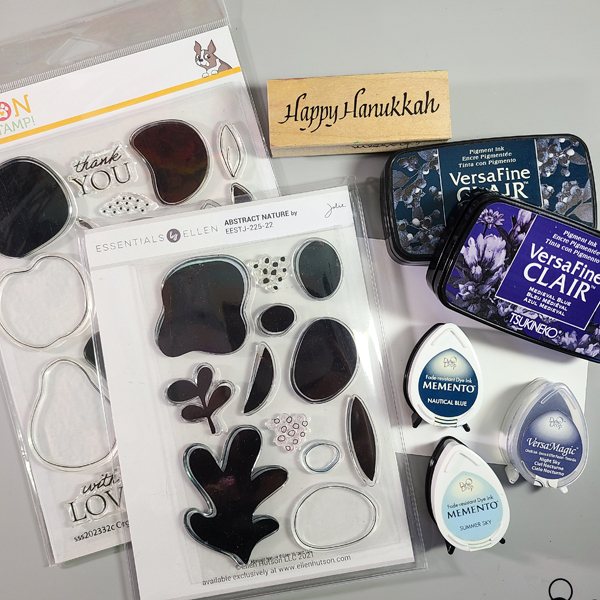
Here are some of the supplies we will be using today. The top stamp set is specifically abstract shapes. The one underneath is actually fruits. but if you just look at the solid images of the set, they just look like funky blobs that are perfect for this technique.
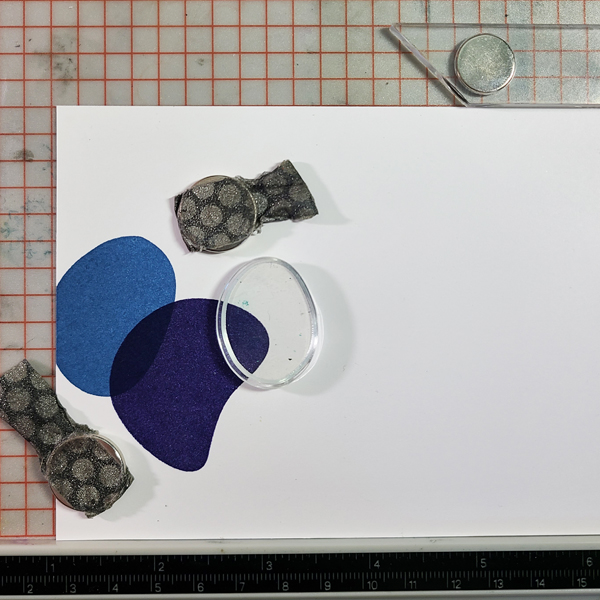
Step 1: Start stamping the shapes across the middle of the card. Use different shades of blue and be sure to overlap the images. You can see my first image started off of the card front also.
*Pro Tip: Using some type of stamp positioning tool or platform is key for this technique, as you will probably want to re-stamp and image a couple of times to get a solid, crisp image. You can do it using a stamping block, but it is much easier with a positioning tool.
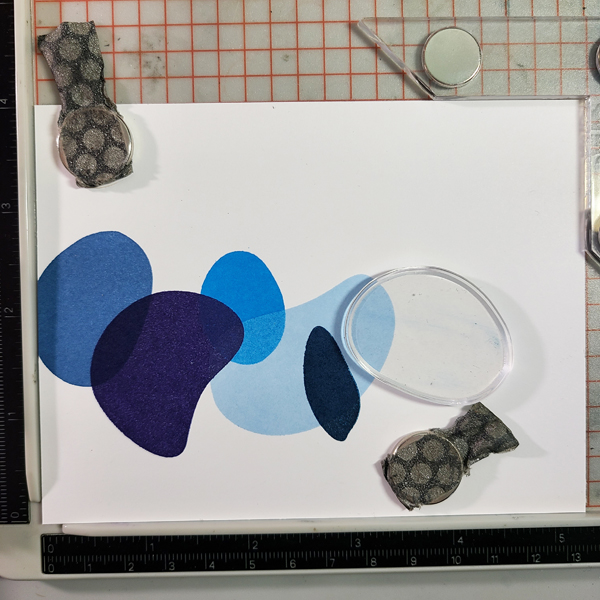
Step 2: Continue to stamp the abstract shapes, varying the direction, size, shape, and color. You can absolutely repeat your shapes, but try turning them so that they appear different. I wound up repeating a couple of shapes and colors, but I kept them apart from each other.
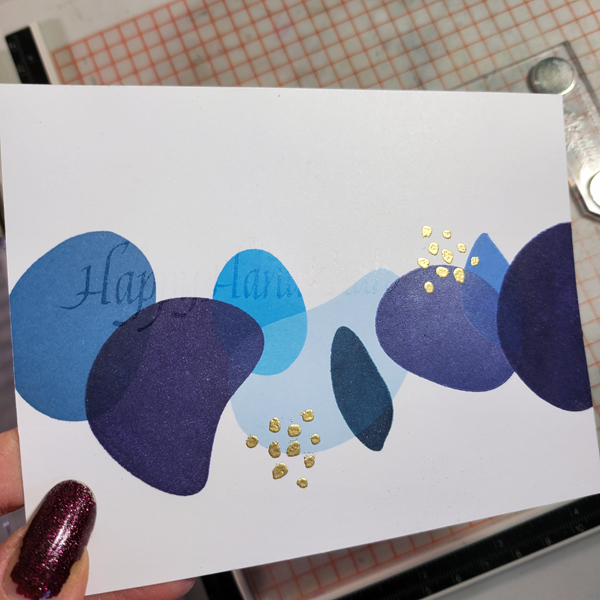
Step 3: Add some small elements. You can easily add interest to your abstract design by adding in some small embossed designs. Here, I repeated this dot pattern a few times by stamping it with VersaMark and then heat embossing it with gold. You can see that I also stamped my sentiment with VersaMark, and I am about to emboss it.
*Pro Tip: Be sure that all of your stamped images are completely dry before using embossing powder. Some inks, like VersaFine Clair take a long time to dry because they are pigment inks. Heat set your inks, add some anti-static powder, and sprinkle on embossing powder over your complete design to see if it’s dry. If the powder sticks, brush it off and repeat the process. Once the inks are dry, you can start stamping with VersaMark.
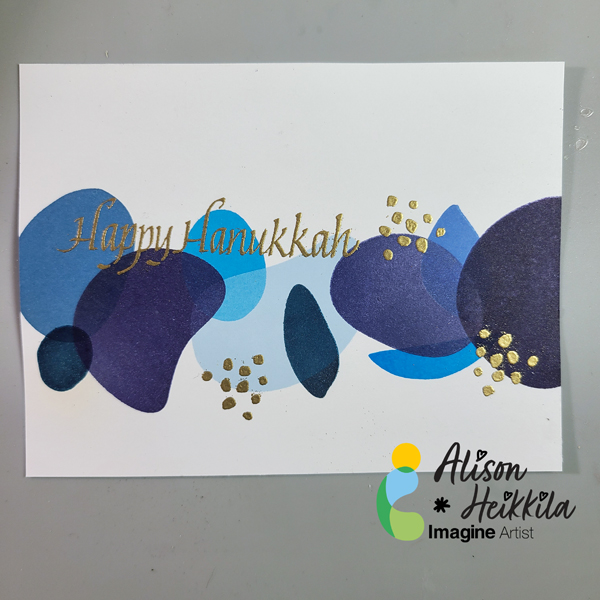
This is my finished card front. You can see that I added an additional cluster of dots and a couple of shapes to fill in the lower portion of the design. The panel is 4″ x 5 1/4.”
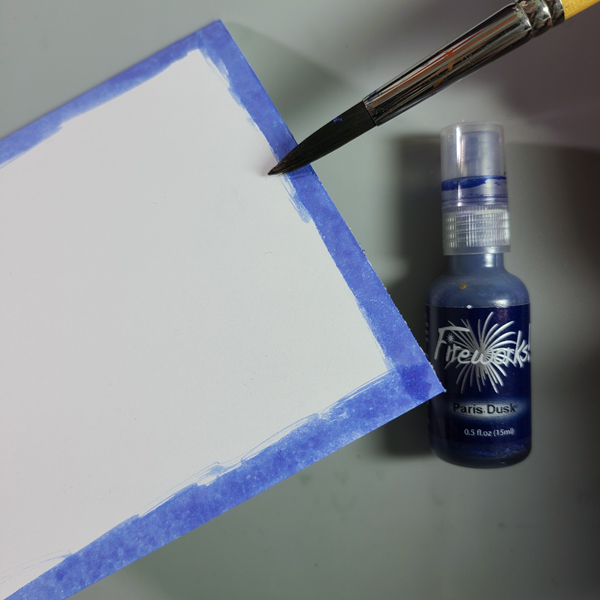
Step 4: Shake up some Fireworks! Spray and brush it on to your card base around the perimeter. Let dry.
Step 5: Adhere your card front to the base.
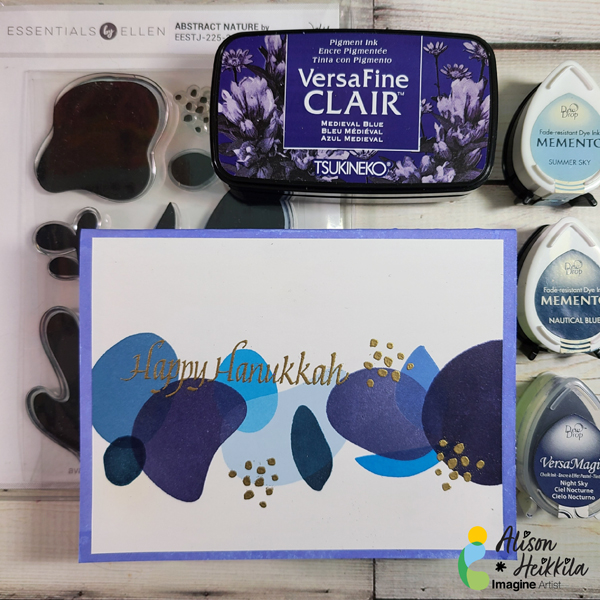
The concept of this card isn’t difficult, nor is the technique, but sometimes we need to be reminded that we don’t have to have a specific stamp for every occasion. Having a couple of abstract sets, or sets with solid stamp like these make perfect cards for any occasion. You can even stamp out a bunch of these panels at once, and omit a sentiment until you need a card. Then you can add something that works for the situation. I hope this gave you some good ideas. Thanks for stopping by. Have an inspiring day!
Supplies:
Imagine:
VersaFine Clair: Medieval Blue
VersaFine Clair: Twilight
Memento Ink: Nautical Blue
Memento Ink: Summer Sky
Memento Ink: Danube Blue
Memento Ink: Bahama Blue
VersaMagic Ink: Night Sky
Fireworks! Spray: Paris Dusk
Mboss Embossing Powder: Gold
Other:
Ellen Hutson: Abstract Nature Stamps
Simon Says Stamp: Organic Fruits (discontinued)
Rubber Soul: Happy Hanukkah Stamp
Stamp Platform or Positioning Tool
White Cardstock
Adhesive
Paint Brush

Leave a Reply