Hello! I’m Alison Heikkila and I am so happy to share my latest project for Artesprix with you today. Do you have 4 legged fur babies? If so, this might be something you’ll want to try! It’s a pet bandana, and you can customize it any way you like. I have 2 dogs and a cat, and I made this bandana for my dog Dory.
*Affiliate links are used in this post. That means that if you shop through these links, I may receive a small compensation, at no cost to you.
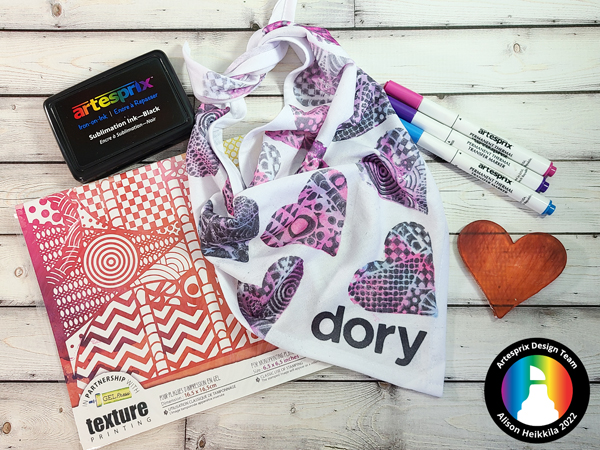
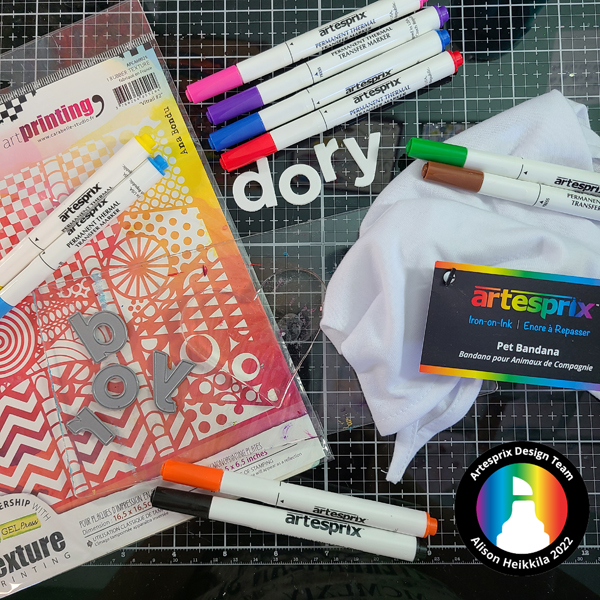
Materials:
Original Sublimation Markers (I used Pink, Purple, and Light Blue)
Sublimation Stamp Pad-Black
Pet Bandana I used the XL size.
Protective Paper
Heat Tape
Heat Source: Home Iron or Artesprix Heat Press
Gel Press Petites: Lovely Day Set (I used the heart)
Carabelle Studio Art Printing Plate: Vitrail #2 (discontinued). You can see similar Plates HERE.
Pencil
Watercolor Paper
Isopropyl Alcohol (I used it in a spray bottle)
Craft mat
Scissor
Acrylic Block (for Gel Press Petite)
Optional: Craft Foam and alphabet dies
What are Sublimation Markers?
Artesprix Sublimation Markers and Ink are specially formulated inks that allow you to use basic copy paper to: color, stamp, and stencil anything you wish and turn it into a heat-transferable design. These designs are then applied to a polyester or polyester coated substrate with heat and pressure. You can use a heat press or a home iron! These designs, through this process of sublimation, will become permanent on your substrates.
***I did things a little differently for this project because of it’s size and shape. The way I made this is not the only way, it’s just one option.
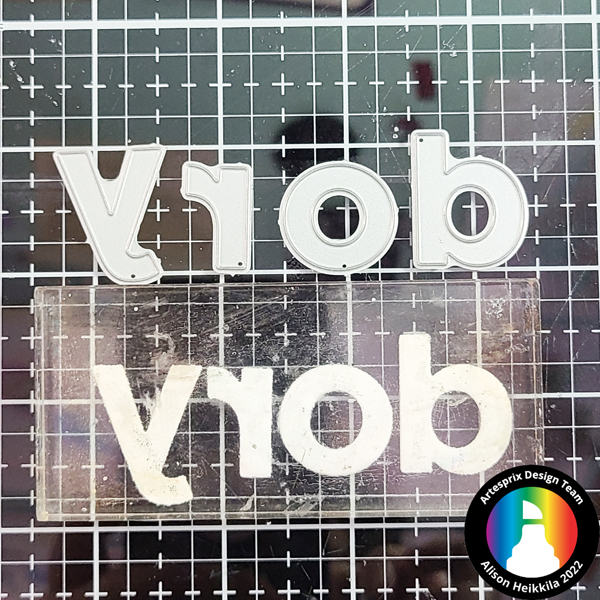
Step 1: I wanted to add my dog Dory’s name to the bandana, so I started by taking an alphabet die set and cutting the letters out of basic craft foam. You can easily create your own stamps out of any of your dies this way! The foam stamps beautifully.
Step 2: I adhered the letters to a clear acrylic block (be sure to use adhesive that will come off of your block!). Remember that we need to attach the letters backwards, not how they would be on a regular stamp. I laid the dies out in the way I needed them on the block so that I wouldn’t confuse myself.
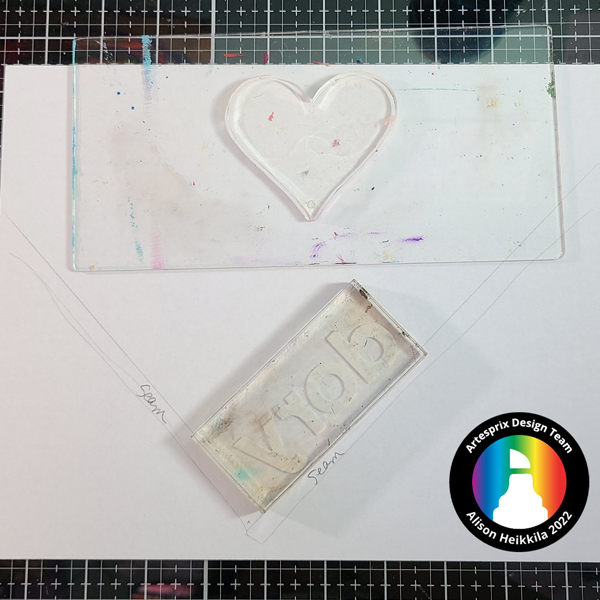
Step 3: Trace the bottom point of the bandana blank on to a piece of paper. For the stamping, I just used copy paper, but for the rest of the project I used watercolor paper. I drew the seams in so that Dory’s name would be above the seam.
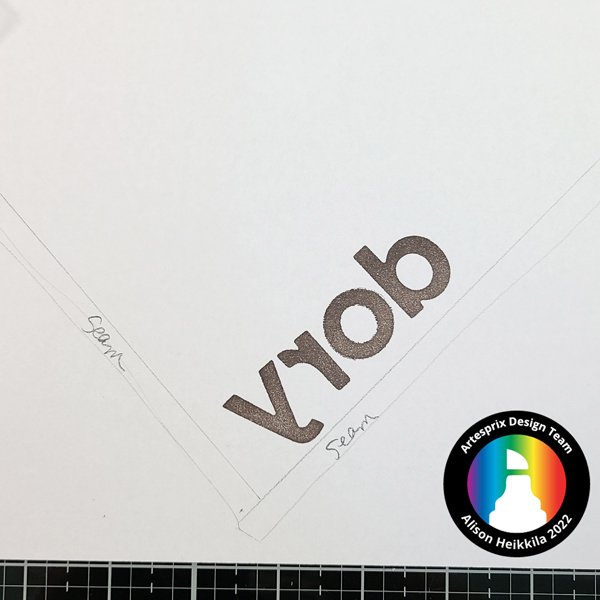
Step 4: Using the Black Sublimation Stamp Pad, ink up the letters and stamp on to your paper.
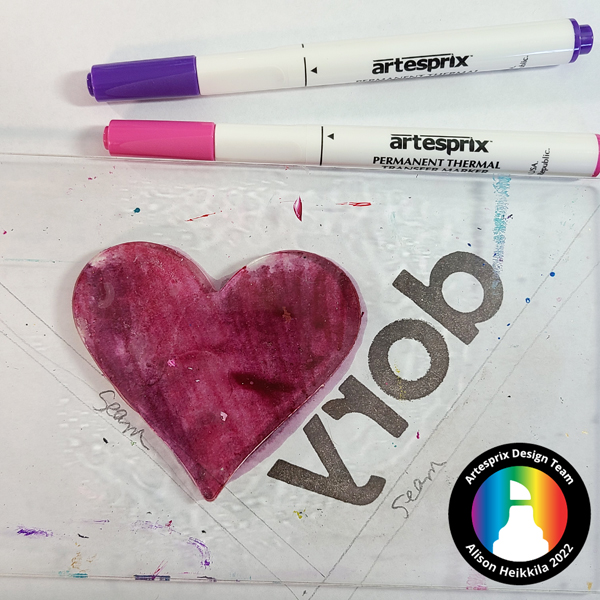
Step 5: Scribble 2 Artesprix Sublimation Markers on to your Gel Press Petite. You should have it mounted on to an acrylic block. Spritz with Isopropyl Alcohol. Pick the block up and rotate the Plate around to get the colors to move and swirl together.
Step 6: Place the Plate on to your paper and press. Allow the ink to transfer for a moment before you lift it off the paper. ***Please note, because the Plate is so wet, the color can bleed. I didn’t use the heart in the photo above because of this. I switched over to watercolor paper and cut this heart away from the name.
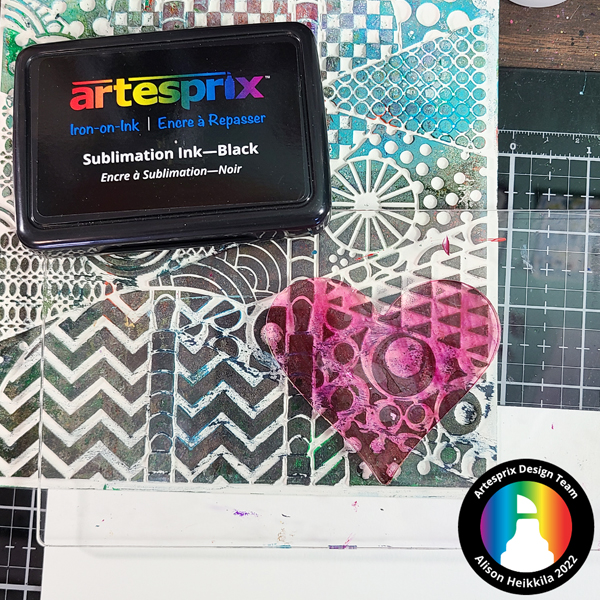
Step 7: Apply the Black Sublimation Stamp Pad to the Printing Plate (or background stamp). Stamp your Gel Press Petite into the inked stamp. Stamp the Petite directly on top of the colored heart you just made in Step 6.
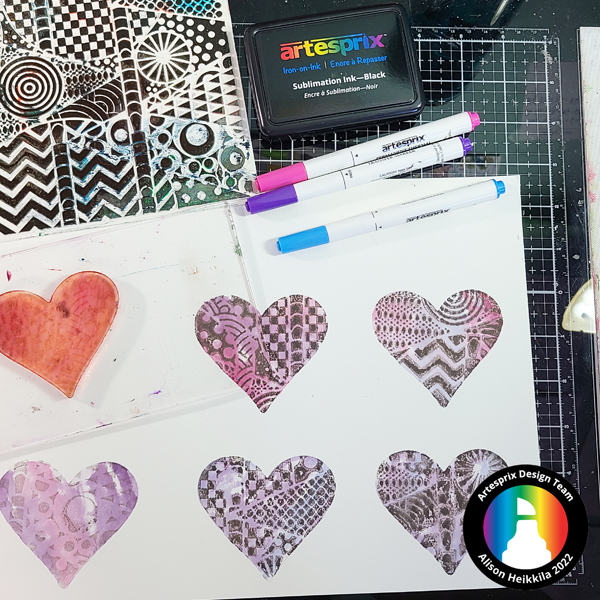
Step 8: Repeat this process to create a bunch of hearts. I cleaned off my Gel Press Plate every time I stamped with the Black Ink Pad with Isopropyl Alcohol. Trim them down after you’ve finished. Meanwhile, be sure you’ve got your Heat Press or home iron turned on.
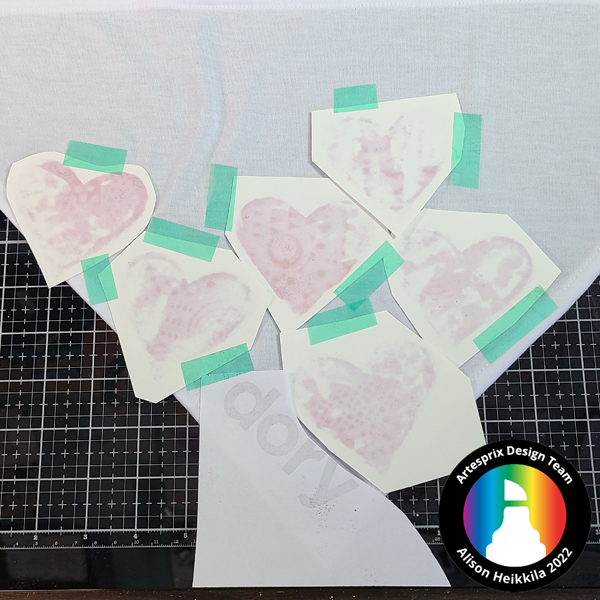
Step 9: Tape down the name and some of the hearts. I used a Heat Press, so I was able to fit a bunch on my blank at once. If you’re using a home iron, you’ll probably only want to do one or two at a time.
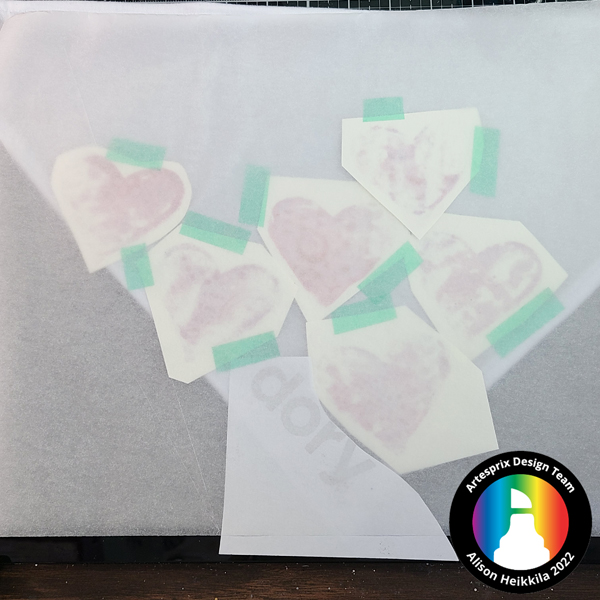
Step 10: It’s time to make our Sublimation Sandwich. This is an extremely important step whether you are using a home iron or a Heat Press. Cut two pieces of Protective Paper that are bigger than your Blank. Lay one piece down, then your taped Blank and colored image- with the blank on the bottom- and then your second piece of Protective Paper. Your sandwich will be: Protective Paper-Blank-Colored Image-Protective Paper.
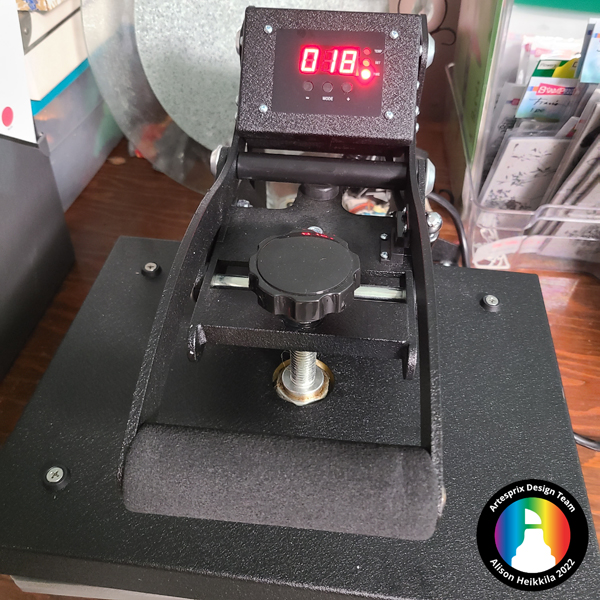
Step 11: Press the Pet Bandana in the Heat Press for 30 seconds at 400 degrees.
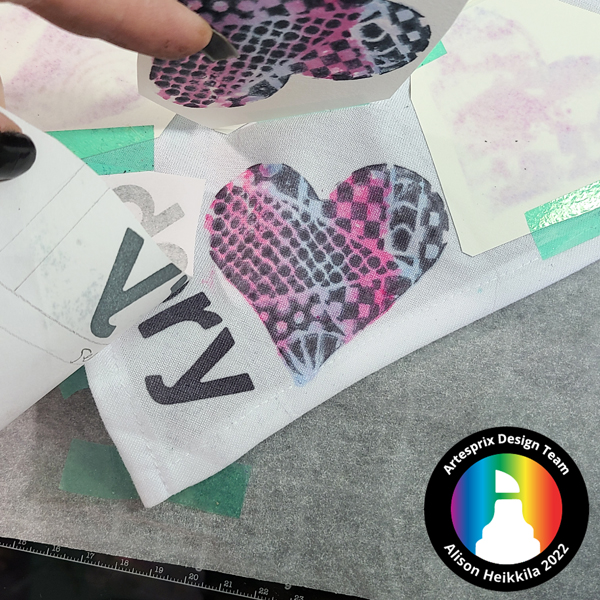
Step 12: It’s time for the peek test! This is a very exciting step! Very carefully peel back part of the copy paper to see how your image has transferred. Be sure to not remove too much, in case you need to press the item again. Look at how vibrant those colors are now!
Step 13: Continue to add your shapes to the bandana and press as needed. I did a total of 3 presses to cover the entire blank.
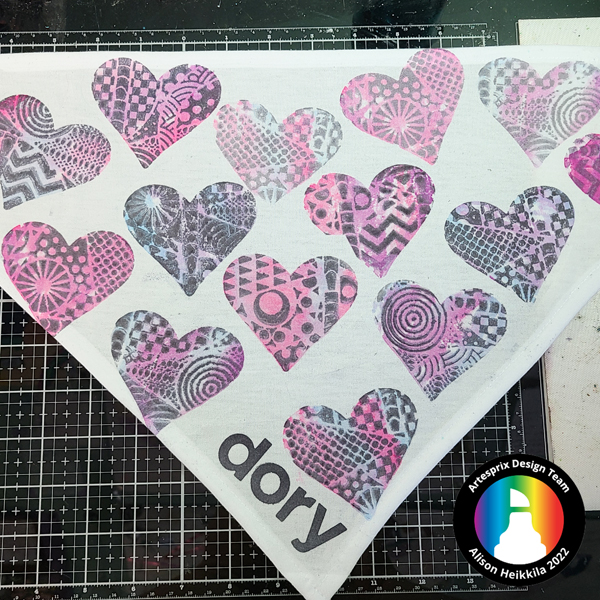
I think this came out so cute!
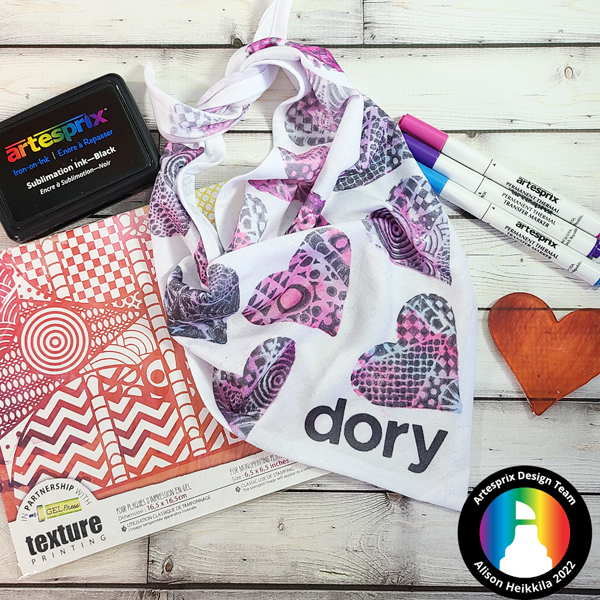
Aren’t all of those hearts fun? I love that each one has a different pattern and swirls of color. You can customize these bandanas however you like. There are so many options out there, and you probably have many of the supplies already. How would you like to get more ideas on how to use Sublimation Markers? There’s a Facebook Group that’s just for fans of Artesprix! You can click HERE to join. Also, don’t forget to visit the Artesprix store to see all of the available blanks and bundles, so you can get started with sublimation. Plus, I have a coupon code that you can use…it’s ALISON10 and you’ll save 10% off of your purchase.
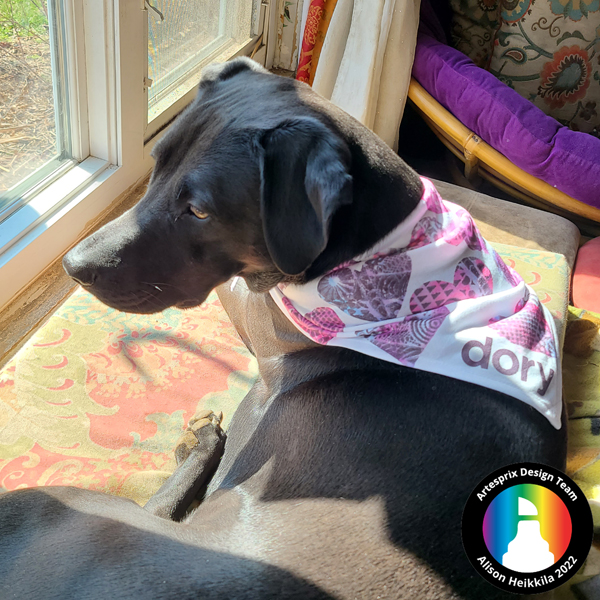
And here is my Dory wearing her new bandana. I’ve got to make one for my other dog now, as I think he’s a little jealous! Thanks so much for stopping by. Have an inspiring day!

Leave a Reply