Hello! This is Alison Heikkila and today I have a new Artesprix sublimation project using the Magnets. I love these magnets because they’re a great size, especially for beginners or folks that do not have a heat press, and they’re hexagons, which is one of my favorite shapes. As I often do, I decided to go a little weird with my project and use the Entomology stamp set (the study of insects) from Tim Holtz with some cool background stamps. I also used my Gel Press to create my initial background.
*Affiliate links are used in this post. That means that if you shop through these links, I may receive a small compensation, at no cost to you. For more information, please see my Affiliates page.
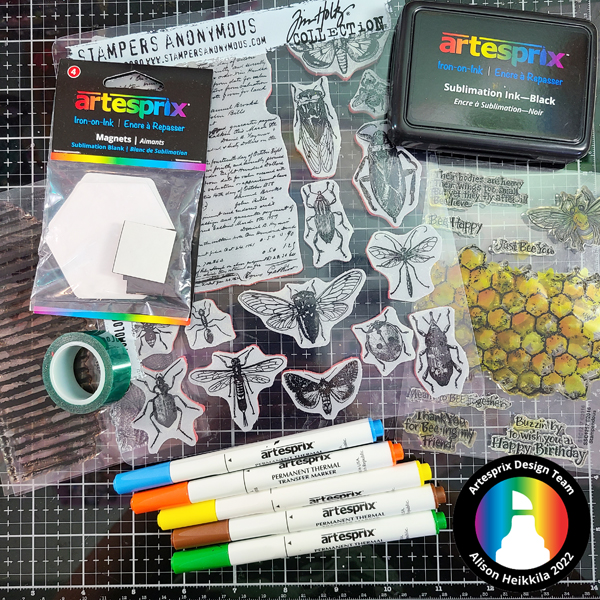
Materials:
Artesprix:
Magnets- 4 Count
Sublimation Stamp Pad-Black
Original Sublimation Markers
Protective Paper
Heat Tape
Heat Source: Home Iron or Artesprix Heat Press
Other:
Gel Press: 8×10 Plate (you can use other sizes if you have them)
Stampers Anonymous: Entomology Stamps
Stampendous: Pop Dots Stamps
Stampendous: Crumbled Borders Stamps
Stampendous: Honeycomb Wishes (discontinued)
Stampendous: Cling Grunge Script Stamps
Erin Lee Creative: Houndstooth Background (discontinued)
Stamping Positioner/Platform and/or Acrylic Blocks
Waffle Flower: Nested Hexagon Dies (optional)
Pencil
Watercolor Paper
Paint Brush
Glass Mat
Isopropyl Alcohol: 91% or higher
Water
What are Sublimation Markers?
Artesprix Sublimation Markers and Ink are specially formulated inks that allow you to use basic copy paper to: color, stamp, and stencil anything you wish and turn it into a heat-transferable design. These designs are then applied to a polyester or polyester coated substrate with heat and pressure. You can use a heat press or a home iron! These designs, through this process of sublimation, will become permanent on your substrates.

***I decided to switch up the steps a bit for this project. Because I wanted to use my Gel Press Plate for my background, I opted to create that first before I traced my Blank. I wanted to pick and choose the best areas of the print I pulled from the Plate.
Step 1: On the 8×10 Gel Press Plate, scribble an assortment of Artesprix Sublimation Markers.
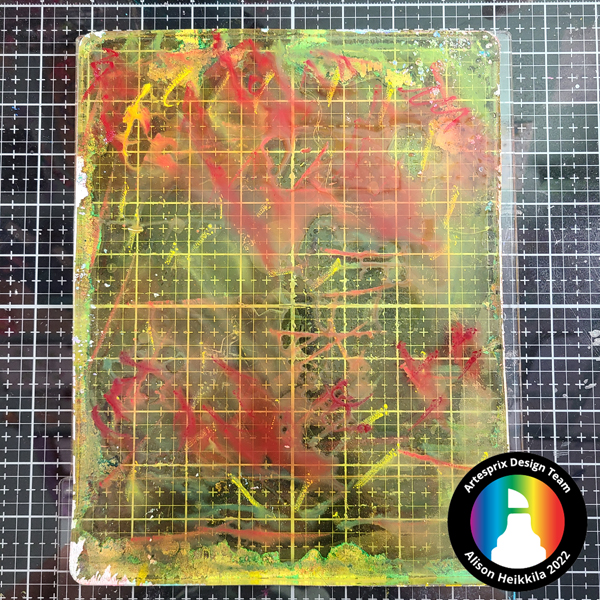
Step 2: When you are satisfied with your scribbling, spray the whole Gel Press Plate generously with Isopropyl Alcohol (91% or higher). If you have your Plate mounted on an acrylic block (I used 2 blocks to mount mine), pick it up and move it around to help the colors blend together a bit.
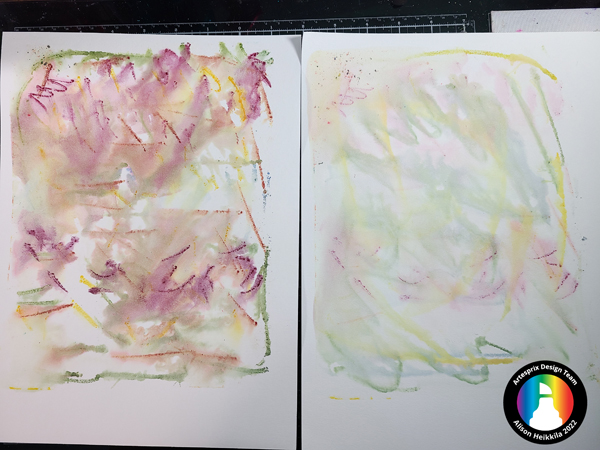
Step 3: Apply your watercolor paper to the Plate (we’re using watercolor paper instead of copy paper because this is such a wet project) and press, allowing the colors to transfer to the paper. Peel the paper off carefully. I created two prints, but I wound up using only the print on the left.
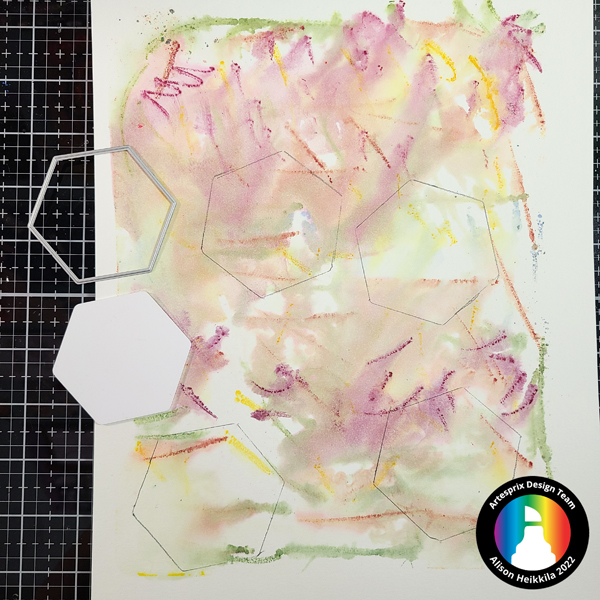
Step 4: Now that my print is dry, I chose which areas I wanted to use for my magnets. I have a Nesting Hexagon die set that had a hexagon slightly bigger than the magnets. I used that to mark off where I wanted to do my stamping and sublimation, because I can use the die as a window, instead of trying to line up the areas with the opaque magnet. It worked out perfectly.
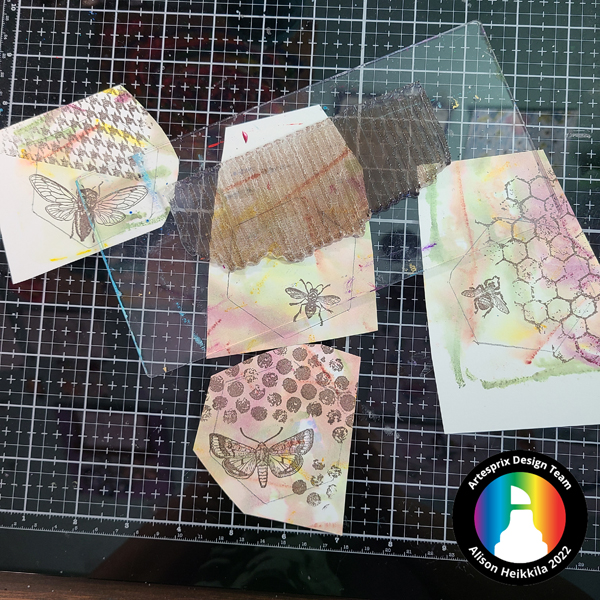
Step 5: I cut down the watercolor paper around the outlines to make it more manageable. Then I started stamping my bugs with the Black Sublimation Stamp Pad. Next I added my background stamps.
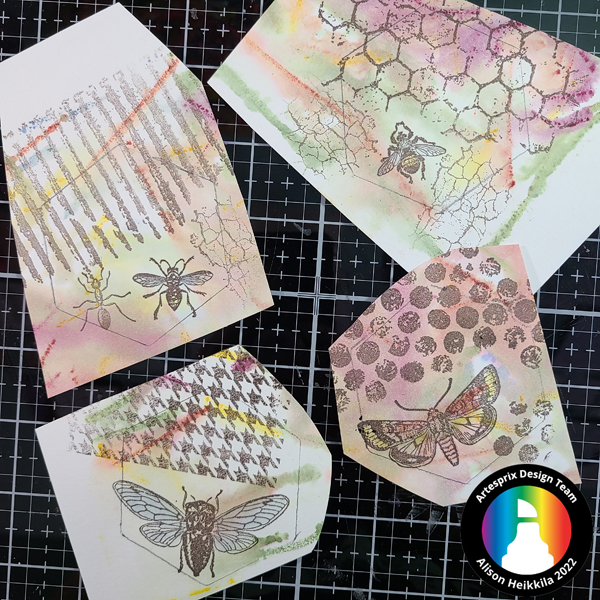
Step 6: I scribbled a couple of colors on to my craft mat and spritzed them with water to paint on a few details, such as adding blue to the wings.
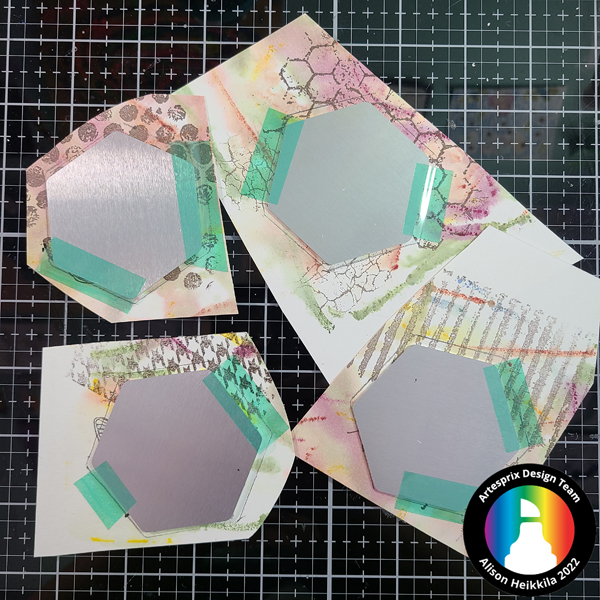
Step 7: Using Heat Resistant Tape, attach your magnets facedown on to your colored images. You can line up your design easily by using your pencil lines as a guide. If you are using a Heat Press, you don’t need much tape, but if you are using a home iron, be sure to use Heat Tape around the entire blank to ensure that it doesn’t move during the sublimation process.
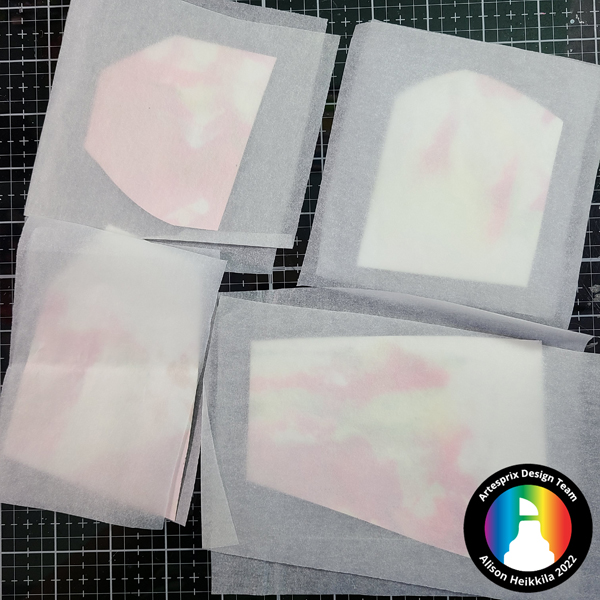
Step 8: It’s time to make our Sublimation Sandwich. This is an extremely important step whether you are using a home iron or a Heat Press. Cut two pieces of Protective Paper that are bigger than your Blank. Lay one piece down, then your taped Blank and colored image- with the blank on the bottom- and then your second piece of Protective Paper. Your sandwich will be: Protective Paper-Blank-Colored Image-Protective Paper. The Protective Paper prevents any images accidentally transferring to either side of your Heat Press or to your home iron.
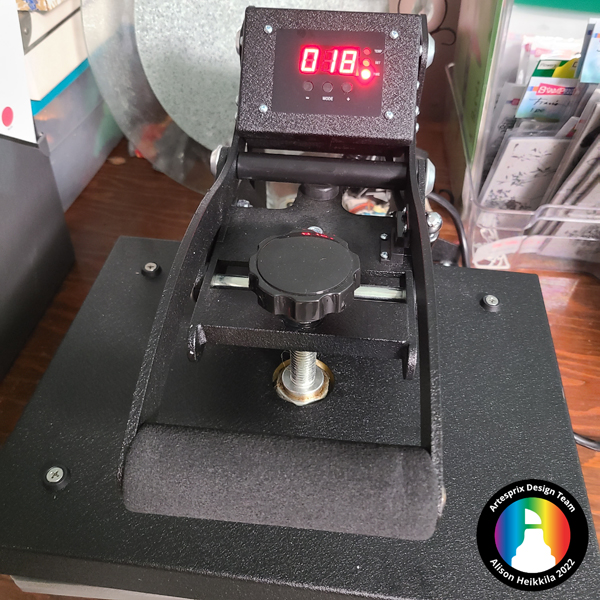
Step 9: I pressed my Magnets for 45 seconds at 400 degrees. If you are using a home iron, you’ll want to have it on the highest dry setting, and press for 3 minutes. Be sure to not move the iron at all while you are pressing.
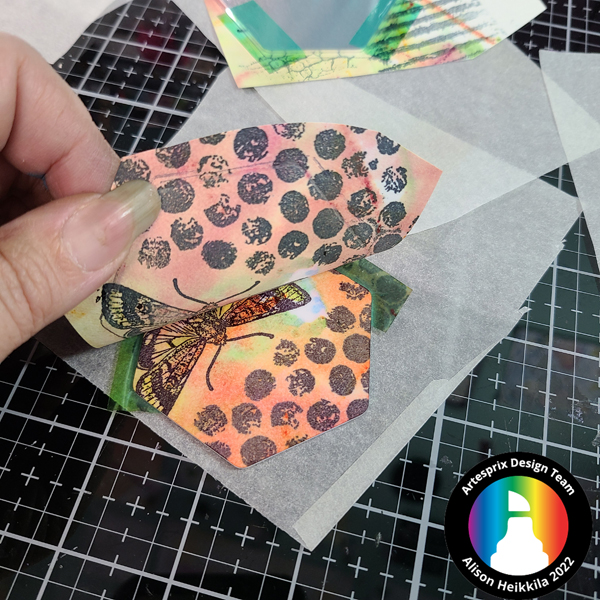
Step 10: It’s time for the peek test! This is a fun step. Very carefully peel back part of the paper to see how your image has transferred. Be sure to not remove too much, in case you need to press the item again.

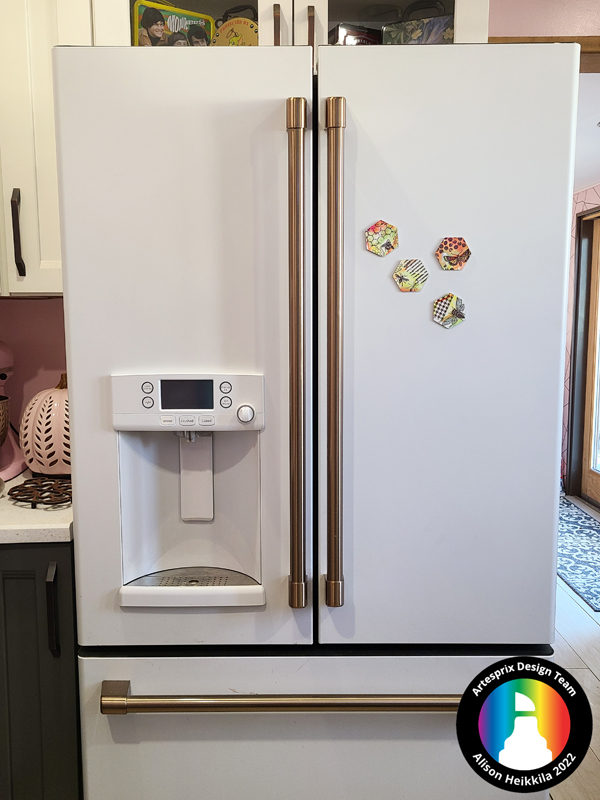
Here are the magnets in all their glory! Don’t they look awesome?
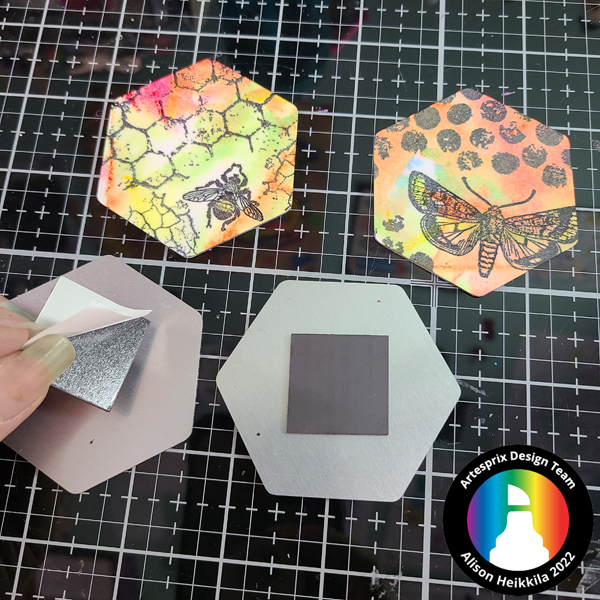
Step 11: Add the actual magnets to the back of your finished pieces. Simply peel the release paper off of the magnets, and add them to your hexagons.
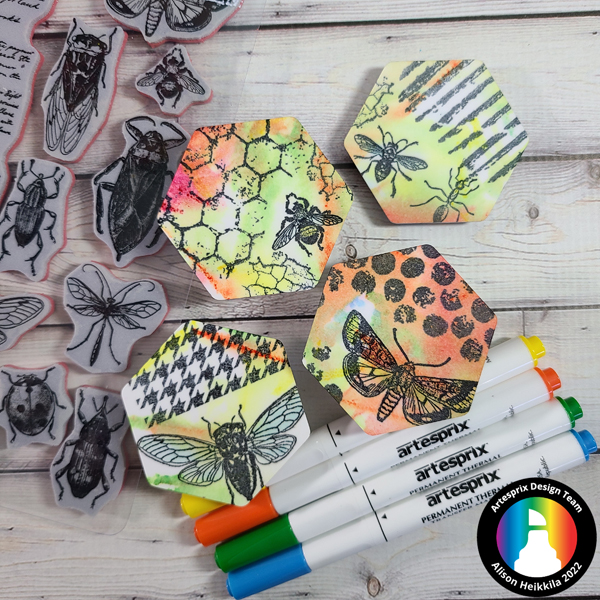
I just love how these magnets turned out. I know that these insects may not be for everyone, but by doing the same steps I did with whatever imagery you have in your stash that you love, you can get the same effects easily. These are another blank that would make a fantastic gift for pretty much anyone, and you can personalize them to any recipient easily. How would you like to get more ideas on how to use Sublimation Markers? There’s a Facebook Group that’s just for fans of Artesprix! You can click HERE to join. Also, don’t forget to visit the Artesprix store to see all of the available blanks and bundles, so you can get started with sublimation. Thanks so much for stopping by. Have an inspiring day!

They are awesome ???xx