Hello! My name is Alison Heikkila and I appreciate you checking out my post today. I used Artesprix’s Decorative Metal Panel to make a piece for my Autumn display in my home. This panel is 5” x 7.” so there’s lots of room for you to write, stamp, stencil, etc. for any occasion. I opted to use stamps, and I think it came out beautiful.
*Affiliate links are used in this post. That means that if you shop through these links, I may receive a small compensation, at no cost to you.
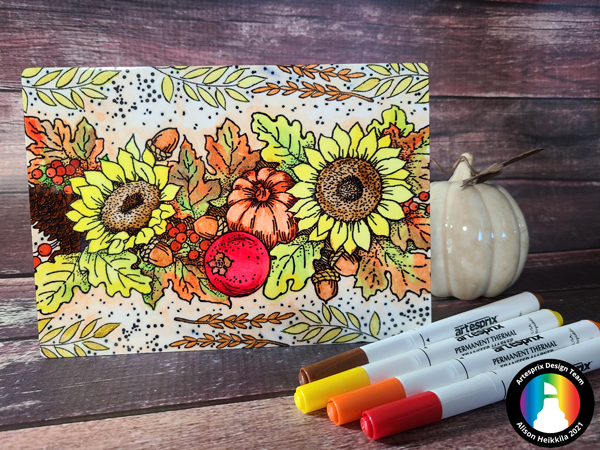
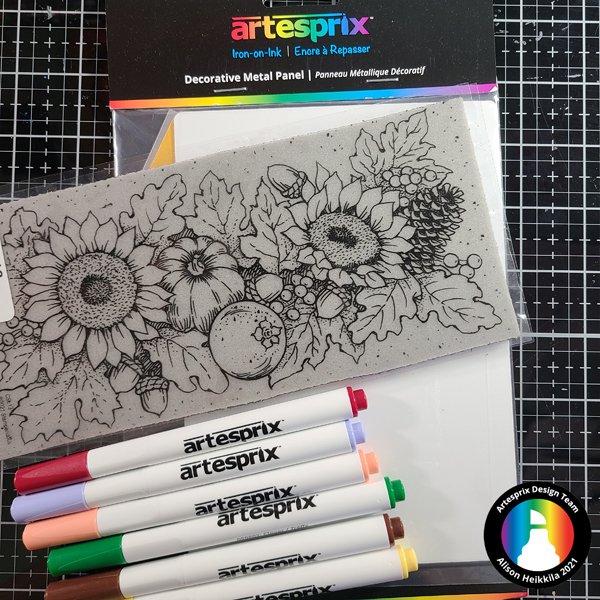
Materials:
Sublimation Stamp Pad-Black
Original Sublimation Markers
Gnomies Sublimation Markers
Pastel Sublimation Markers
Black Sublimation Markers
Decorative Metal Panel
Protective Paper
Heat Tape
Heat Source: Home Iron or Artesprix Heat Press.
Stampendous: Slim Fall Sunflowers Stamp & Hands Hold Stamps
Gina K Designs: Something Good in Every Day Stamps
Stamping Postioner/Platform or Acrylic Block
Pencil
Copy Paper
Craft mat
What are Sublimation Markers?
Artesprix Sublimation Markers and Ink are specially formulated inks that allow you to use basic copy paper to: color, stamp, and stencil anything you wish and turn it into a heat-transferable design. These designs are then applied to a polyester or polyester coated substrate with heat and pressure. You can use a heat press or a home iron! These designs, through this process of sublimation, will become permanent on your substrates.
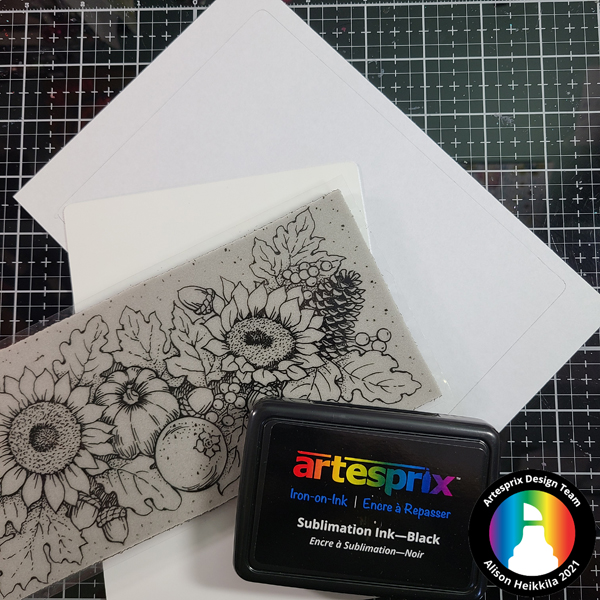
Step 1: Trace the outline of your blank on to a piece of copy paper with a pencil. The pencil will not transfer during the sublimation process.
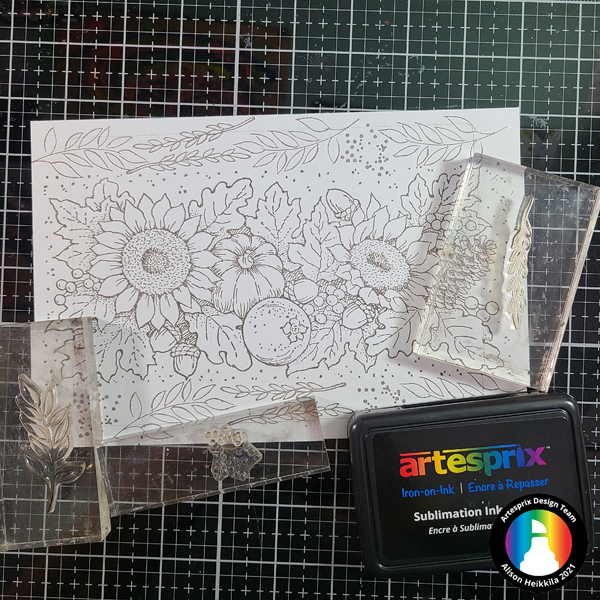
Step 2: Stamp your images on to copy paper using the Sublimation Stamp Pad and a stamp positioner or an acrylic block. I centered the Slim Fall Sunflowers stamp in the center of the traced outline and stamped it with the Sublimation Stamp Pad. Then, I filled in with the smaller foliage and dot stamps from the other two stamp sets mentioned in the supplies list. I felt that the dots in the Slim stamp needed to be carried through the rest of the panel, so I added additional dots by hand on the top and bottom with the Fine Tip Black Sublimation Marker.
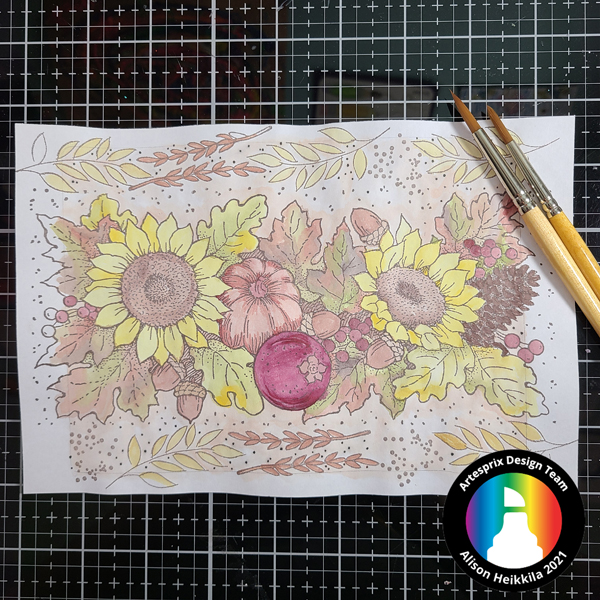
Step 3: Color in your stamped images with Sublimation Markers. The Sublimation Markers are great because you can of course color direct to paper, but you can also do many other techniques with them as well. I chose to watercolor with the markers. I scribbled my chosen colors on to my craft mat, and I used a wet brush to pick up the color and apply it to my stamped images. This watercoloring technique also allows you to mix your marker colors easily on a craft mat to get an expanded color palette.
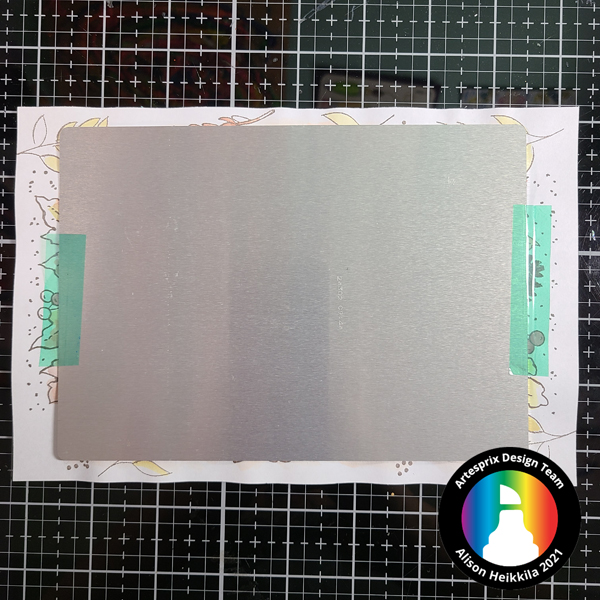
Step 4: Using Heat Resistant Tape, attach your colored image face down on to the Decorative Metal Panel. You can line up your design easily by using your pencil lines as a guide. If you are using a Heat Press, you don’t need much tape, but if you are using a home iron, be sure to use Heat Tape around the entire blank to ensure that it doesn’t move during the sublimation process.

Step 5: It’s time to make our Sublimation Sandwich. The photo above may not look like much, but it is extremely important whether you are using a home iron or a Heat Press. Cut two pieces of Protective Paper that are bigger than your Blank. Lay one piece down, then your taped Blank and colored image- with the blank on the bottom- and then your second piece of Protective Paper. Your sandwich will be: Protective Paper-Blank-Colored Image-Protective Paper.
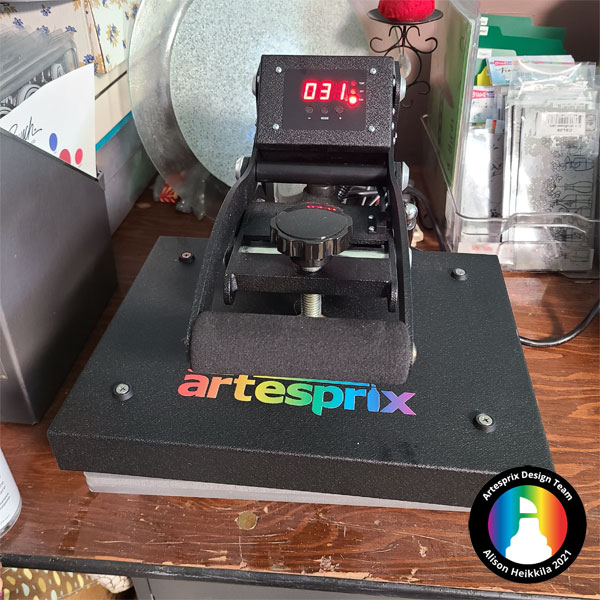
Step 6: I pressed my Decorative Metal Panel for 90 seconds at 400 degrees. If you are using a home iron, you’ll want to have it on the highest dry setting, and press for 5 minutes over each section. Be sure to not move the iron at all while you are pressing.
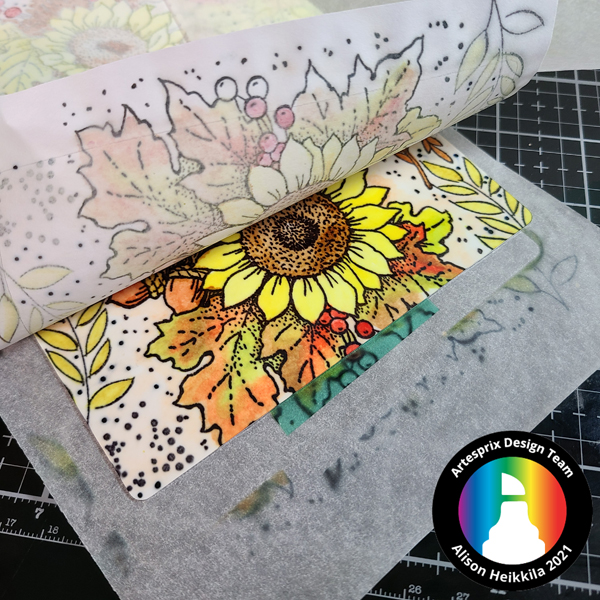
Step 7: It’s time for the peek test! This is a very important (and exciting!) step. Very carefully peel back part of the copy paper to see how your image has transferred. Be sure to not remove too much, in case you need to press the item again. Look at how vibrant those colors are now!
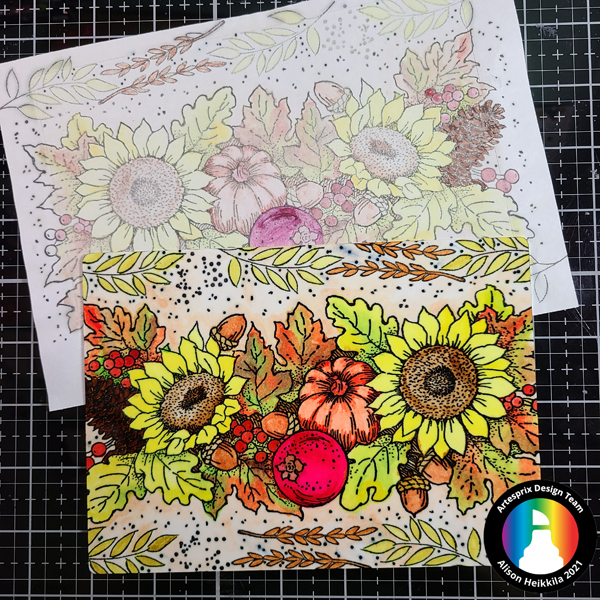
Here’s a look at what the colored image looked like versus the completed Decorative Metal Panel. What a difference!
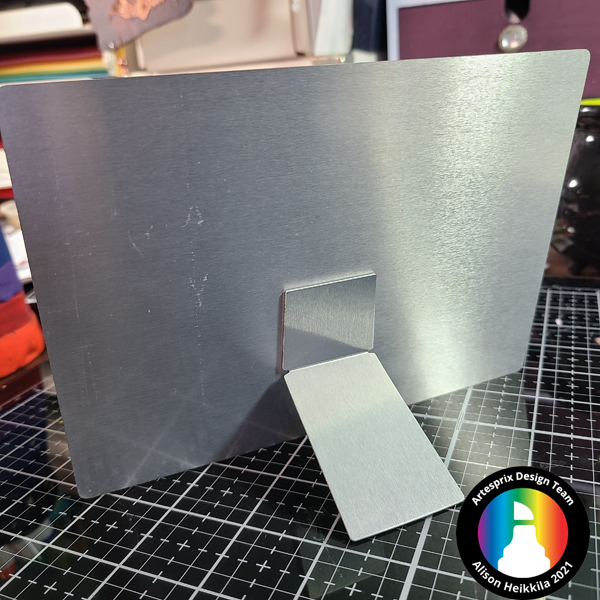
Step 8: Now you just need to affix the included stand to the back of the panel. You can choose if you want a horizontal or vertical orientation.
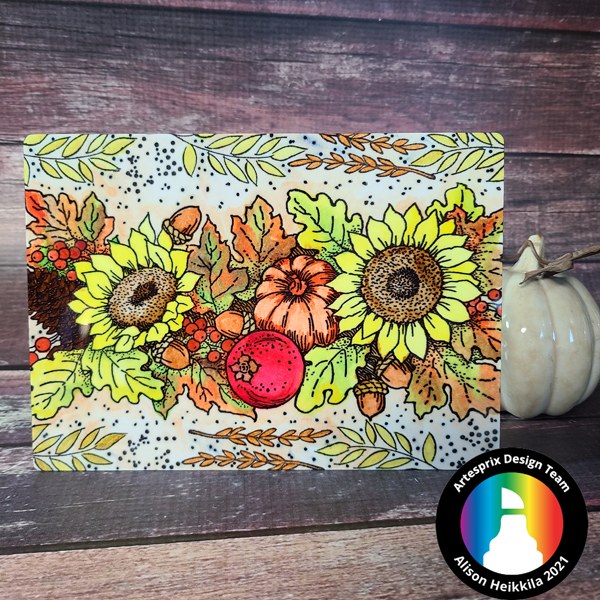
Isn’t this a fun project? The large 5″ x 7″ area gives you lots of room to make any type of art you wish! I can see this becoming a magnet board, a kitchen sign, perhaps an announcement sign for a wedding….it can be anything you want. I think this piece is going to go perfectly with all of my Autumn decorations. How would you like to get more ideas on how to use Sublimation Markers? There’s a Facebook Group that’s just for fans of Artesprix! You can click HERE to join. Also, don’t forget to visit the Artesprix store to see all of the available blanks and bundles, so you can get started with sublimation. Thanks so much for stopping by. Have an inspiring day!

I love this card. Sunflowers are my favorite flower.