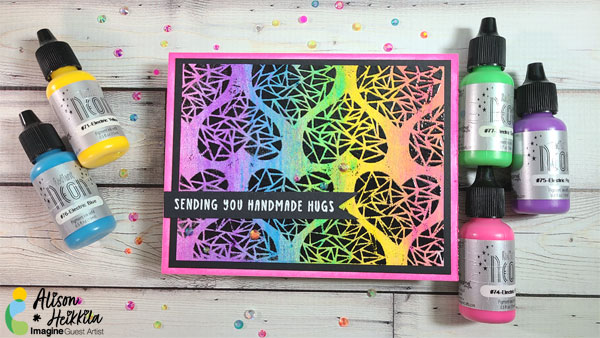
Do you remember Scratch Art? There’s a black piece of heavy cardstock and you use pointy tools to scratch the black away, to reveal colors underneath? Some folks made really incredible art with this technique…I know my kids always enjoyed doing it too. How would you like to recreate that look of scratch art, but in a lot less time? It’s fun, and it gives you another way to use your reinkers.
Skill Level: Intermediate
Time: 20-30 Minutes
Directions:
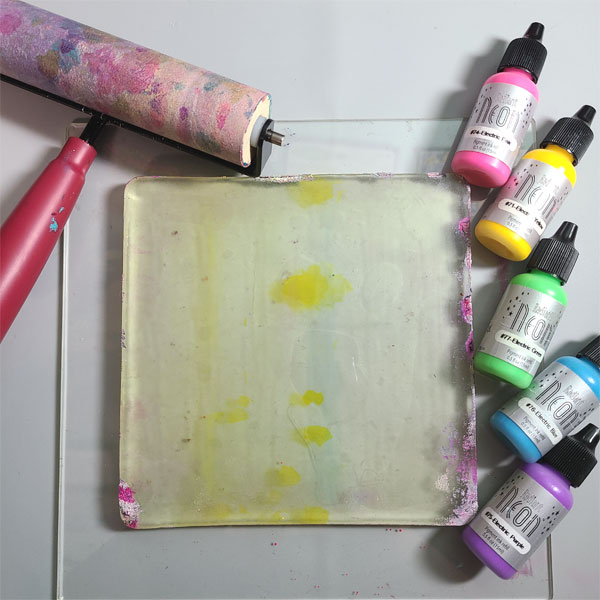
Step 1. Gather your supplies. You’ll need a gel printing plate (mine is a 6×6), reinkers ( I used 5 Radiant Neon colors), a brayer, and some copy paper. You can use heavy weight cardstock if you prefer.
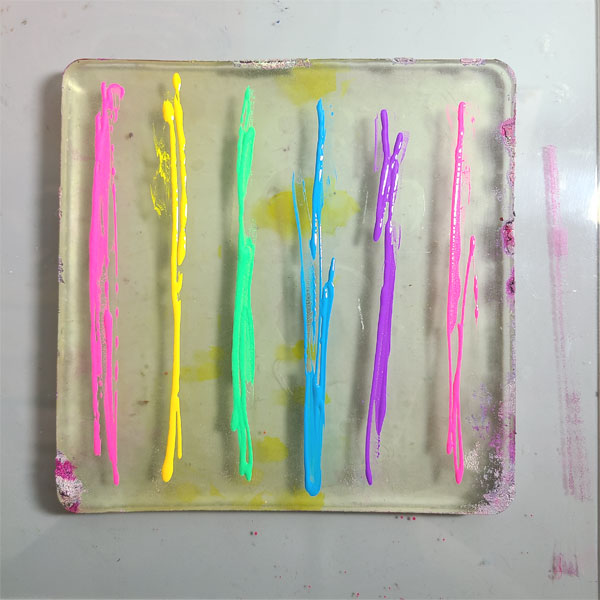
Step 2: Squirt a small amount of reinkers in lines on your gel printing plate. You don’t need too much. I have a little more than I needed on mine.
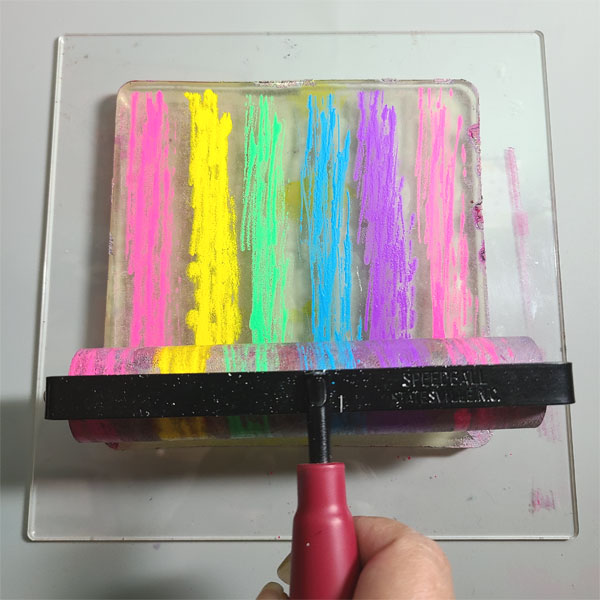
Step 3: Using a brayer, roll over the ink to get the colors to begin to blend. Try to keep from moving the brayer too much from side to side, as that will have the colors blend, and you’ll lose the distinction of each color.
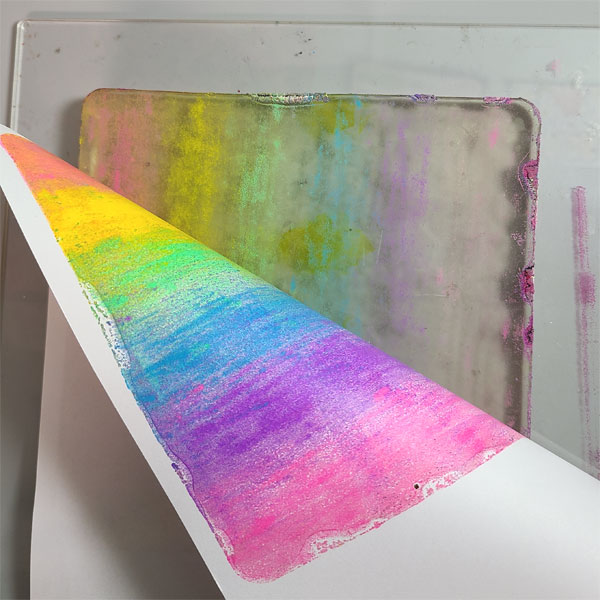
Step 4: Apply your piece of copy paper to the gel plate, and rub the back of the paper with your hands. Be sure to have contact with the entire surface. Once you think the ink has transferred, slowly peel back the paper. If you see you need to transfer the ink better, place the paper back down and rub the back of it again.
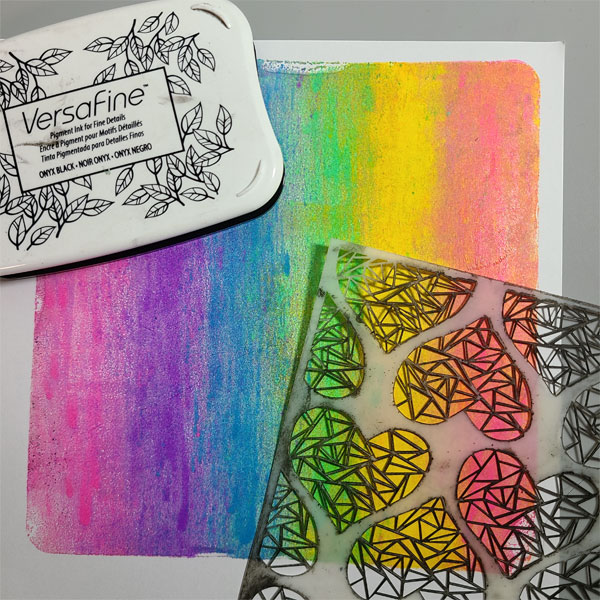
Step 5: Choose your stencil and grab VersaFine ink in Onyx Black. Once the gel print is completely dry, tape down the stencil on top of the print.
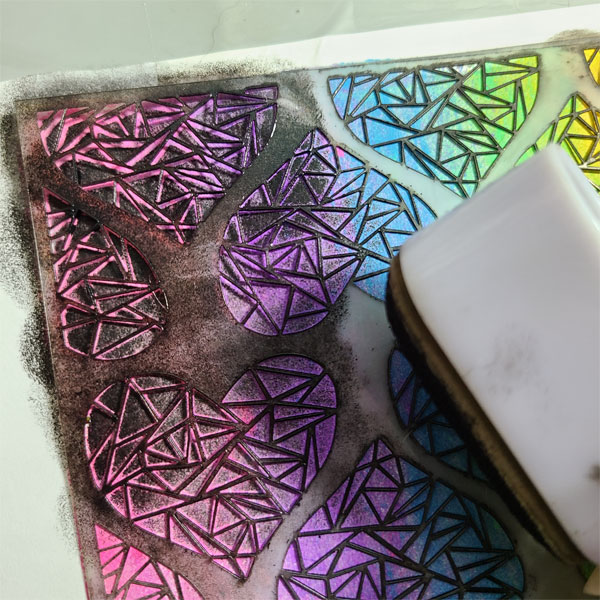
Step 6: Using an ink dauber, apply a heavy coat of Onyx Black VersaFine all over the gel print. Make sure you don’t move your stencil, and that you get a deep, even coat of ink across the entire area.
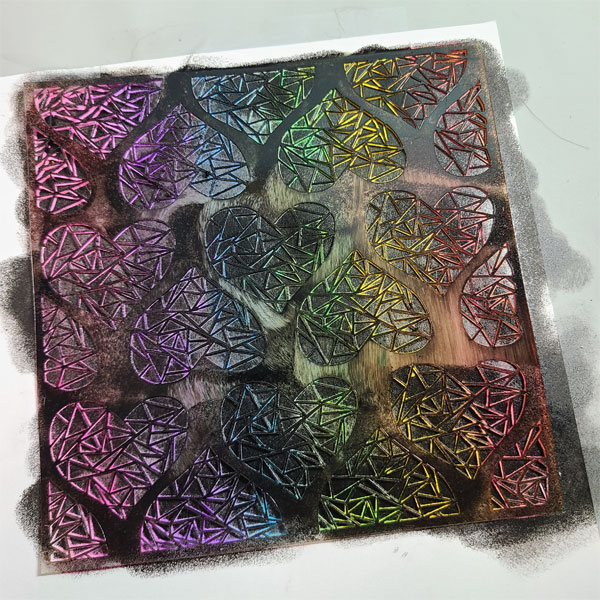
Step 7: When the stenciled area is thoroughly covered with ink, remove the stencil.
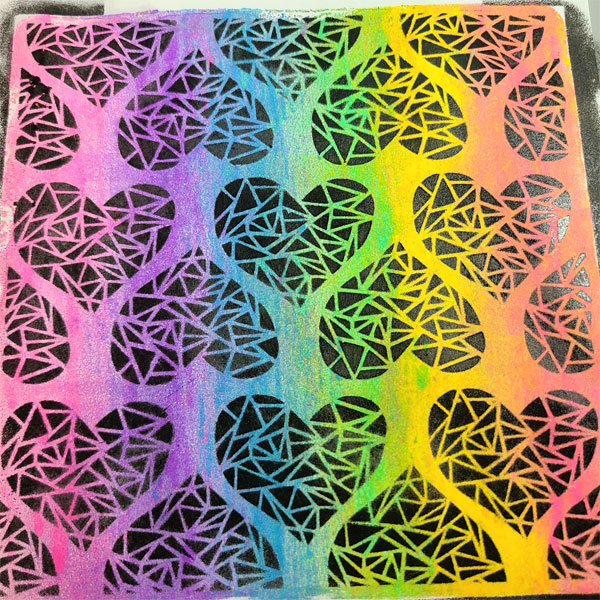
Step 8: Optional- You may choose to leave the background as-is, or to enhance it further with embossing powder. I opted to use black embossing powder to give it some shine. You may also use clear over the black ink. ***Take this a step further and use a different contrasting color altogether!
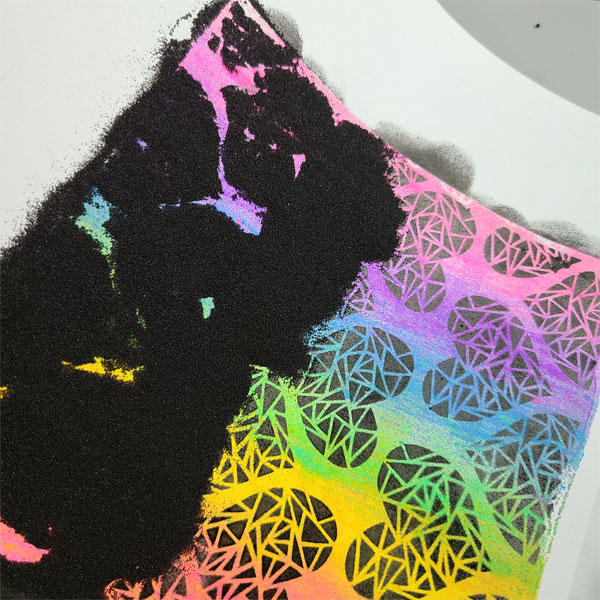
Step 9: Pour the embossing powder all over the print and shake off the excess. If you see stray bits of powder where you don’t want it, use a small, dry brush to swipe it away. Heat the powder with an embossing tool, but please keep in mind that if you used copy paper, the paper heats up quickly.
Step 10: Trim down your background to 3 3/4″ x 5.” This will leave you a nice big strip that yuo can use on a different card another time.
Step 11: Cut a piece of black cardstock to 4 1/4″ x 5 1/2.” Adhere your stenciled piece to the black with the adhesive of your choice.
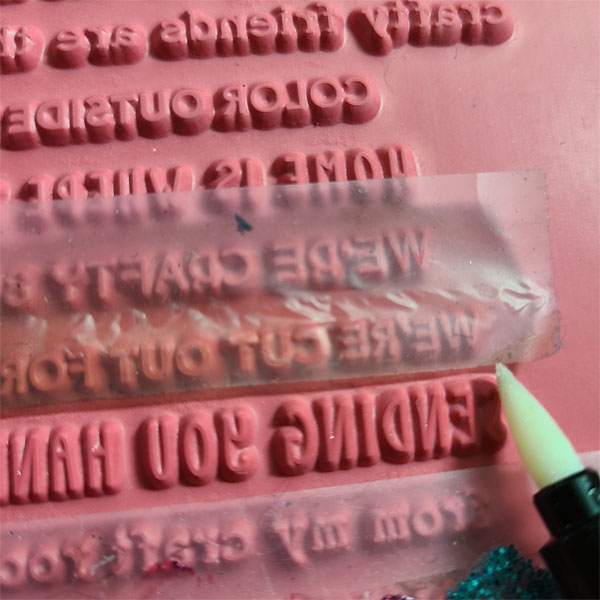
Step 12: Ink up your sentiment with VersaMark Ink. The sentiment I chose had many other sentiments with it, but I only wanted to ink up one. I put tape on the sentiment above and below the one I wanted to use, then I used the VersaMarker to ink up the one I wanted. You can use the VersaMark Pad for this too, but the pen is nice and small.
Step 13: Remove the tape and stamp the sentiment on to a strip of black cardstock.
Step 14: Sprinkle white embossing powder on to the sentiment, shake off excess, and heat set.
Step 15: Apply Radiant Neon Ink in Electric Pink to the edges of your (white) card base.
Step 16: Adhere the top layers (including the sentiment) to the card base.
Step 17: Using On Point Glue, adhere flat-backed rhinestones around the sentiment strip.
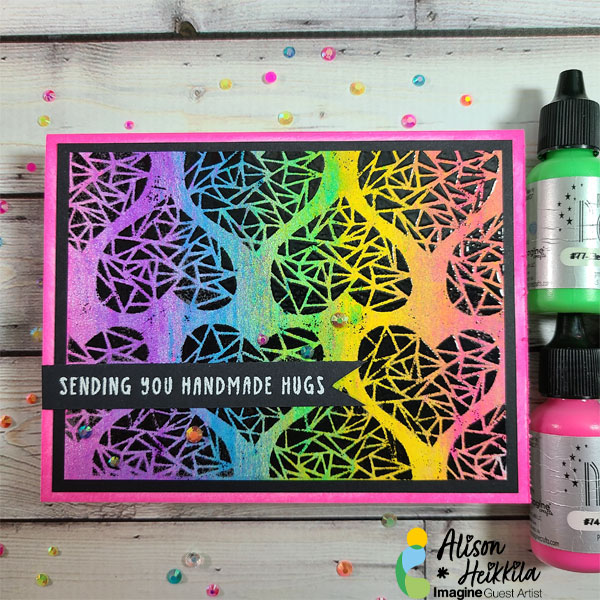
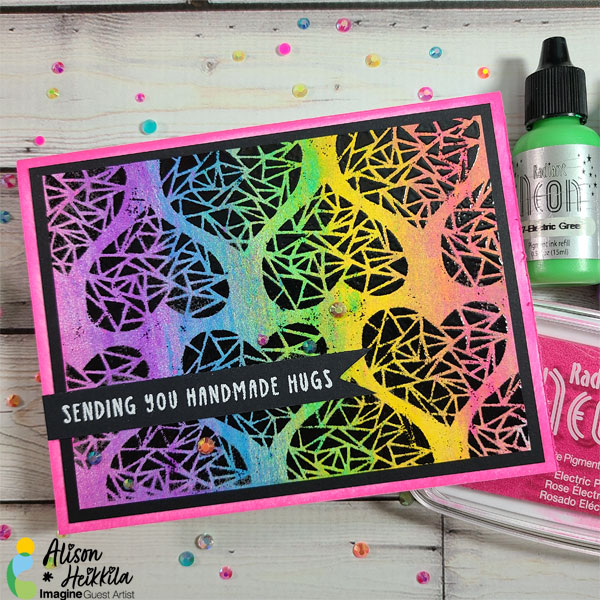
The end result is a fun, eye-catching card that can be used for many occasions. You can experiment with different combinations of reinkers and stencils to get completely different looks.
Supplies:
Imagine:
Radiant Neon Reinkers in Electric Pink, Electric Yellow, Electric Green, Electric Blue, and Electric Purple
Radiant Neon Ink Pad in Electric Pink
Embossing Powder in Black and White
On Point Glue
Sponge Dauber
Other:
Sassy & Crafty: Stained Glass Hearts Stencil
Doodles Paper Playground: Neon Flat-backed Rhinestones
Taylored Expressions & Brutus Monroe: Simple Strips- Crafty
Black Cardstock
White A2 Card Base

Leave a Reply