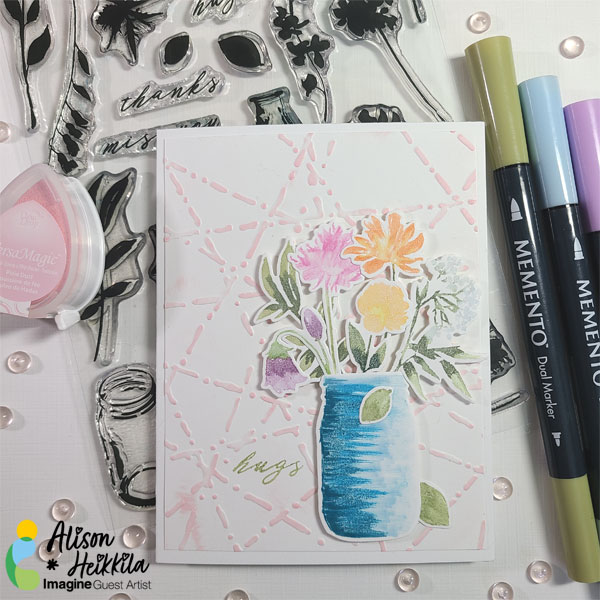
Hello! Today for my latest Guest post for Imagine, I’m going to show you how you can use Memento Markers to create beautiful florals that look like they’ve been watercolored, when you really just used silhouette stamps.
Skill Level: Basic to Intermediate
Time: 30-45 Minutes
Directions:
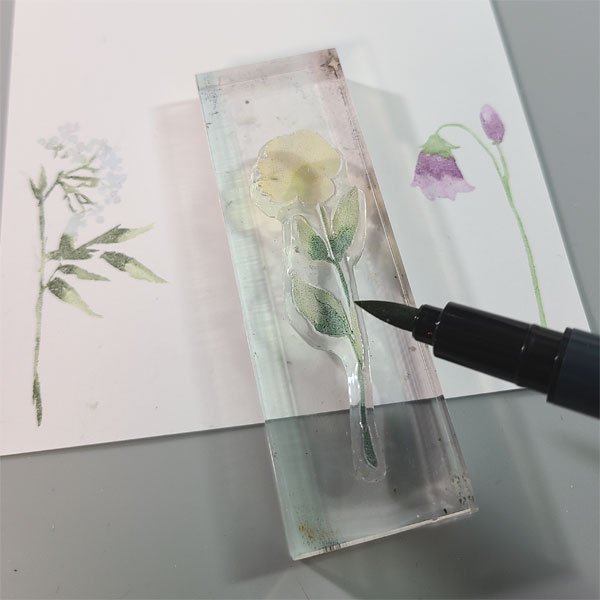
Step 1:
Apply your first silhouette stamp to an acrylic block or stamping tool. For all of these images, I thought using a block was easier.
Step 2:
Color in the silhouette stamp using Memento Markers. I went with 2 shades of green for the foliage, and two colors on each flower. I recommend applying the lighter color first, and then the darker one. Be sure to overlap the colors to blend them together.
Step 3:
Stamp the colored image on to white cardstock. If you take a while coloring in your image, you may want to “huff” or breathe on to the stamp before applying it. This helps to remoisten the inks.
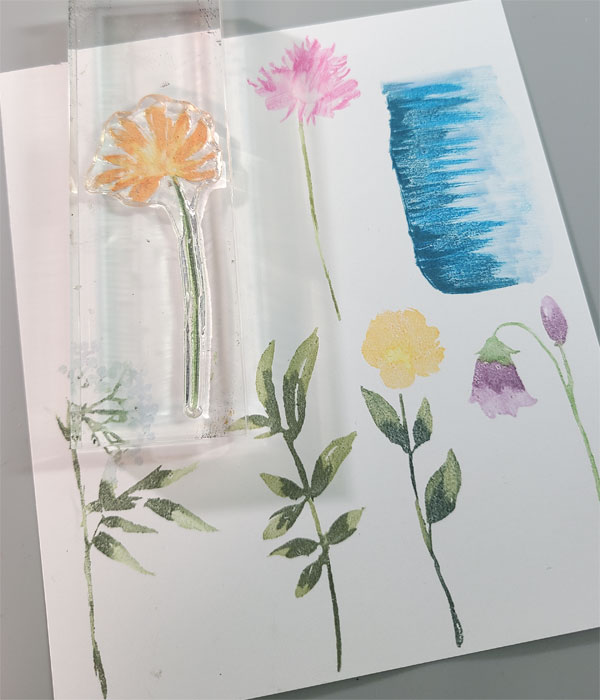
Step 4:
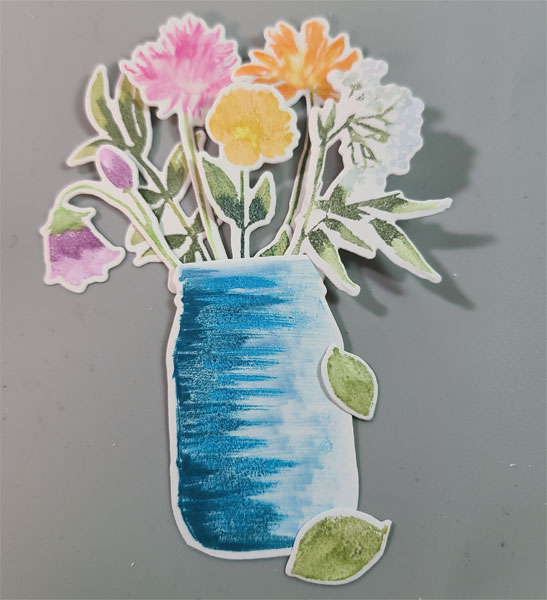
Try to change up the strokes you use when coloring the images, especially if you have florals with different textures like I do. Some I kept super streaky to resemble petals, some have a much smoother blend. Don’t be afraid to add extra detail with the Memento Markers after you’ve stamped the images. I did this, for example, on the mason jar.
Step 5:
Stamp all of your images out, keeping them spaced apart a bit for die cutting.
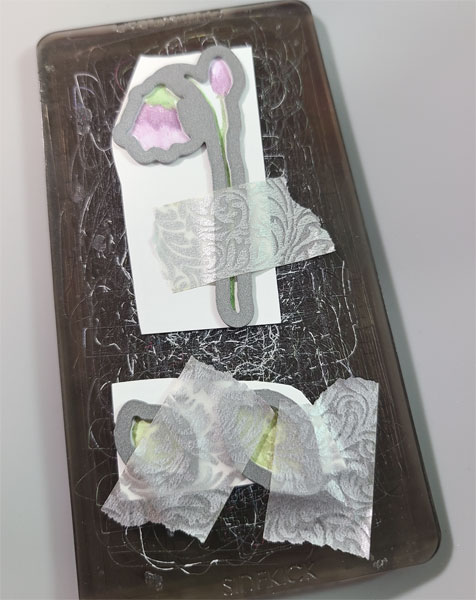
Step 6:
Die cut all of your elements. I adhered multiple images to my cutting plate at once to save time. I taped them down with a low tack tape to make sure they wouldn’t move.
Step 7:
When all of your images are cut out, arrange them in different ways until you like how they look. Snap a photo of the arrangement so that when you go to glue them, you can put them back where you like them. If you have Press ‘N Seal, you can apply that to the top of the images to temporarily hold them in place while you apply On Point Glue to the parts that are “in” the mason jar.
Step 8:
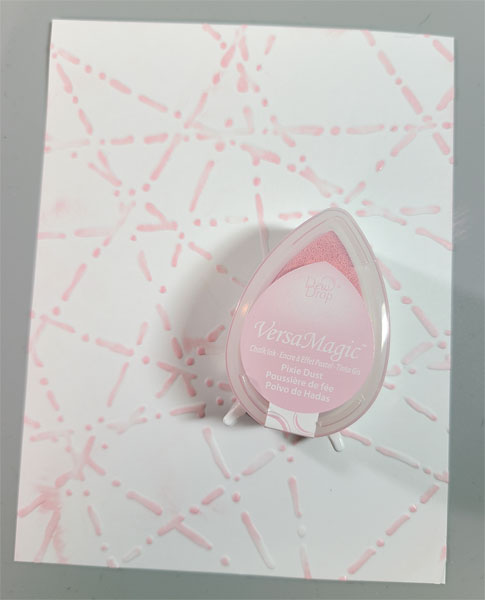
Take a piece of 4″ x 5 1/4″ white cardstock and run it through your die cut machine with an embossing folder.
Step 9:
Lightly apply Pixie Dust VersaMagic to the raised design of the cardstock.
Step 10:
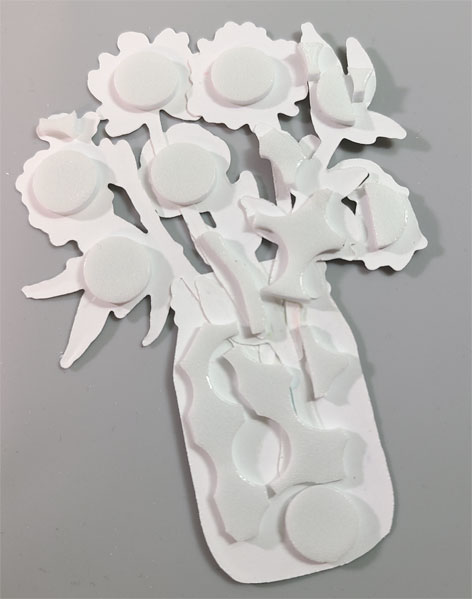
Adhere foam dots or foam tape to the back of the mason jar and flowers.
Step 11:
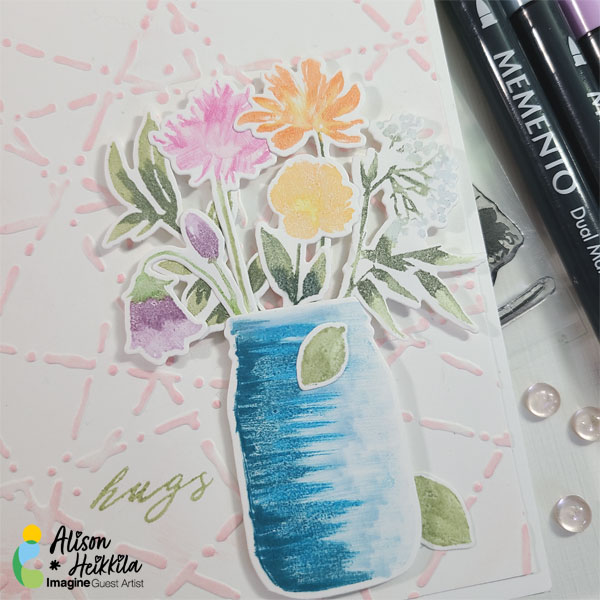
Stamp the sentiment near the mason jar.
Step 12:
Adhere the panel to a white card base.
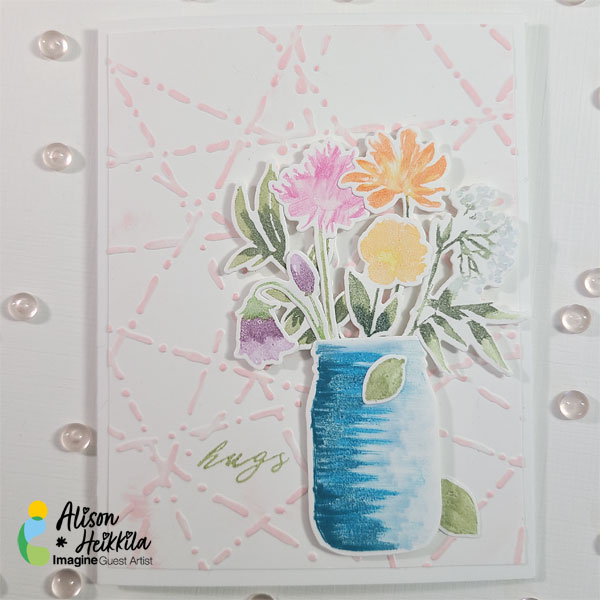
I love the completed card. Using Memento Markers directly on stamps gives a very different look than when using ink pads. What kind of silhouette stamps do you have in your stash? Flowers like these? Animals? Geometric shapes? You can use any of them with this technique! Thanks so much for stopping by. Have an inspiring day!
Supplies:
Imagine:
Memento Markers: Angel Pink, Tangelo, Sweet Plum, Summer Sky, Pistachio, Bamboo Leaves, Danube Blue, New Sprout, Teal Zeal, Cantaloupe, Olive Grove, Northern Pine.
VersaMagic: Pixie Dust
On Point Glue
Other:
Altenew: Garden Silhouette Stamps and Dies
Spellbinders: Set Apter Texture Plate- Laser Beams
Foam Dots
White Cardstock
Adhesive

So very beautiful love learning new techniques