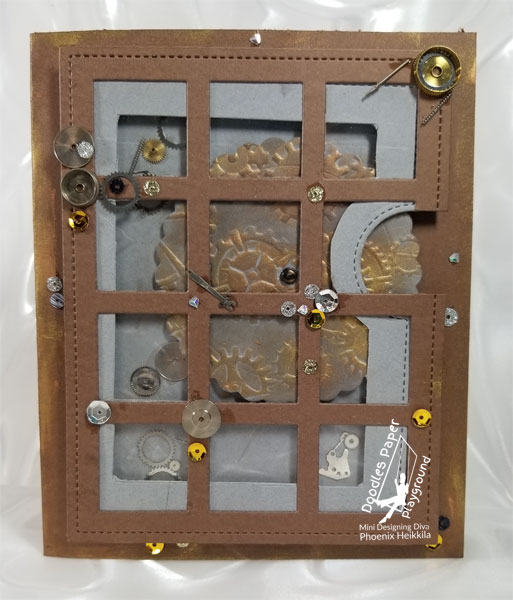
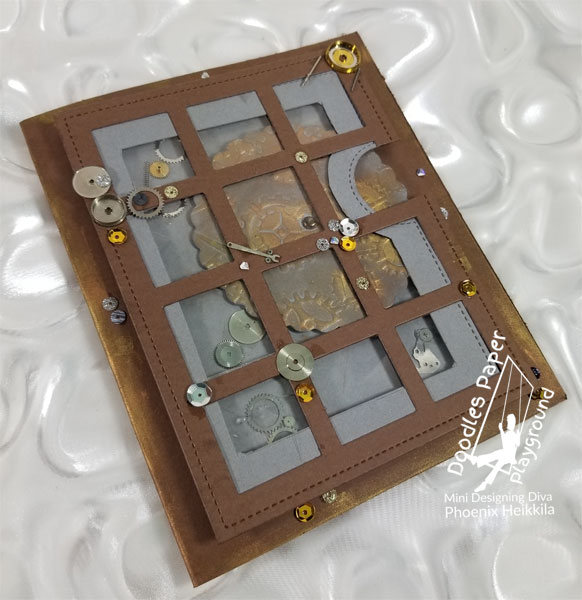
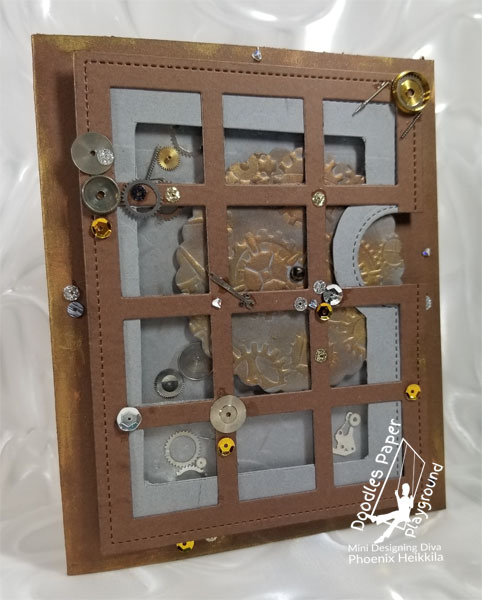
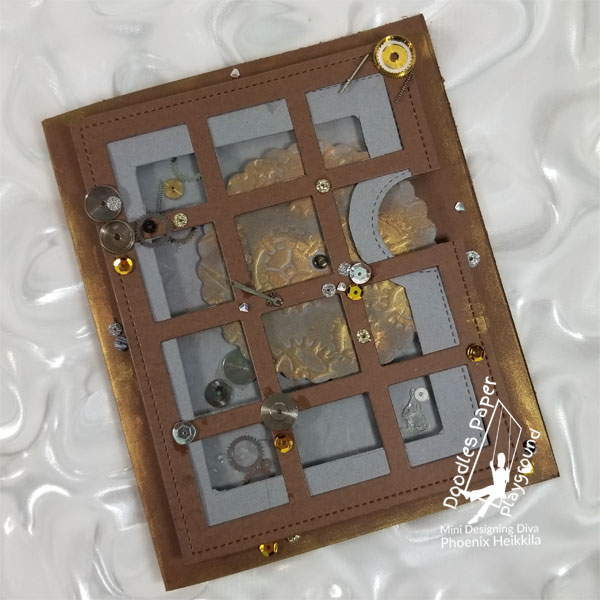
Hi, it’s Phoenix. Today I am here with my Steampunk Window card. I am really excited about this card that I thought up myself. I knew that I wanted to make something with the Grid Window cover die from Mama Elephant, so I decided to make a steampunk window. I really like gears and I thought it would look really good with a Sparkle Blend from Doodles Paper Playground.

I started off by die cutting a Reveal Wheel front (from Lawn Fawn) for under the Grid Window with gray cardstock. After that, I used a paper cutter to trim a hole in the front for the acetate that would expose the actual wheel that I was going to add underneath. Then I die cut the Reveal Wheel itself, and I embossed a Gears stencil from Dreamweaver (Stampendous) on it with a die cutting machine. I wanted to make the gears stand out so I applied some metallic rub on pigment.

Next I glued on some watch parts that my mom had gotten from her dad a long time ago. I glued them on with On Point Glue. I then die cut the Grid Window and glued more watch parts on to it. Then I looked through all of our Sparkle Blends to see which one i wanted to use. There were a lot of good options like All That Glitters, Gingerbread Man, and Bells are Ringing, but I thought that Celebrate would look best with the steampunk theme.

The Celebrate Sparkle Blend is full of metallic colors so I thought that it would work out really well. I really like the coppery sequins in it. Once I had added the sequins, I decided to put it on to the Reveal Wheel window. I glued the window on to the card base, but I thought that it needed a little bit more, so I put more of the metallic rub-on pigment on the edge and glued on a few more sequins.

I am extremely satisfied with how it came out because I really like steampunk things and I think it’s a cool way to use the Reveal Wheel. I think it’s a lot of fun to come up with new ways to use paper crafting supplies. Thanks for visiting. Have a good day!

Great job Phoenix!
This is an AWESOME card and so clever!!!