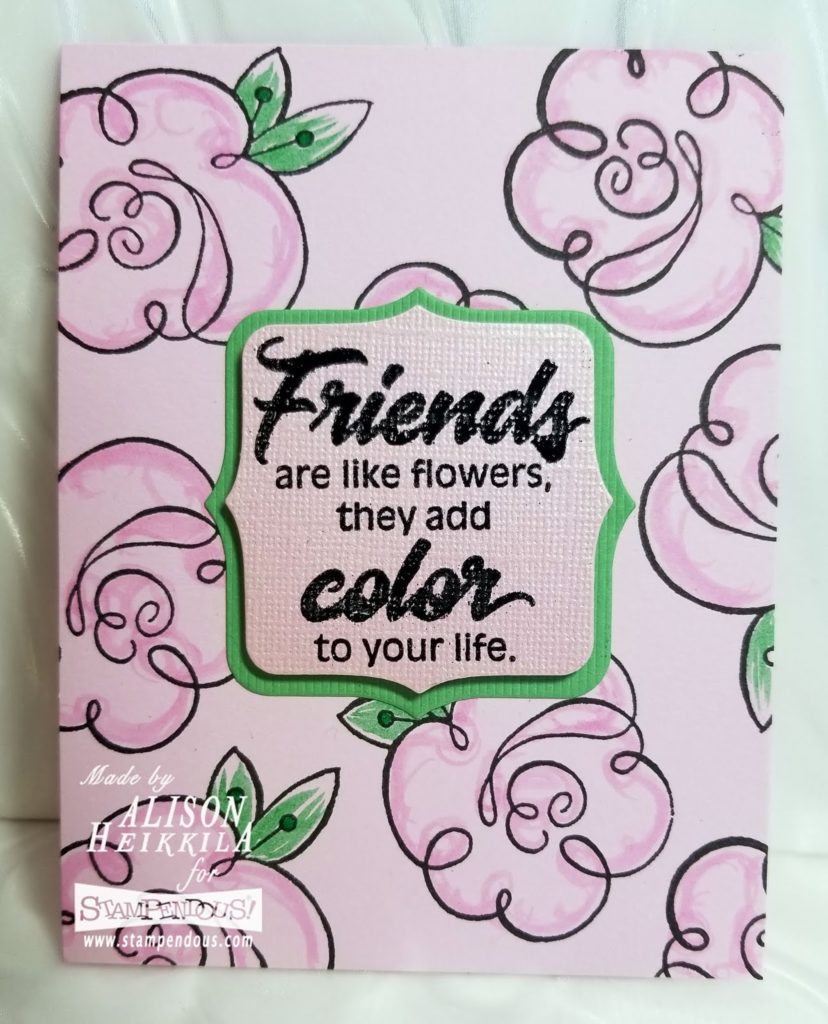
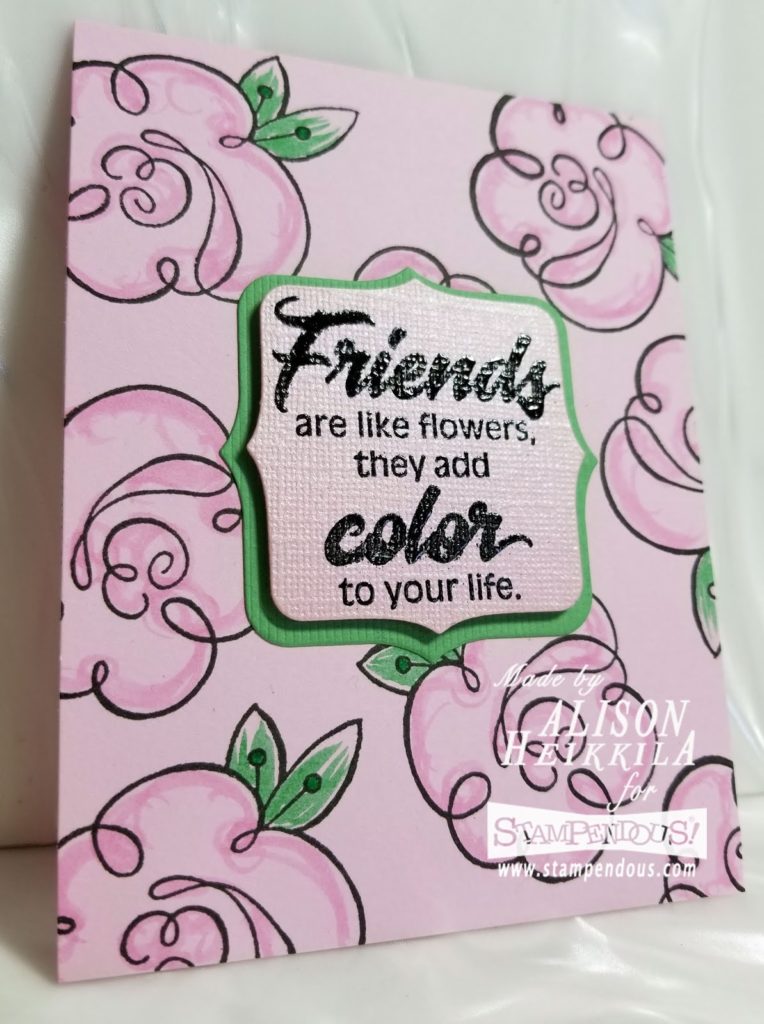
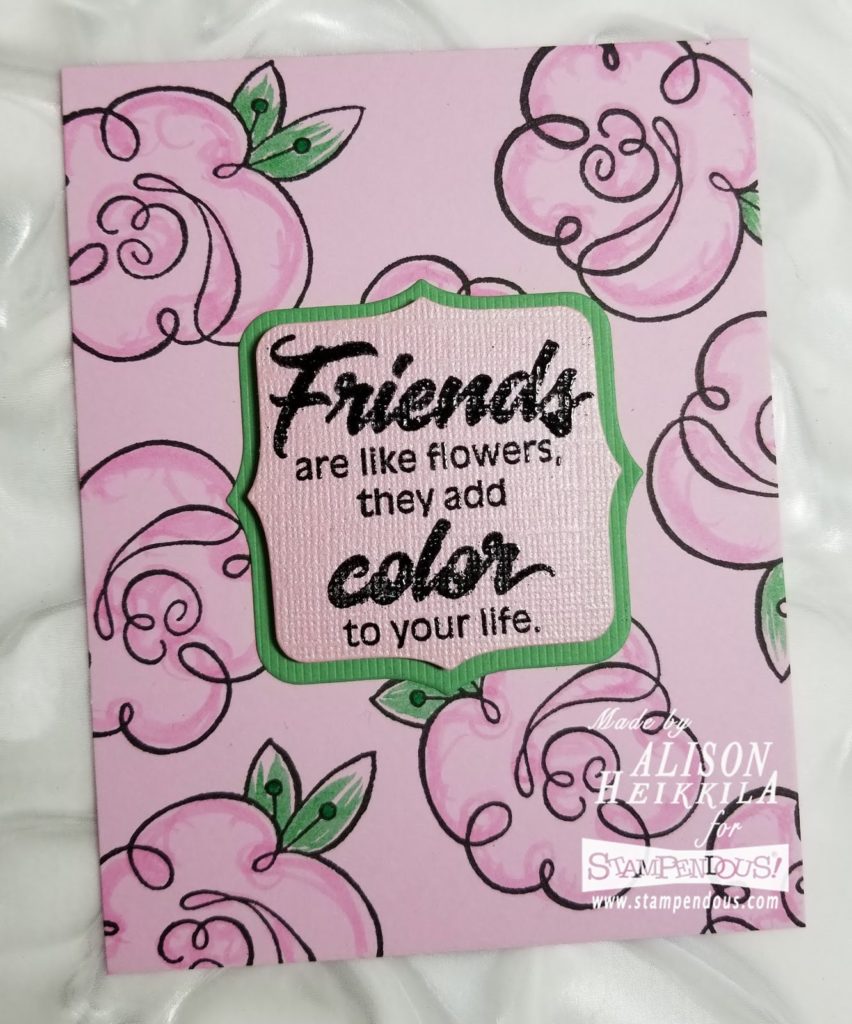
Hello! This week, the Stampendous team is sharing, “Flowers for Spring” projects. We stampers all have plenty of smaller images in our stash that can be used repetitively to create a custom background. That’s just what I did on this card. Stamping only took a couple of minutes with an acrylic block, and then I kept my coloring simple too. My instructions are below.
Supplies:
Stampendous:
POPST03AFR: Flower Stamp Set
RS-F245: Friends add Color
DP111: Detail Black Embossing Powder
DCP1005: Fitted Frames Set A
Other:
My Colors Cardstock: Pink Delight
Imagine: VersaMark Ink, VersaFine Ink in Onyx Black
Zig Clean Color Markers: Sweet Almond Pink (200), Emerald Green (048), Green (040)
Scrapbook Adhesives: EZ Runner, Foam Squares
Smooth pink cardstock, green cardstock
Directions:
1. Create the card base with smooth pink cardstock, cut to 4 1/4″ x 11.”
2. Stamp the whimsical flower all over the front of the base with VersaFine Ink.
3. Loosely color the flowers with the Zig markers listed.
4. Die cut the Large “D” Fitted Frame out of green cardstock.
5. Stamp the sentiment with VersaMark Ink on to Pink Delight cardstock. You may want to stamp it twice because the cardstock is textured.
6. Sprinkle Detail Black Embossing Powder on to the stamped sentiment and heat set.
7. Die cut the sentiment with the Small “D” Fitted Frame.
8. Adhere the green fitted frame with the EZ Runner.
9. Adhere the sentiment layer with foam squares.
I’d love to make a set of this card in several colors to give as a gift to a teacher. Imagine getting a rainbow set of this cheerful card! It wouldn’t take very long to make either. If you’d like to see more “Flowers for Spring,” head on over to the Stampendous Blog. Thanks so much for stopping by. Have an inspiring day!


Leave a Reply