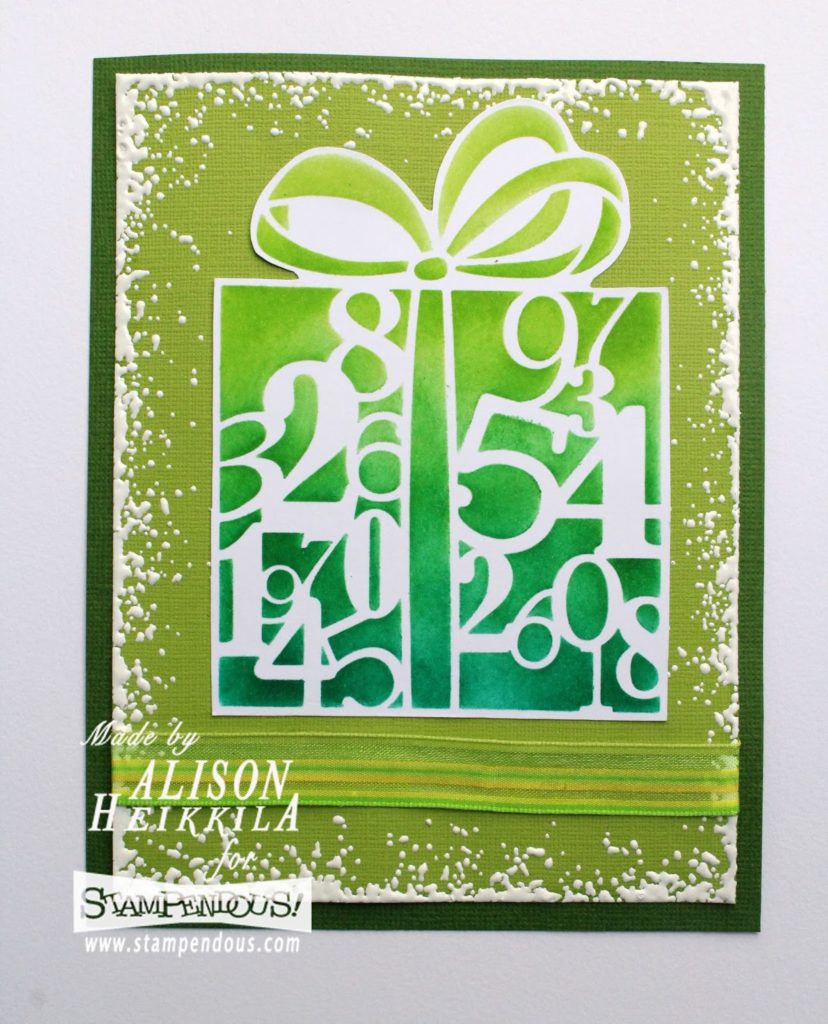
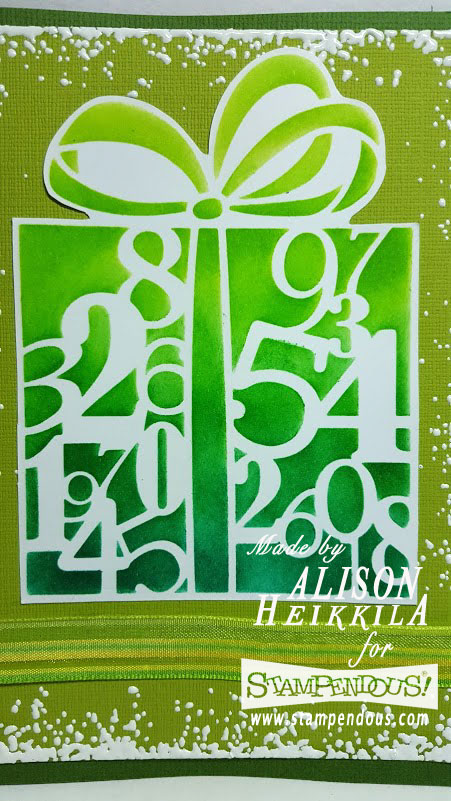
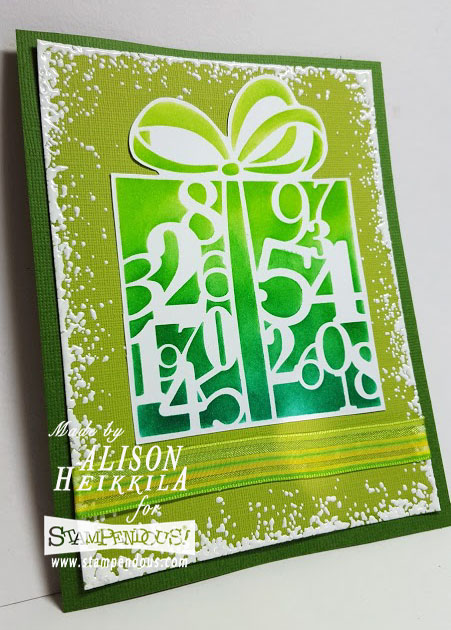
Greetings! As I mentioned on Monday, the Stampendous team is highlighting stencils all week, which makes me very happy. I adore using stencils because they are so versatile. Here’s a fun and simple birthday card. It would be really easy to change the colors around to fit the person you’d be giving this to. Check out my tutorial below.
Supplies:
Stampendous:
FMS4068: Numerical Gift Stencil
MPW811: Mixed Media Paper
FREG021: Chunky White Embossing Enamel
DWNHB-12: 1/2″ Stencil Brush
Other:
Imagine: Kalediacolor Ink Pad in Fresh Greens, VersaMark Ink Pad
My Colors Cardstock: Parrot, Mint Julep
May Arts: Ribbon
Beacon Adhesives: Zip Dry Glue
Directions:
1. Tape the stencil on to Mixed Media Paper.
2. Using the lightest shade in the Fresh Greens palette, apply ink in a circular motion on to the stencil brush, and then to the top of the mounted stencil.
3. Continue this with each color, working from lightest to darkest, and working your way down the stencil to the bottom.
4. Cut out the image.
5. To make the card base, cut a piece of Parrot cardstock to the size of 6 1/2″ x 10.”
6. Create a mat for the card base out of Mint Julep cardstock.
7. Ink the edges of the mat (2 at a time) with VersaMark ink and sprinkle Chunky White Embossing Powder to make a border.
8. Heat the powder from underneath until it melts and repeat on the 2 other sides.
9. Glue ribbon about a 1/2″ away from the bottom of the mat.
10. Glue all layers.
I hope you’ve enjoyed my tutorial. Thanks for stopping by. Have an inspiring day!


I love your background on this card! I am so into this stencil.