Hello! It’s story time! When I was a little girl, my grandfather worked in NYC as a security guard for a large corporate building. For one or 2 years, he invited my mom, dad, and I to the building on Thanksgiving. We went up to one of the highest floors, into an empty office space that had huge windows that overlooked one of the streets that the Macy’s Thanksgiving Day Parade goes down. We got to watch the parade from waaaay up high, so high that the balloons were at eyelevel with me! It was the coolest thing! We couldn’t hear the bands unless we pressed our ears to the glass, but seeing those amazingly huge balloons go by from that vantage point was something I’ll never forget. Plus, we were warm, there was no crowd, and we had a bathroom. So as soon as I saw the Parade Day Collection from Hero Arts, it quickly brought back all of those memories of watching the parade from a tall building. And I have to say, it is so much fun to work with.
*Some affiliate links are used in this post. That means that if you shop through these links, I may receive a small compensation, at no cost to you. For more information, please see my Affiliates page, where I also have some coupon codes.
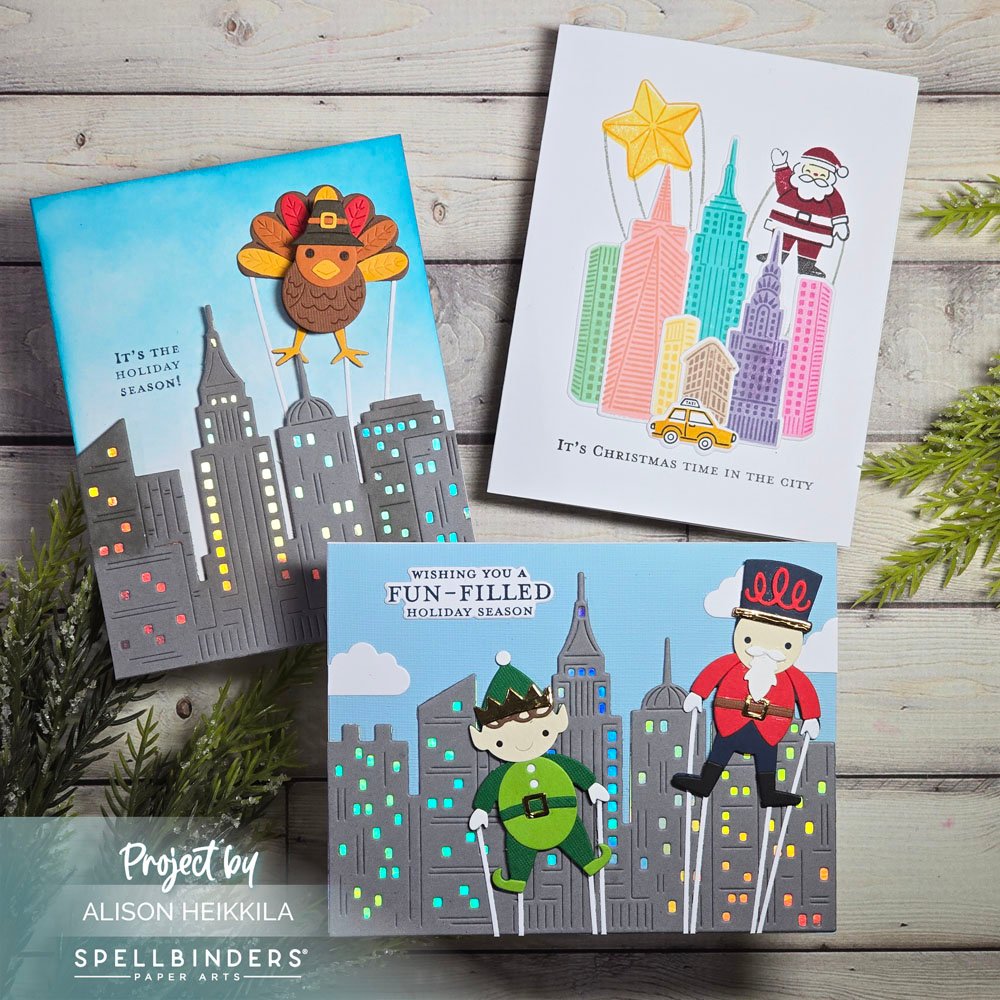
I started by die cutting and putting together the balloons from the Big Fun Add On Die Set. I wasn’t sure how I was going to use them, but I knew I’d get ideas once I put them together.
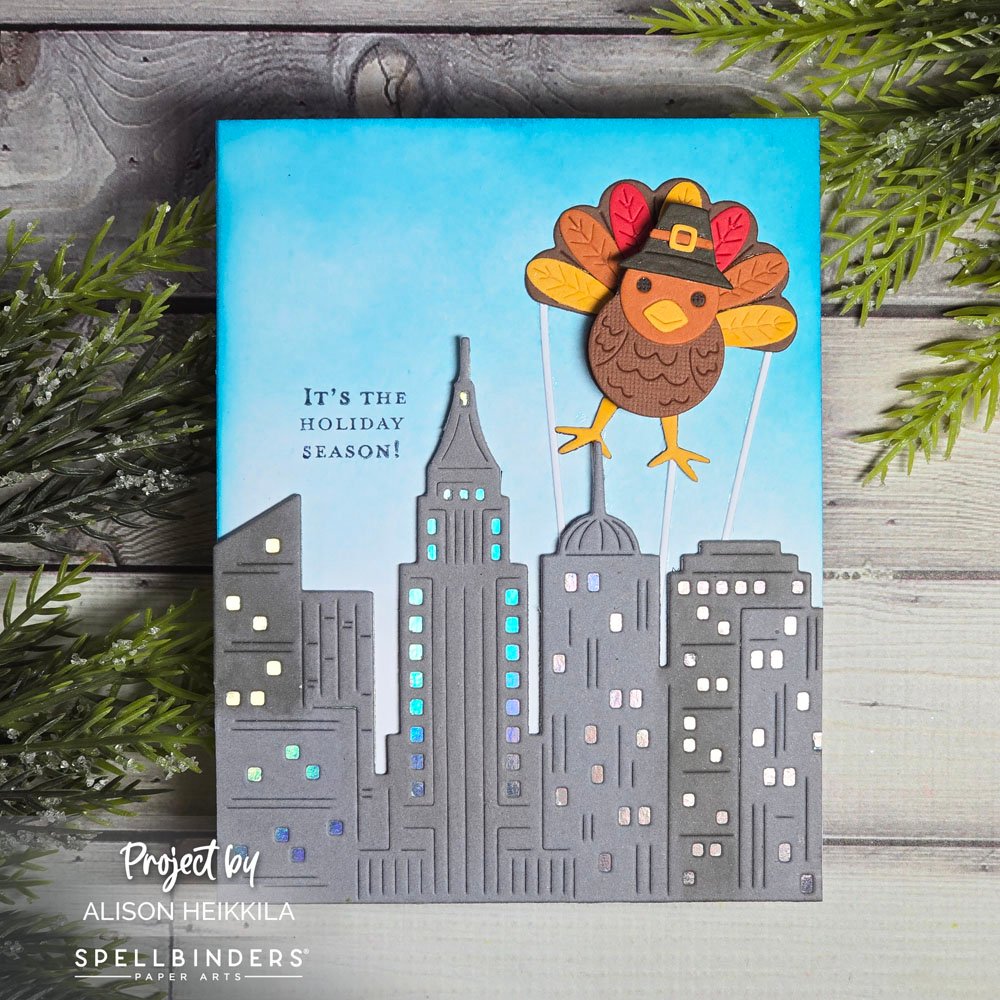
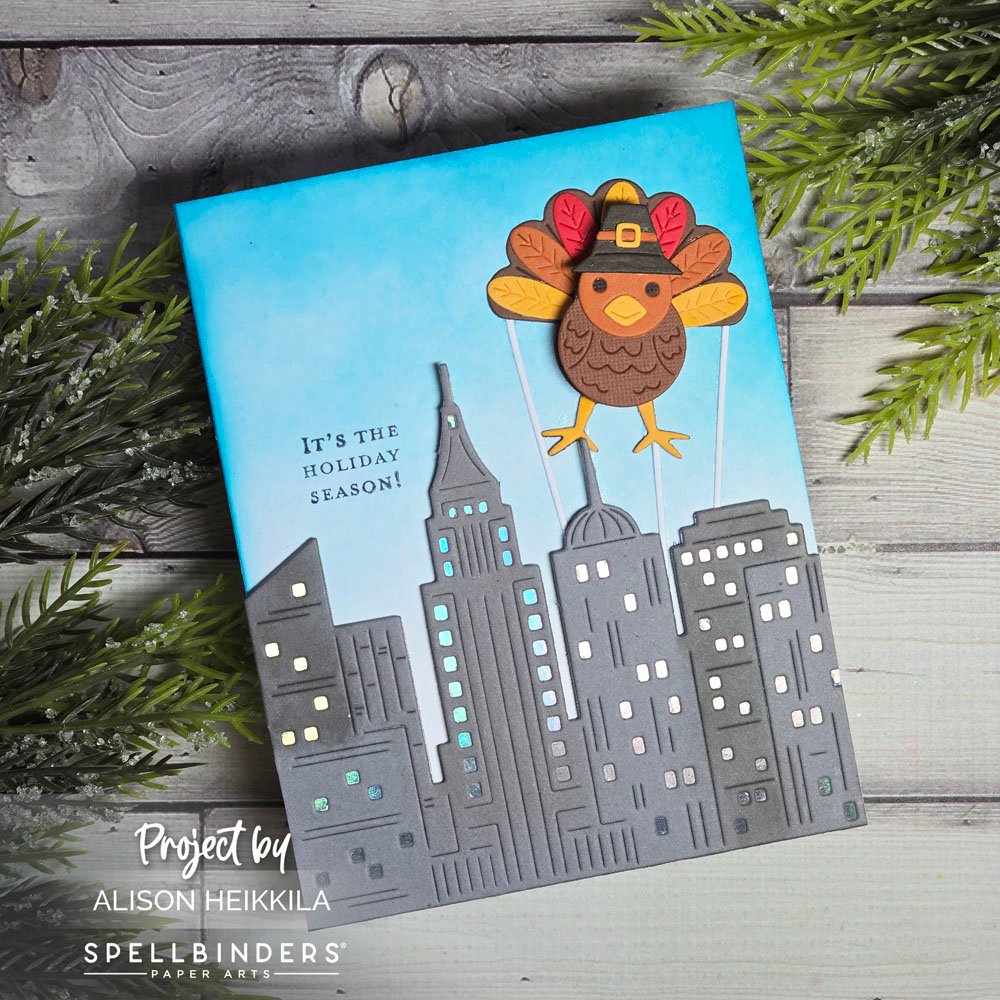
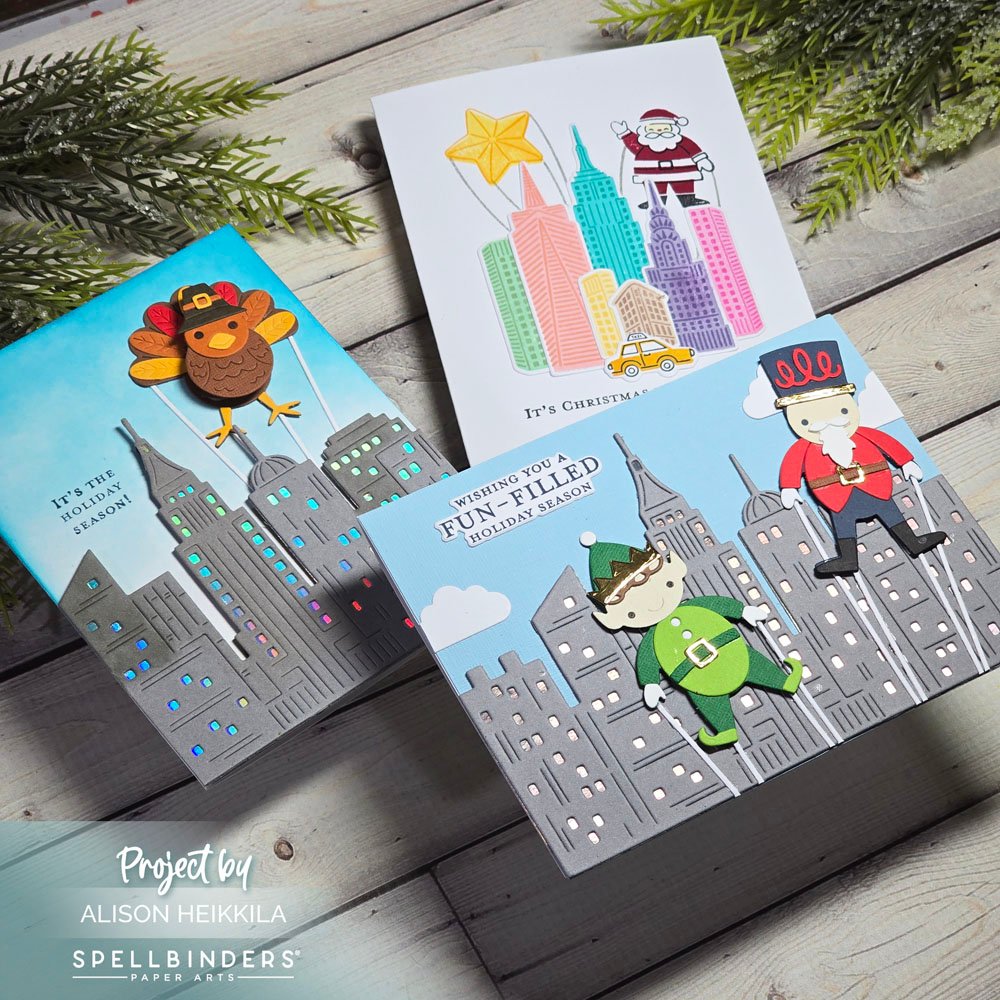
I went with the turkey first. And I should mention, that I used a small Giggle Spring from Spellbinders behind the head of the turkey, so it wobbles! I inked blended the top of an A2 card base with Fiesta Ink from Catherine Pooler.
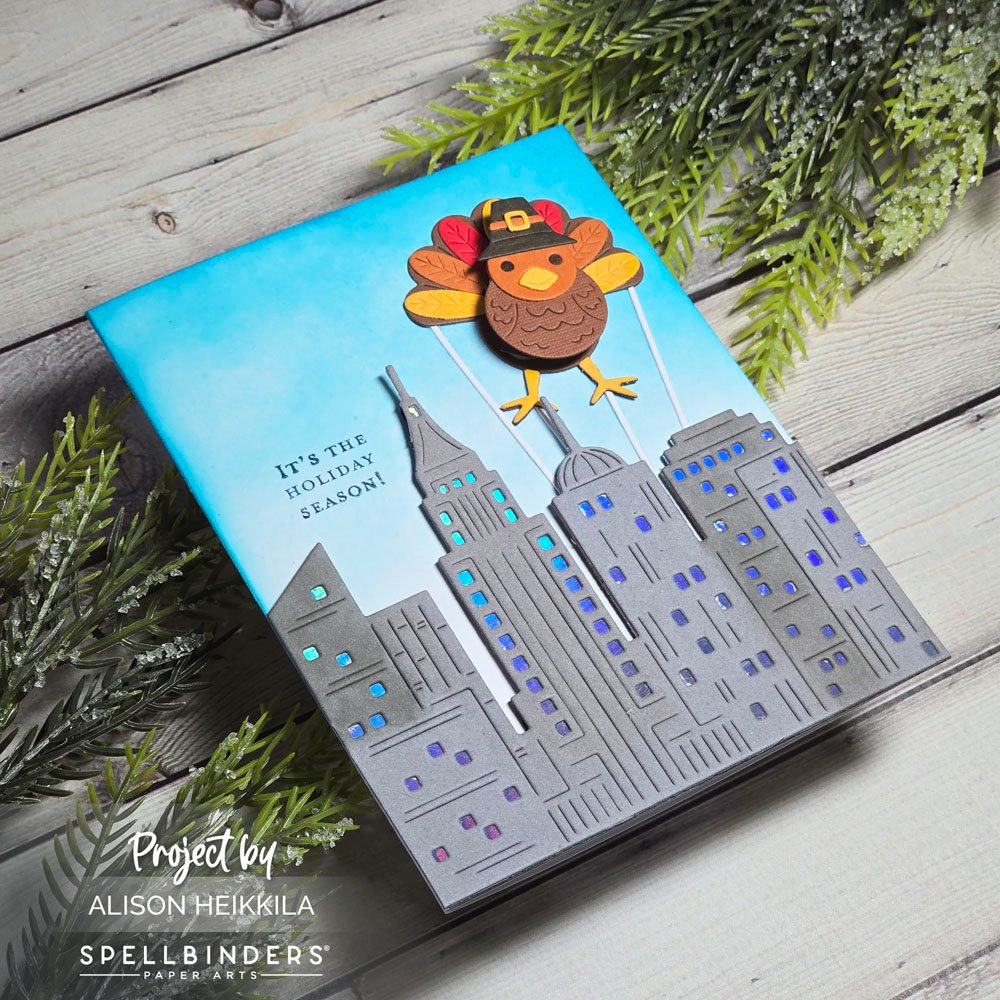
Then I die cut the City Skyline out of gray and holographic cardstock. The holographic cardstock for the windows looks so fantastic, especially as you shift it in the light. I did a bit of ink blending on some of the buildings, but it’s subtle. I popped up the skyline with foam tape after I stuck my turkey down. I made sure to die cut the strings from the Big Fun Die Set. I stamped my sentiment, from The Holiday Season Stamp & Cut, with Twilight VersaFine Clair Ink.
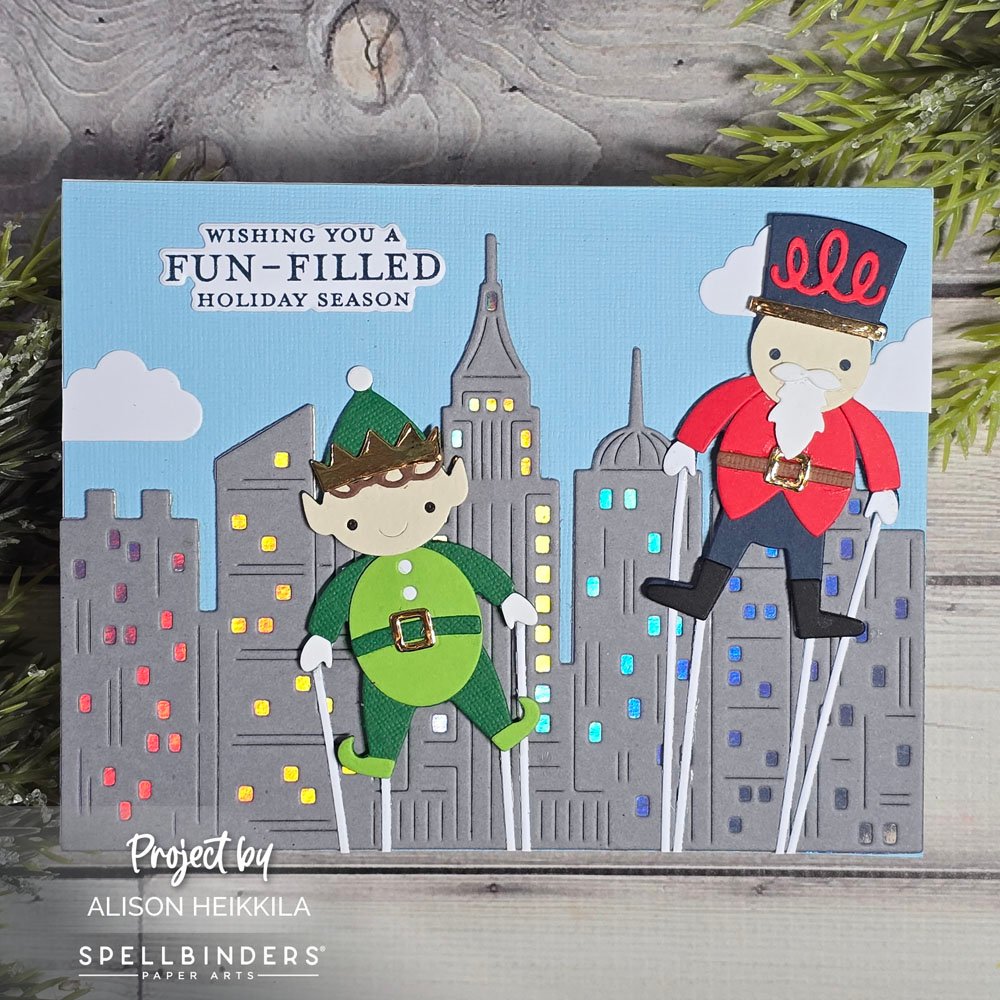
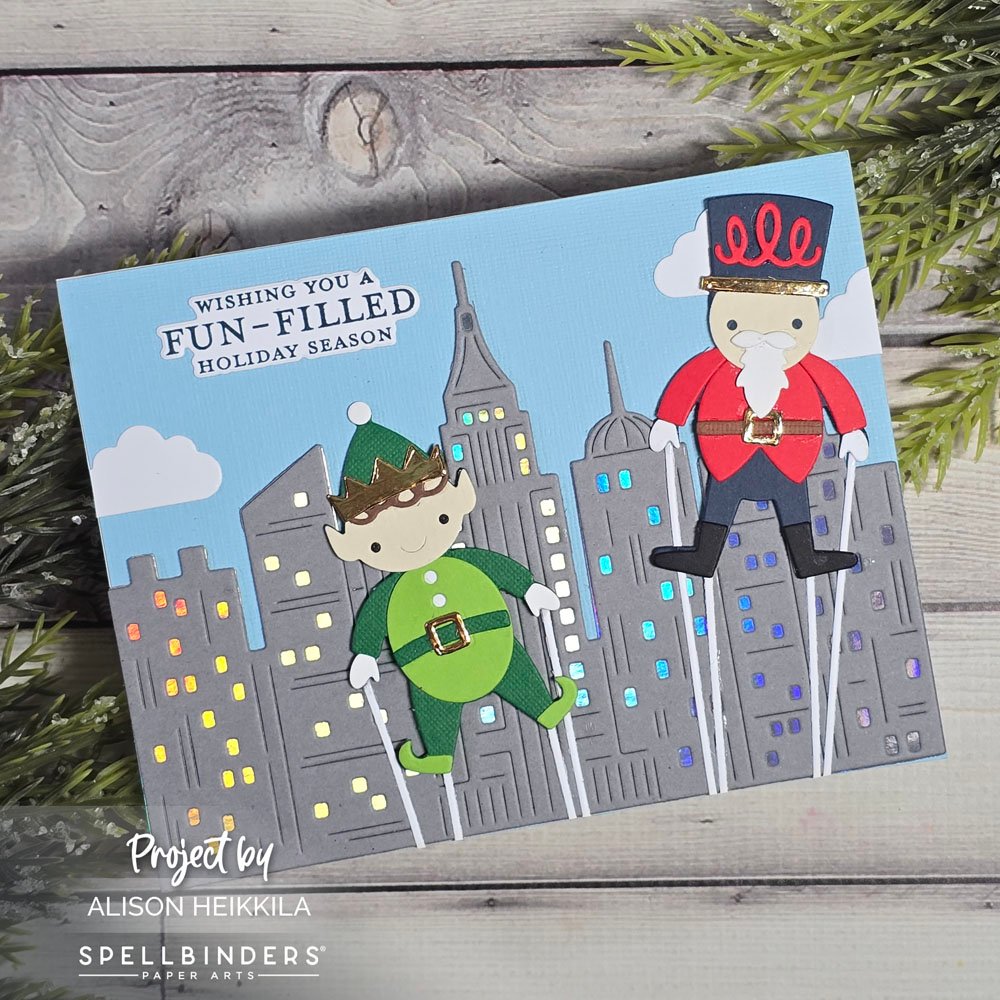
For my next card, I knew I wanted to use the elf and soldier. I die cut the City Skyline again, the same way I did before, but I didn’t do any ink blending on it this time. I also made the sky with blue cardstock this time.
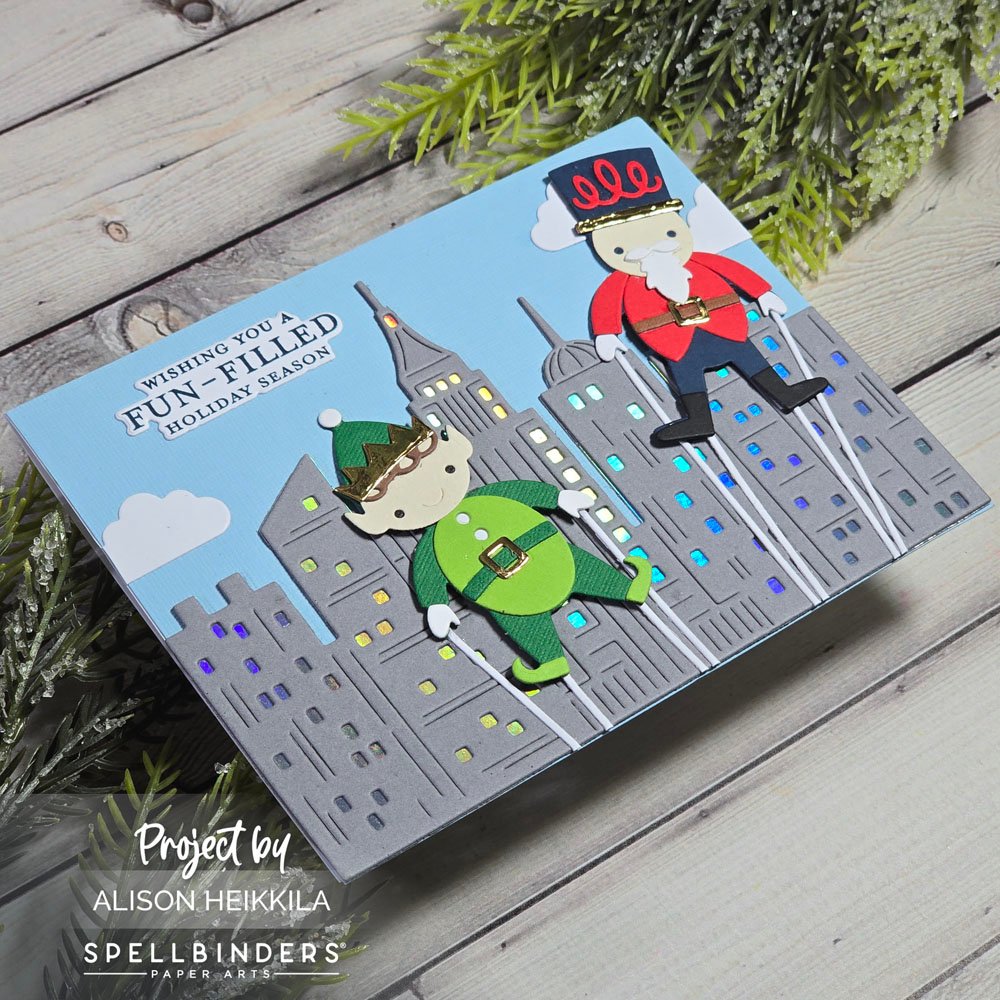
I adhered my balloons to the card, adding the strings too. Then I die cut some clouds from the City Skyline Die Set and added my sentiment, once again using Twilight Ink.
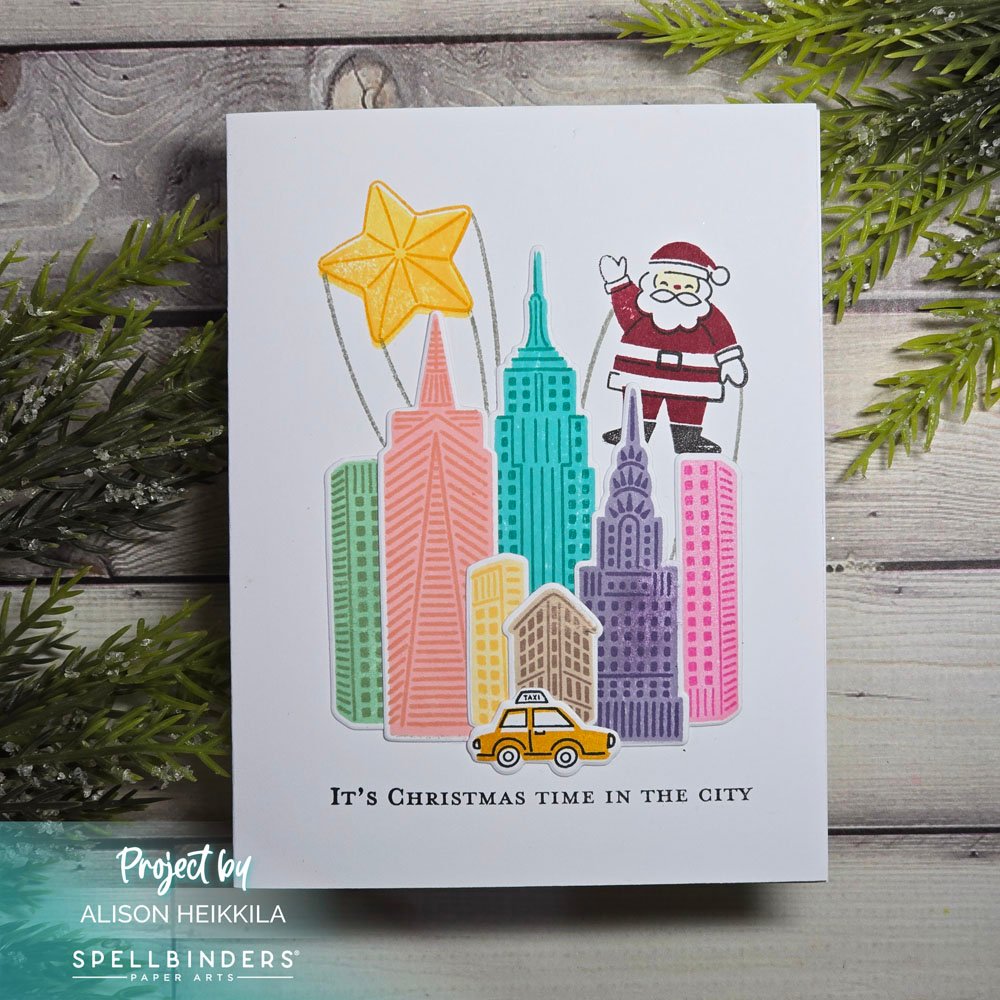
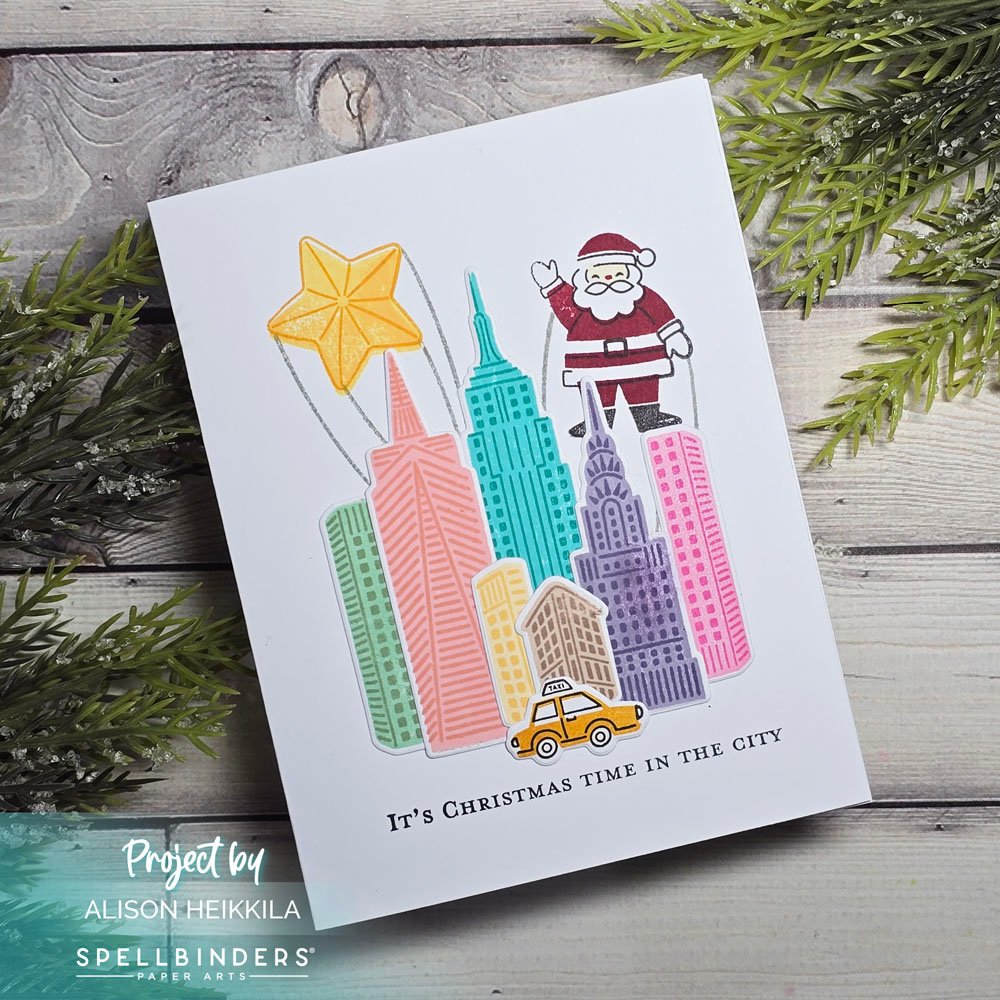
My third card features the In the City Stamp & Cut and the On Parade Stamp & Cut. I stamped out all of the buildings, repeating only one of them using Catherine Pooler Inks. I would stamp the base in a light color, then the top layer in a darker version of that base color. It makes them look playful and gives off a 50’s cartoon vibe. I die cut all of them and arranged them on the card, and held them in place with Press ‘N Seal.
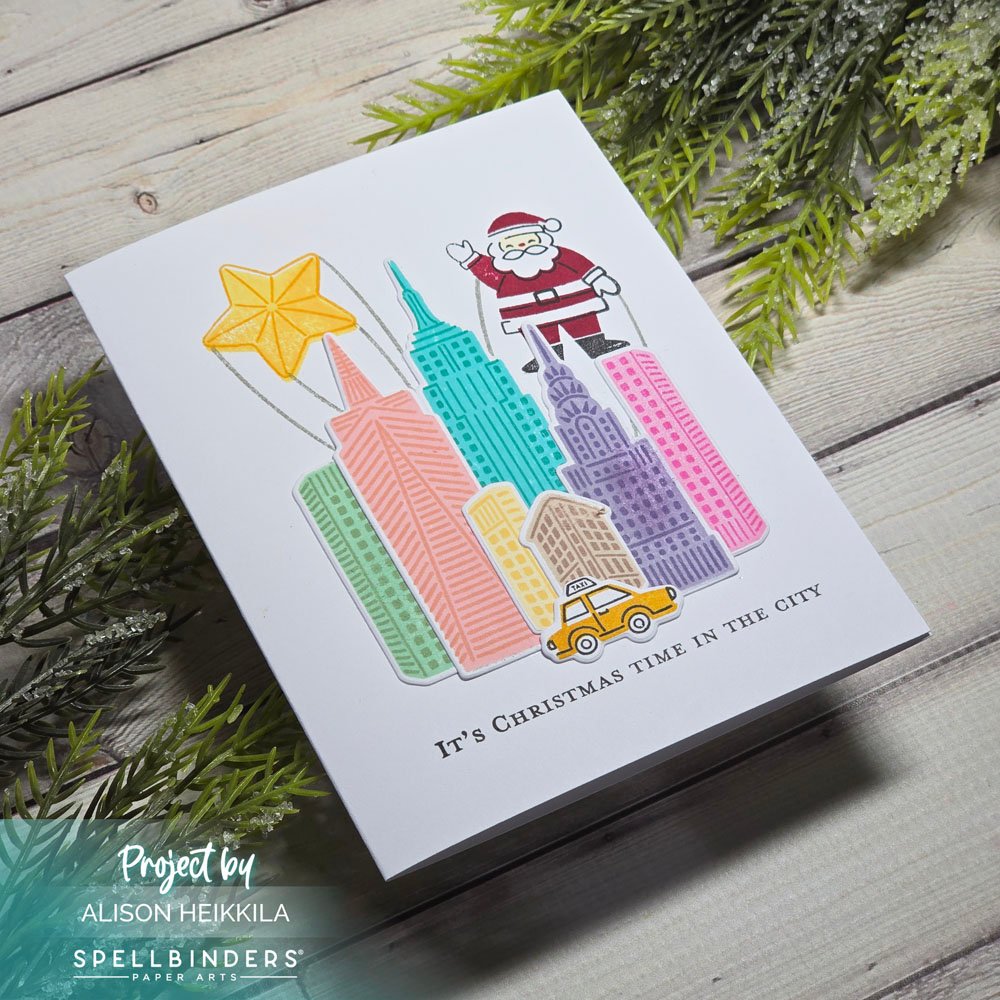
I pulled the Press ‘N Seal back, so that I could stamp my balloons. I had to check the placement a couple of times, so keeping the Press ‘N Seal partially attached to the card base was helpful. Then I adhered the buildings one layer at a time, from back to front, finishing with my little taxi cab. Then I stamped my sentiment with Nocturne VersaFine Clair Ink.
I really want to use these stamps and dies with other products in my stash….like maybe making a Halloween parade! Or turning other critters into balloons. I can really see so many possibilities with this collection, and I bet you’ll come up with some great ideas too. Please visit Hero Arts to see all of the latest releases and this month’s new releases. Thanks so much for stopping by. Have an inspiring day!

Thank you so much for your kind words!