Greetings! One of the things that’s really special about crafters is how we share our ideas to inspire others. I often visit the Therm O Web Blog to see what my fellow DT members are up to, and I haven’t been able to get Lauren Lovato’s post out of my head since she first shared it. She showed different ways to use Deco Foil Liquid Adhesive to get amazing, distressed foiled looks. You can check out her post HERE. I used the Liquid Adhesive a little differently, and I got beautiful results. *Supplies are listed at the bottom of this post.
*Some affiliate links are used in this post. That means that if you shop through these links, I may receive a small compensation, at no cost to you. For more information, please see my Affiliates page, where I also have some coupon codes.
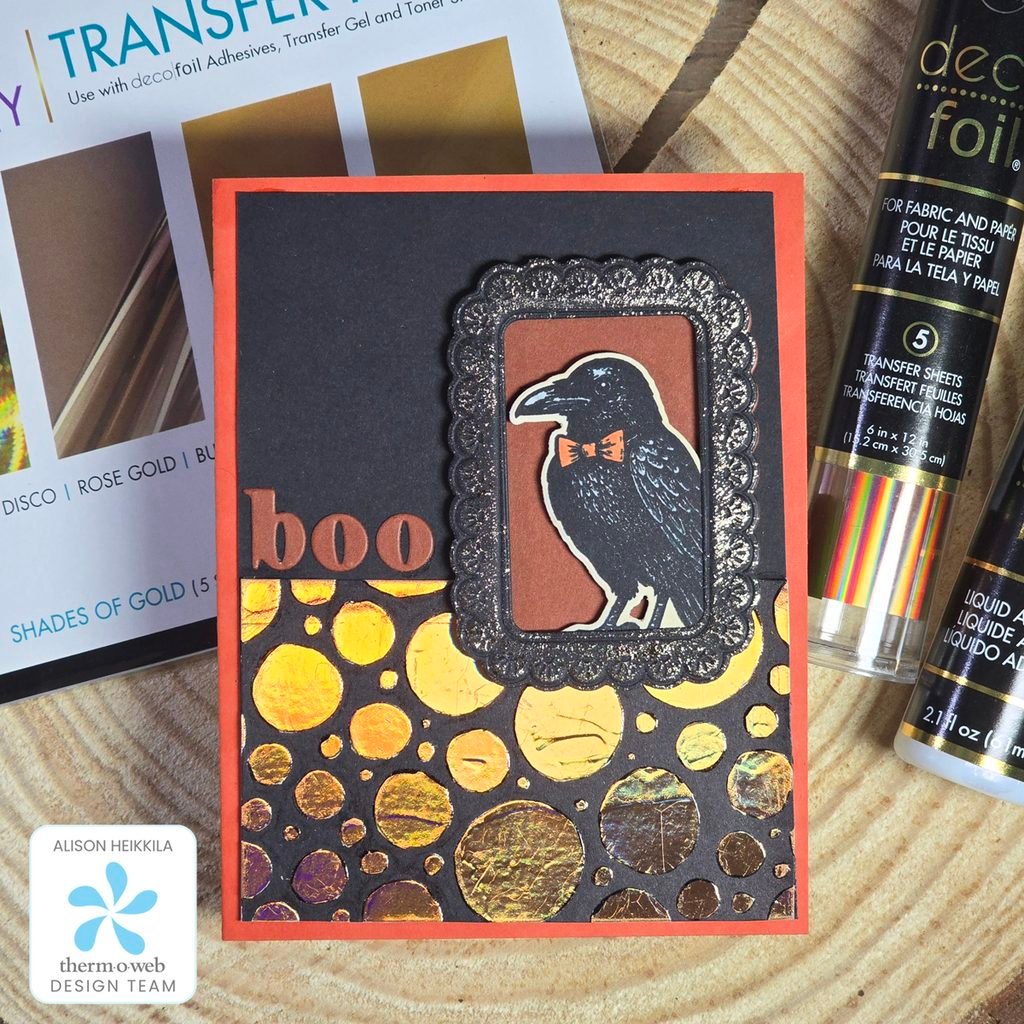
I also want to mention that it’s always a good idea to make more panels than you plan on using when you are foiling with your laminator. I don’t have space to keep mine out all the time, so I always make extra panels, either with Transfer Gel or with Toner Card Fronts to build up my stash to make crafting more time-efficient. You’ll see why I bring this up later.
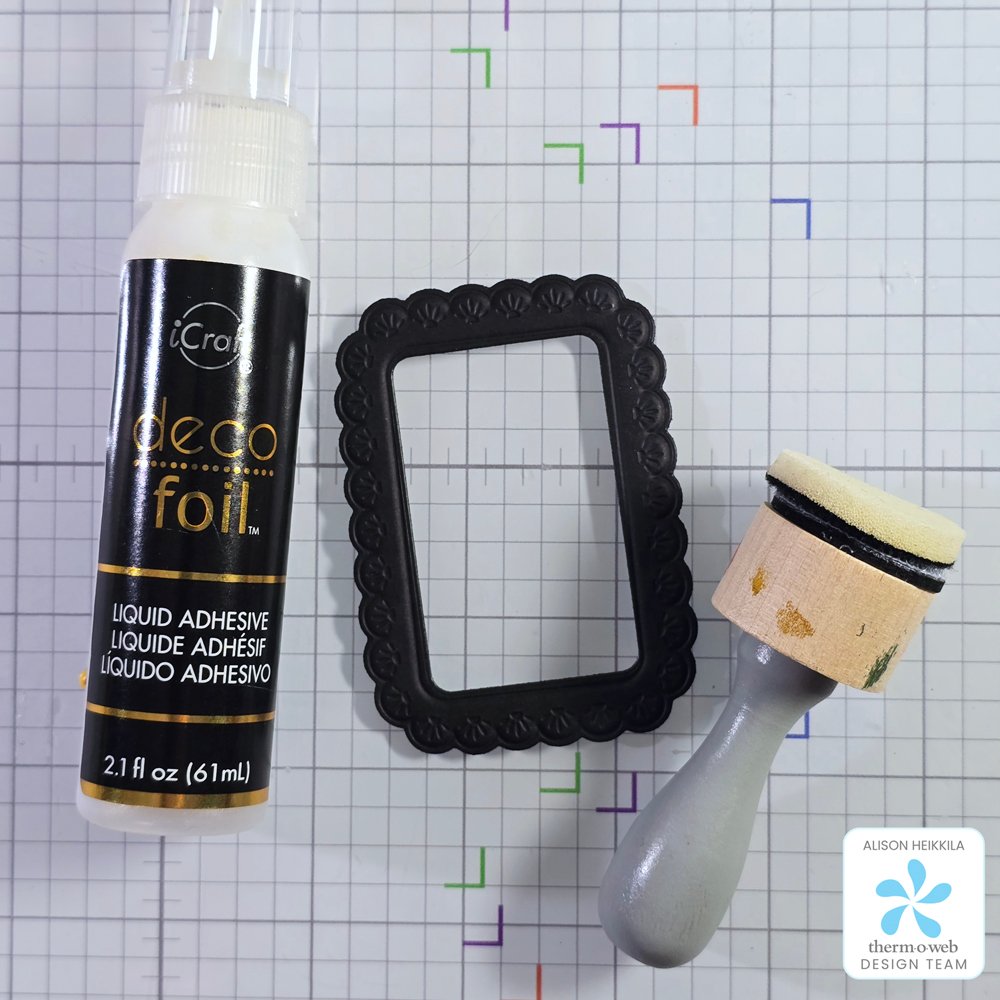
With a piece of black cardstock, I cut an embossed a frame using Spellbinders Scalloped Frames 3D Emboss & Cut Folder.
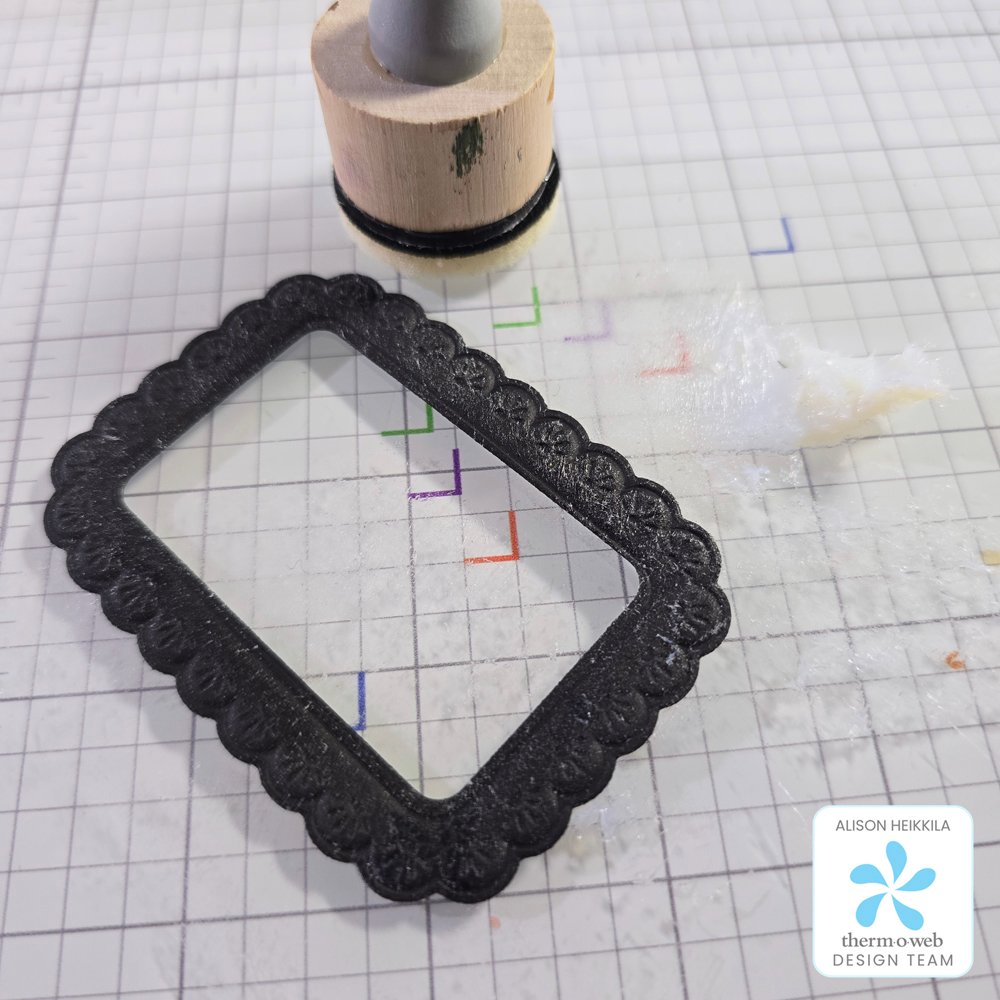
I added some Deco Foil Liquid Adhesive to my glass mat, and then I picked some of it up with a mini ink blending tool with a flat foam attached. I applied a very light coating of the adhesive all over the frame. This dries quickly because it’s a thin coat.
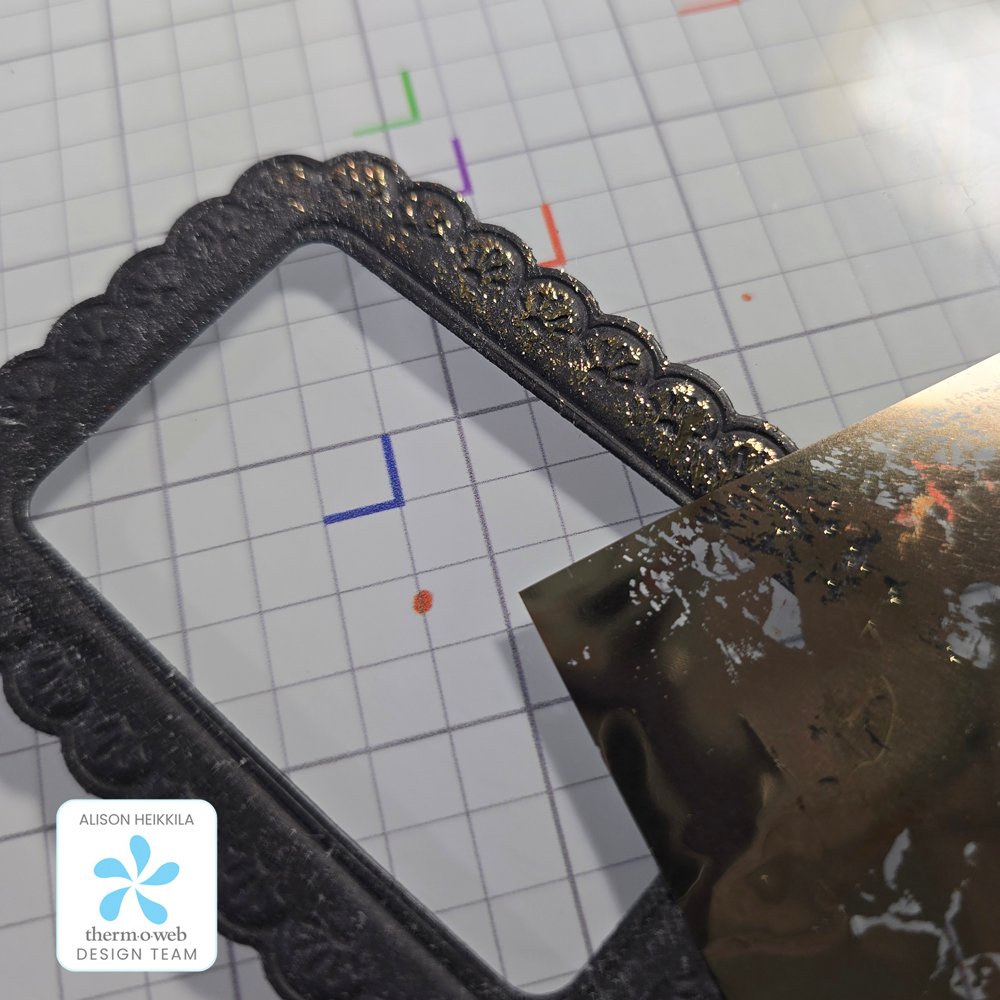
The adhesive is no longer milky when it’s dry, and it stays tacky so that you can add Deco Foil without heat. I took a piece of Rose Gold Deco Foil and burnished it onto the frame with my fingers. The result is a textural, distressed look that shines beautifully, yet still allows the debossed areas of the frame to show.
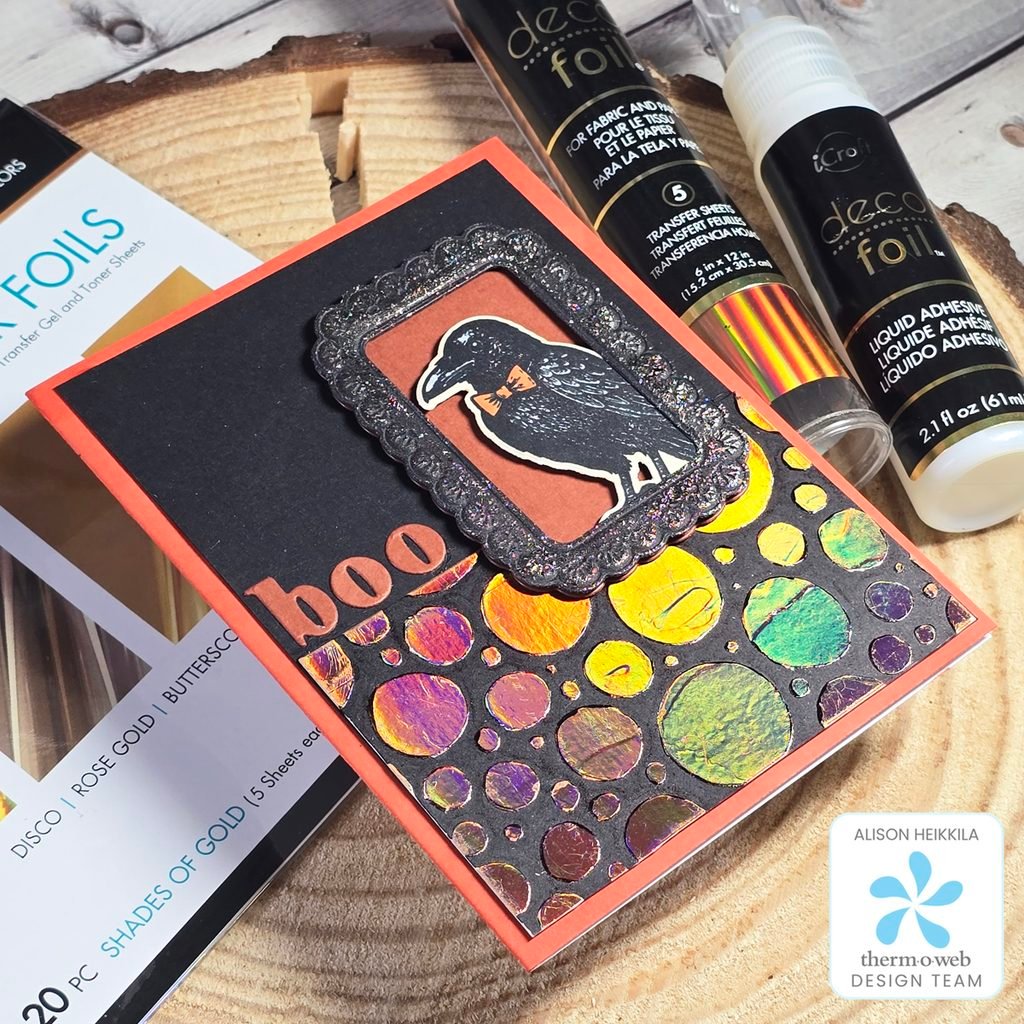
This was a great opportunity to use the Framed Fright Stamp & Die Set from Spellbinders & Simon Hurley. I stamped and added some color to the crow in that set after die cutting it, and I used some Black 3D Foam Squares from Therm O Web to pop it and the top layer of the frameup onto it’s back layer. I realized I wanted more shine, and this is where my stash came in. I found a gorgeous panel that was made with Peach Princess Deco Foil and a stencil with wonky circles. The problem was that I had foiled on white cardstock, and that just wasn’t going to work with the look I was going for.
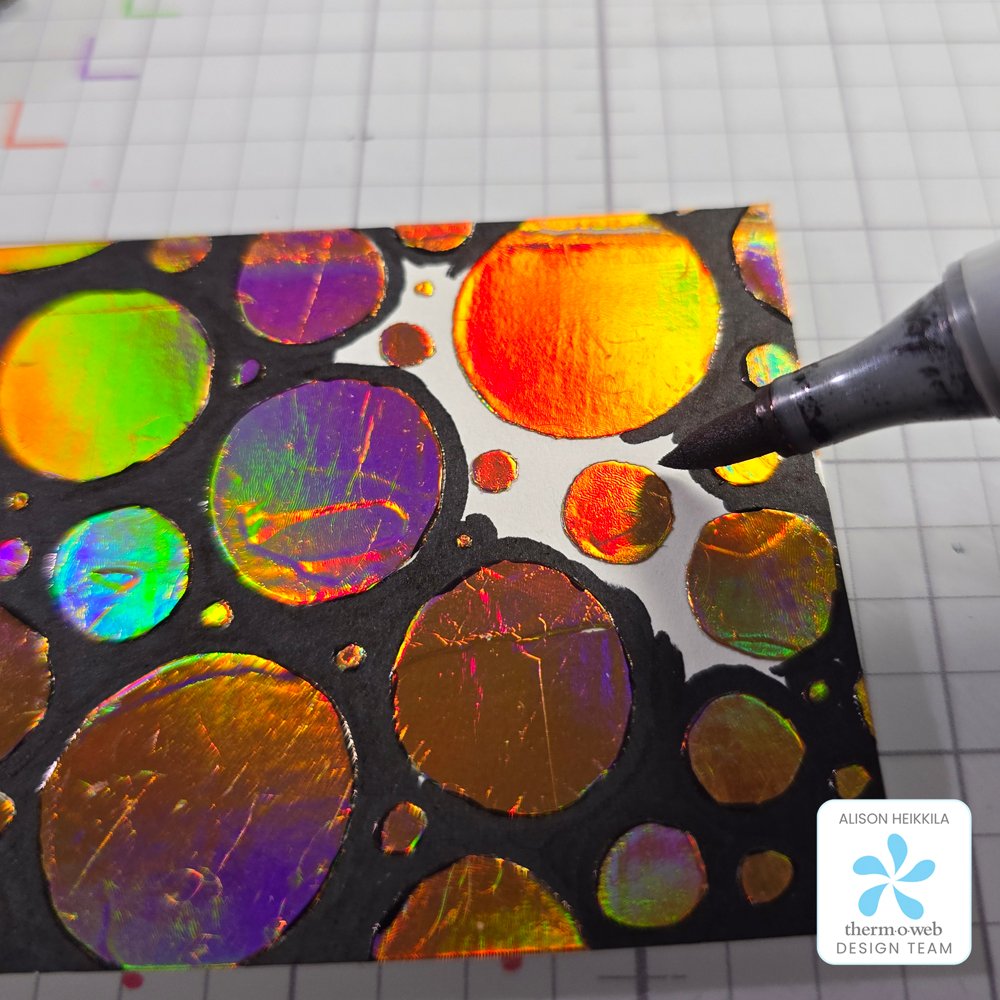
I took my Black Copic Marker and colored in all of that white space. It was actually pretty relaxing. And while that took a few minutes to do, it was much faster than looking for the right stencil, embossing it with Transfer Gel, waiting for it to dry, and then using my laminator to foil it. This is why having extra panels premade is always a good idea. And I must mention, isn’t that foil gorgeous?!?! It’s one of my favorites.
To finish off my card, I used the Be Bold Lower Alphabet and Numbers from Spellbinders to spell out my “boo” and inked my white card base with Mandarin Spice Ink from Catherine Pooler.
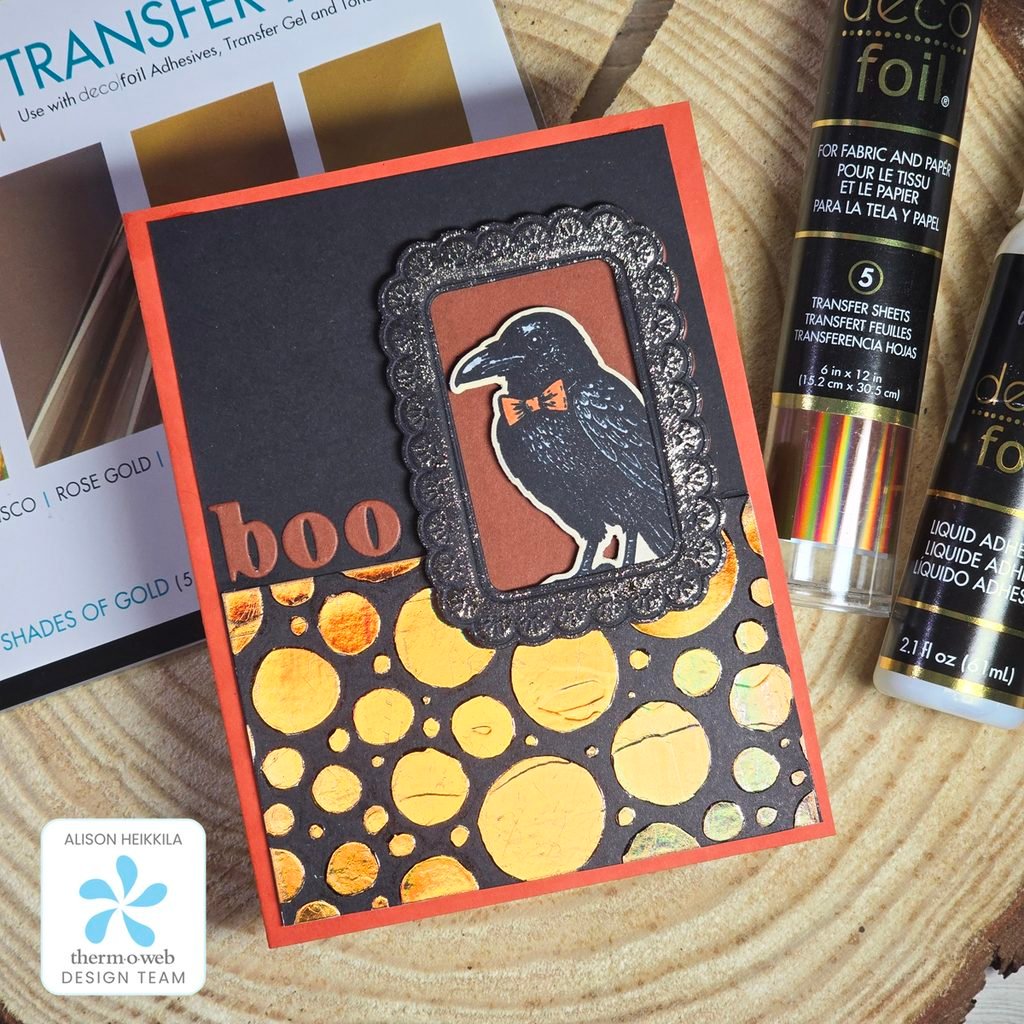
I think these styles of foiling go so well together, and they really made a fa-boo-lous Halloween card! Please visit Therm O Web to see their incredible products. Thanks so much for stopping by. Have an inspiring day!
Therm O Web Supplies:
Shades of Gold Deco Foil
Peach Princess Deco Foil
Deco Foil Liquid Adhesive
Ultra Bond Adhesive
Black 3D Foam Squares
Other Supplies:
Spellbinders: Scalloped Frames 3D Emboss & Cut
Spellbinders: Framed Fright Night Stamp & Die Set
Spellbinders: Be Bold Lower Alphabet and Numbers Die Set
Catherine Pooler: Mandarin Spice Ink
Copic Markers
Ranger: Mini Ink Blending Tool
Black and Rust Colored Cardstock

[…] You may have seen THIS post I made earlier this month using some of Therm O Web’s wonderful products, including a […]