Greetings! You may have seen my Big Mouth Vampire video that shows how to make a fun interactive Halloween card . If you didn’t catch it, you can watch it HERE. In that video, I gave a sneak peek at two other card I made using the Spooky Smiles Collection from Hero Arts. I’m sharing photos and info on them here today.
*Some affiliate links are used in this post. That means that if you shop through these links, I may receive a small compensation, at no cost to you. For more information, please see my Affiliates page, where I also have some coupon codes.
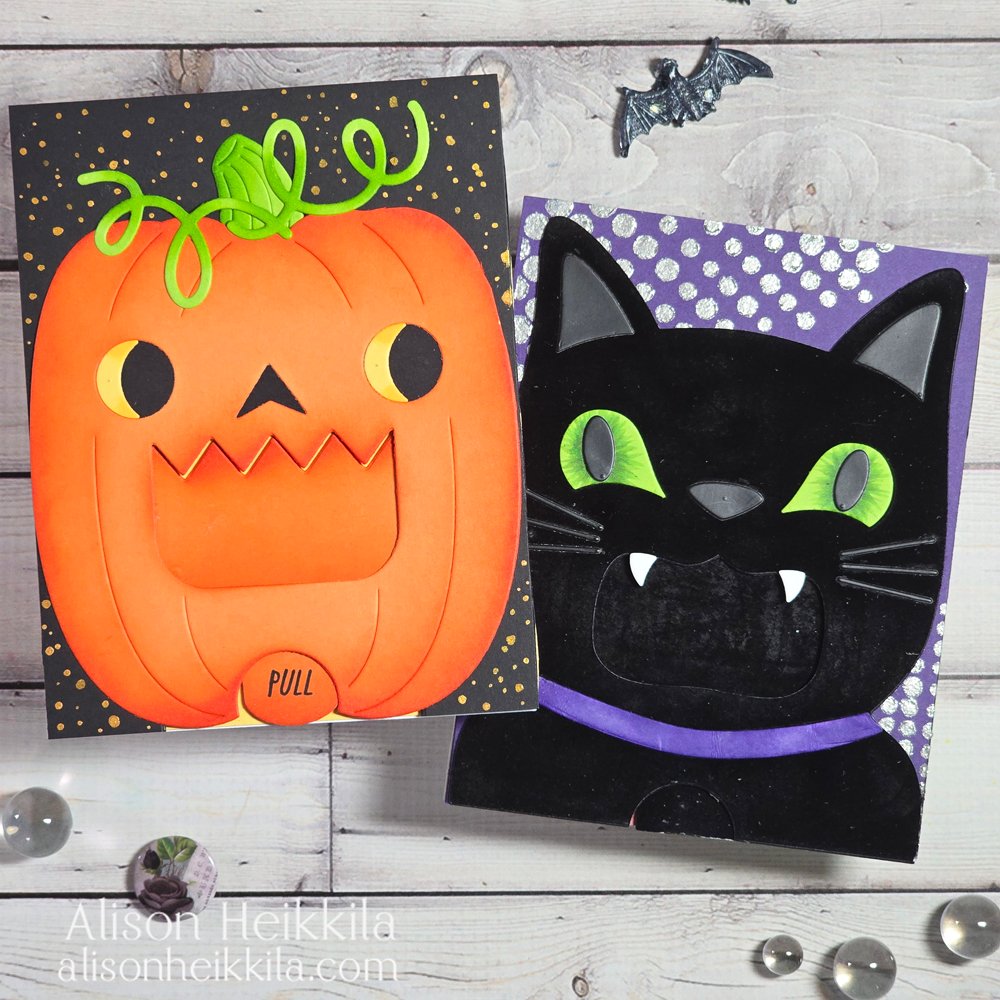
I made the Big Mouth Pumpkin First.
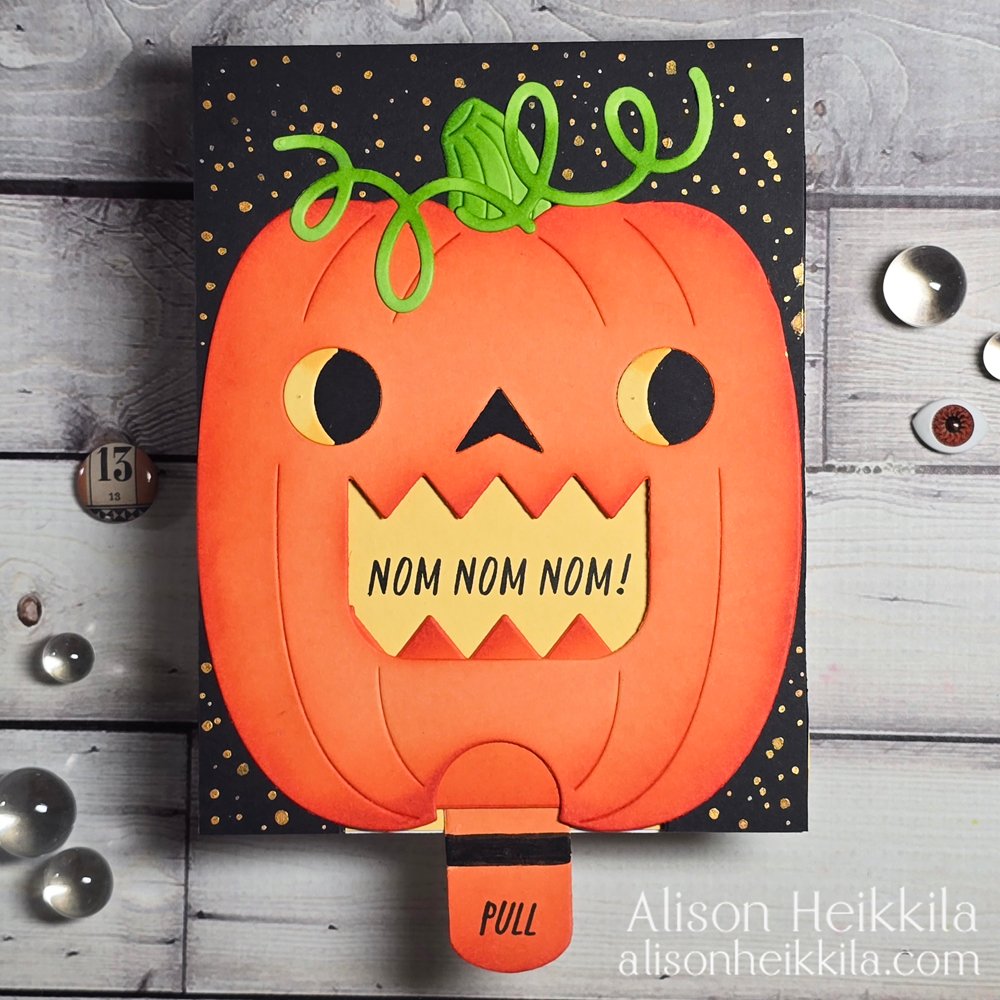
There aren’t a ton of details on this Jack O’ Lantern, so you can get it made pretty quickly, especially if you omit the interactive mechanism. If you do want to make the mouth move, you’ll need the Big Mouth Slider Die which can be found HERE.
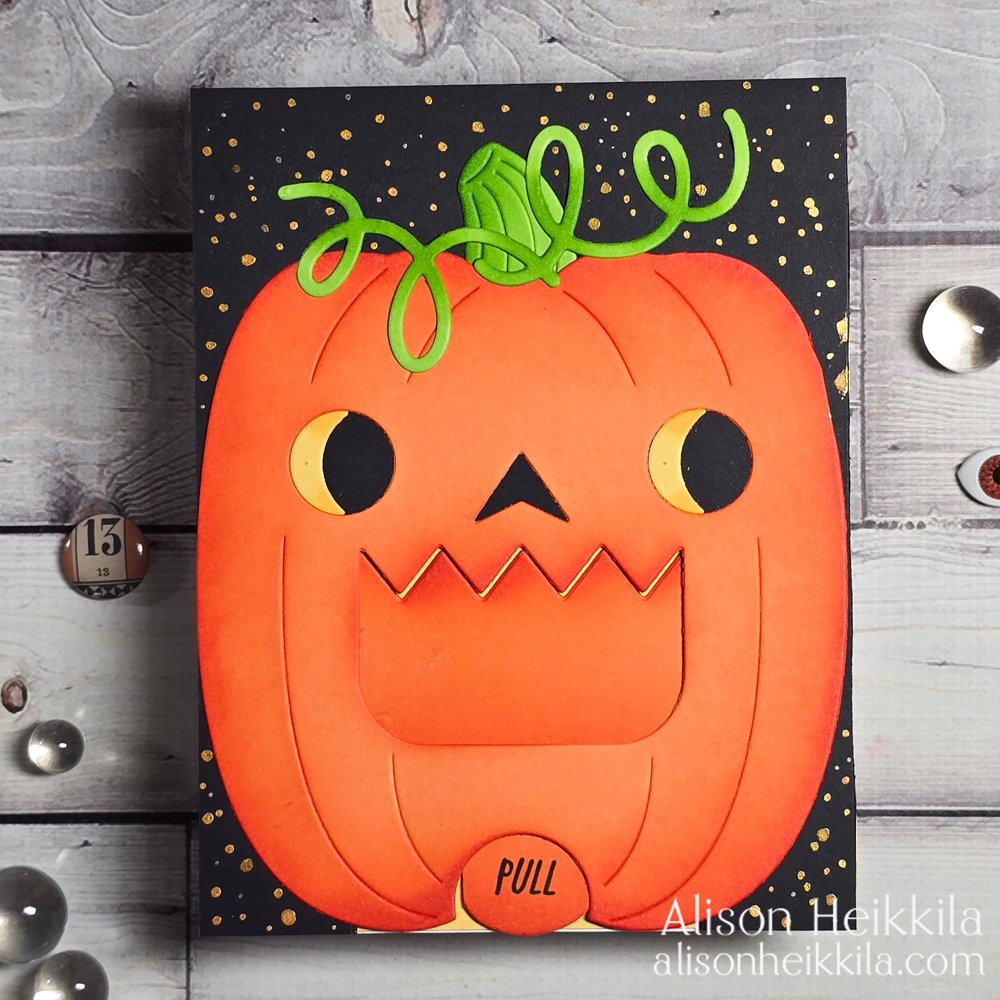
I did a bit of ink blending on the pumpkin, the yellow of the eyes, and the stem & vine, but you can omit that if you’d like. I added the “pull” stamp to the base of the tab, which is from the Bite Nite Stamp & Cut Set.
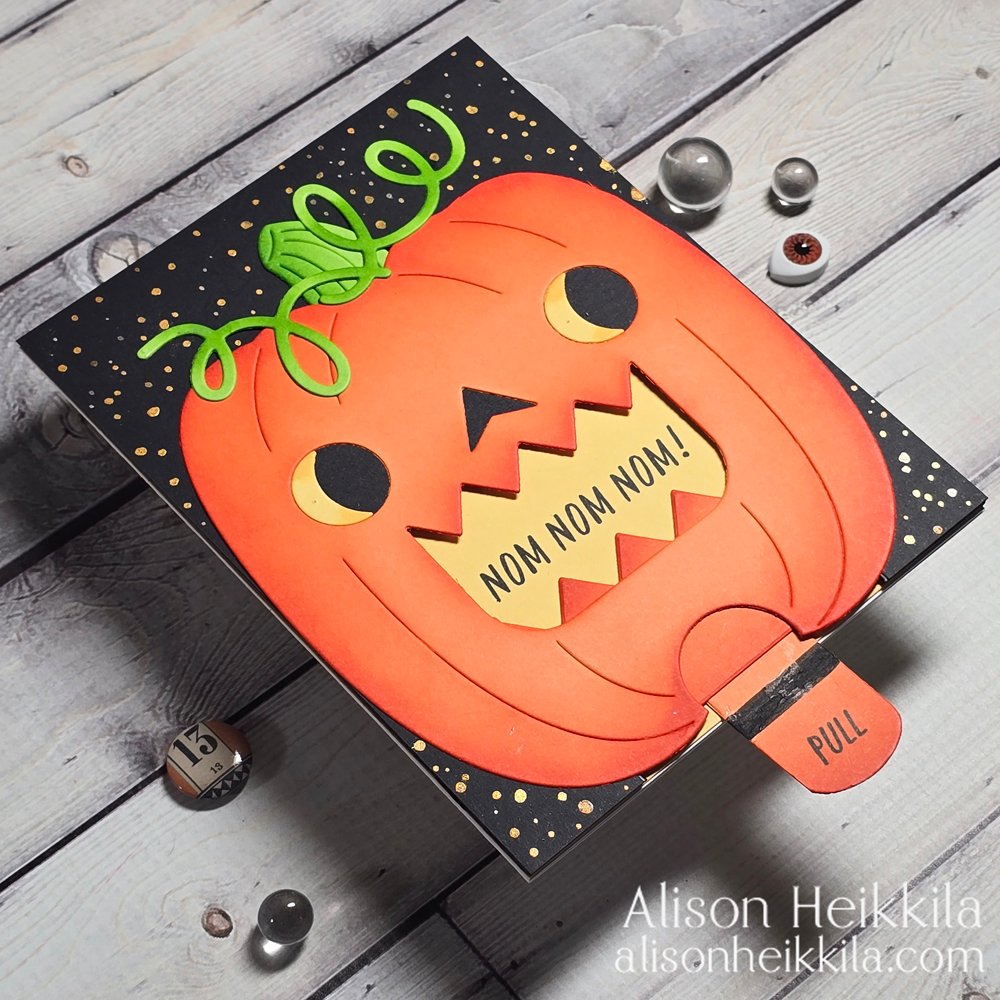
I had an oopsie with my glue….I forgot to avoid gluing under the mouth, so it got onto my pull tab. I just added a black like to mask it a bit. I stamped my sentiment inside the mouth and added gold dots (by hand, one at a time) with my Starry Colors watercolor palette. It really brought the card to life with that shine.
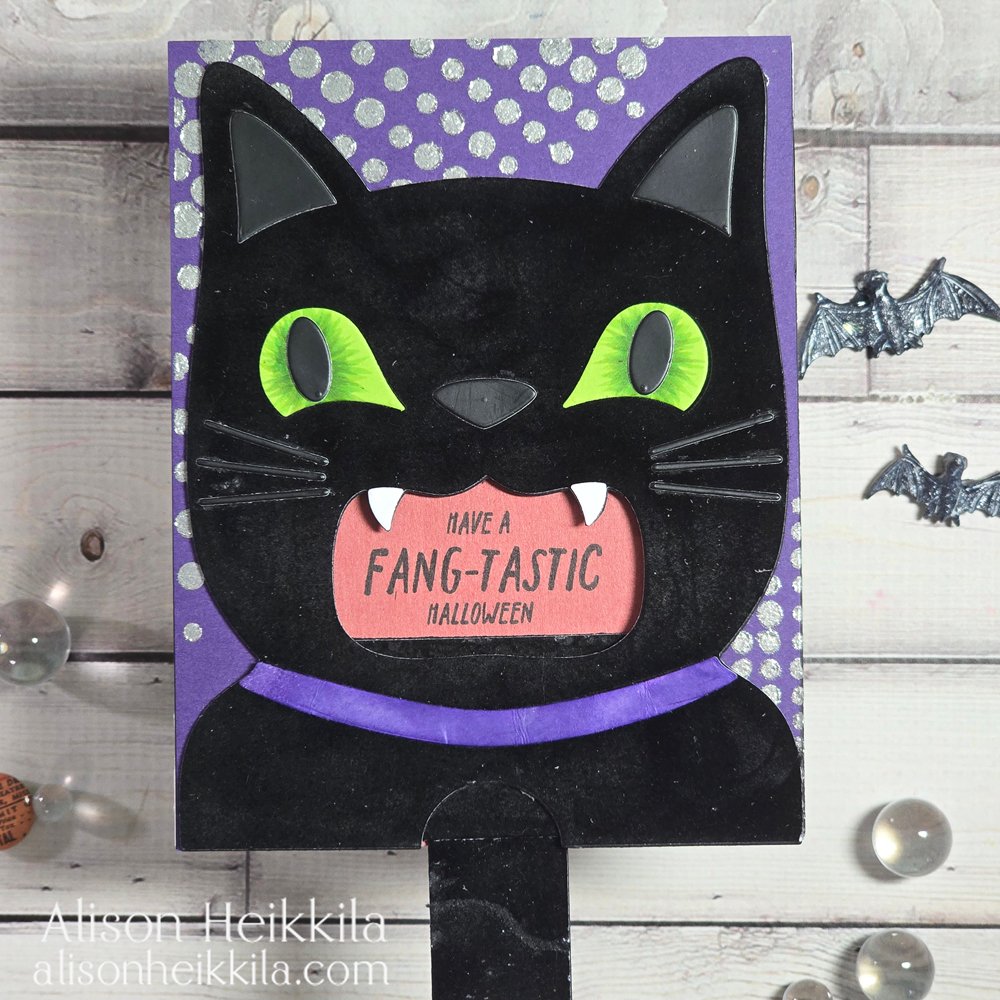
Onto my black cat, which used the Big Mouth Cat Die Set, along with the Big Mouth Slider Die again.
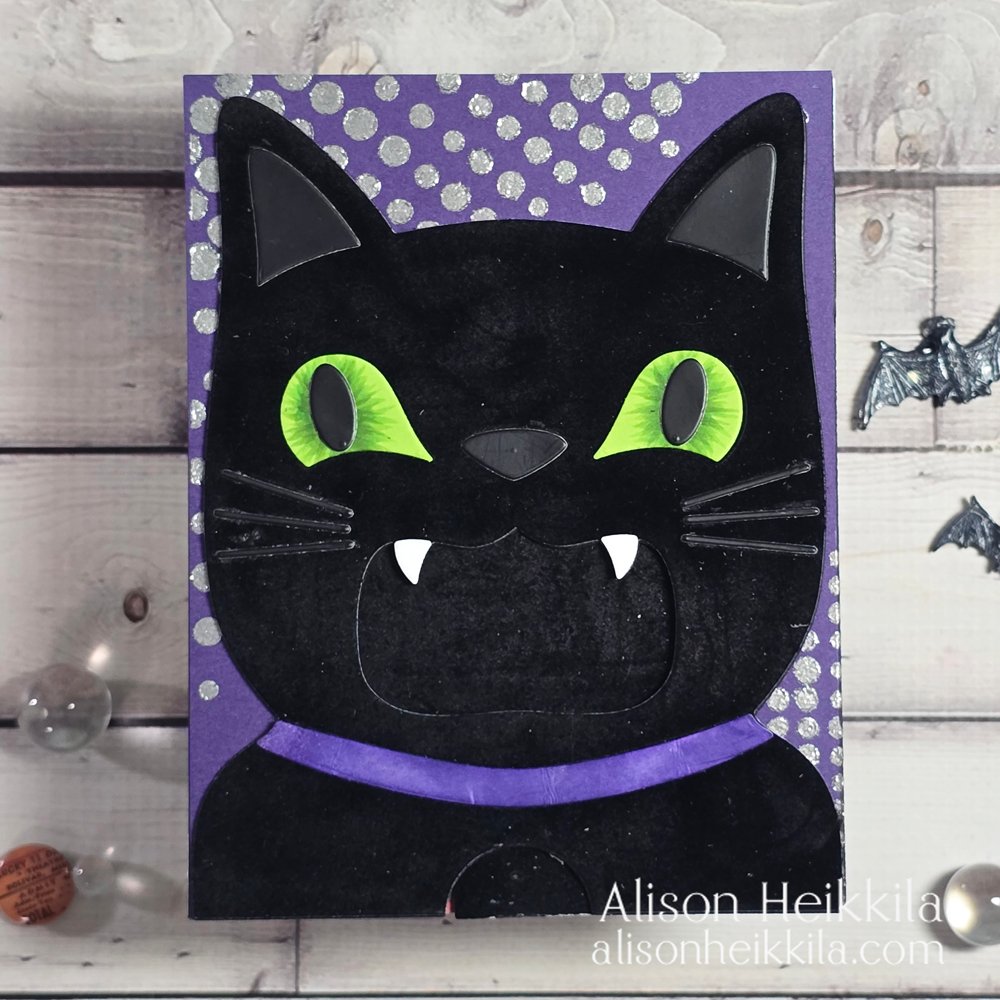
I wanted my cat to have texture, so I used Therm O Web’s Plush Paper in Black Velvet. It has a velvety feel that is so unexpected. It’s even obvious visually that it’s fuzzy, and I love that. I used Copic markers to give some depth to the eyes, and I used Black Velvet Satin Mirror Cardstock from Tonic (a completely different black velvet from the plus paper!) for the nose, inside the ears, and the whiskers.
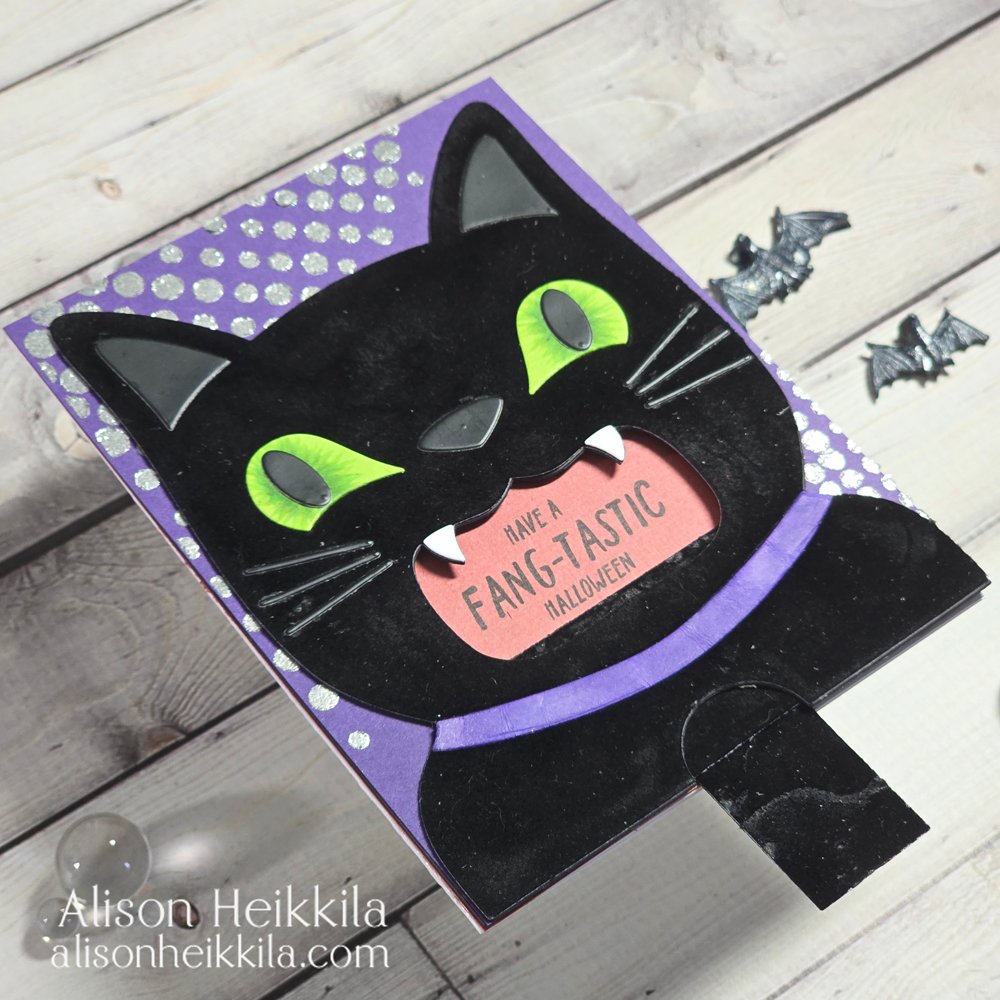
The background on this card was made with Quicksilver Glacier Paste and the March 2026 Stencil of the Month from Spellbinders. I only used one layer of the stencil set. I also used another fa-boo-lous sentiment from the Bite Nite Stamp & Cut inside the mouth.
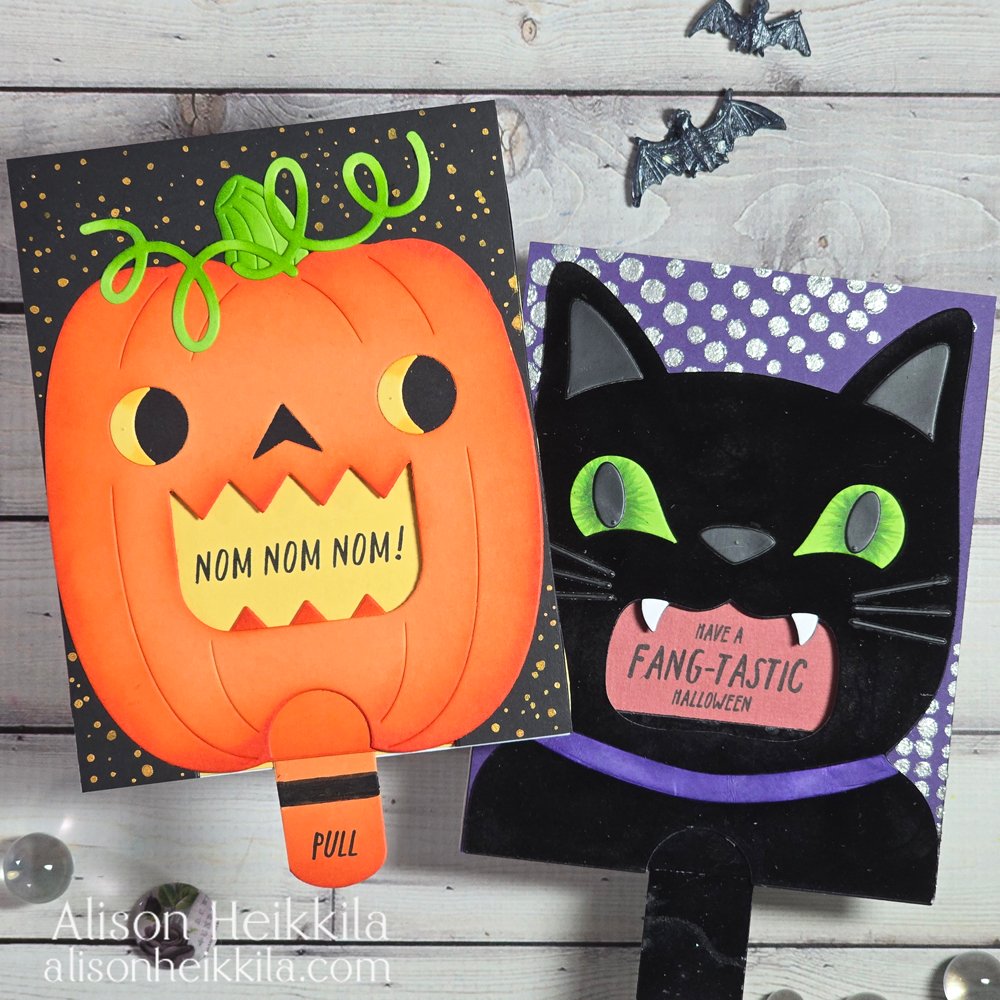
I just love how these cards turned out! They’re so fun, and not too tough when it comes to making them interactive. You just need to remember not to glue under the mouth so that the mechanism will work. Please visit Hero Arts to see all of their latest releases. Thanks so much for stopping by. Have a spooktacular day!

Thank you so much for your kind words!