Hello! Today I’m sharing my latest Artesprix project, which is done with the Apron. You have so much room to play with on this Blank (the term used for the items we sublimate on), but don’t be intimidated! I opted to do a quick and easy design that doesn’t take up very much space. You have plenty of options with the Apron!
*Some affiliate links are used in this post. That means that if you shop through these links, I may receive a small compensation, at no cost to you. For more information, please see my Affiliates page, where I also have some coupon codes.
What is Iron-On Ink?
Artesprix Sublimation Markers, Ink, and Paint are specially formulated to allow you to use basic copy paper to: color, stamp, stencil, and monoprint anything you wish and turn it into a heat-transferable design. These designs are then applied to a polyester or polyester coated substrate with heat and pressure. You can use a heat press or a home iron! These designs, through this process of sublimation, will become permanent on your substrates.
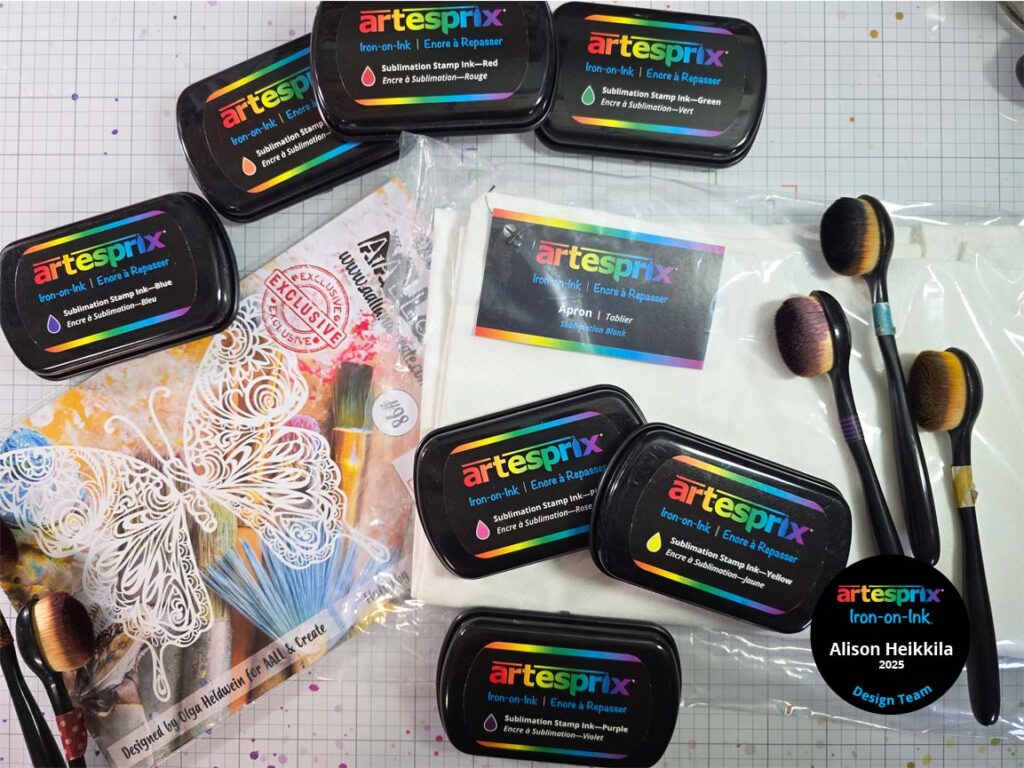
Supplies:
Artesprix:
Apron
Sublimation Stamp Inks in Red, Orange, Yellow, Green, Blue, Purple, and Pink
Protective Paper
Heat Tape
Other:
AALL & Create: Flutterby Stencil
Blending Brushes: 1 per Sublimation Stamp Ink color
Therm O Web: Pixie Spray (optional) or low tack tape

Directions:
Step 1: Temporarily adhere your stencil to a piece of copy paper using Pixie Spray or low tack tape.
Step 2: Start to ink blend with the Red Sublimation Stamp Ink and a blending brush. I plan on going in rainbow order around the butterfly.

Step 3: Add the Orange and Yellow Sublimation Stamp Inks to the butterfly. I used the yellow first, so that I wouldn’t accidentally get orange in my yellow ink pad. Be sure to blend the colors together. Using a lighter hand is better.

Step 4: Continue ink blending around the butterfly with the remaining colors. I made sure to add a good amount of color past the butterfly to give a nice halo effect.

Here is the completed design, after removing the stencil. It’s so cool already!
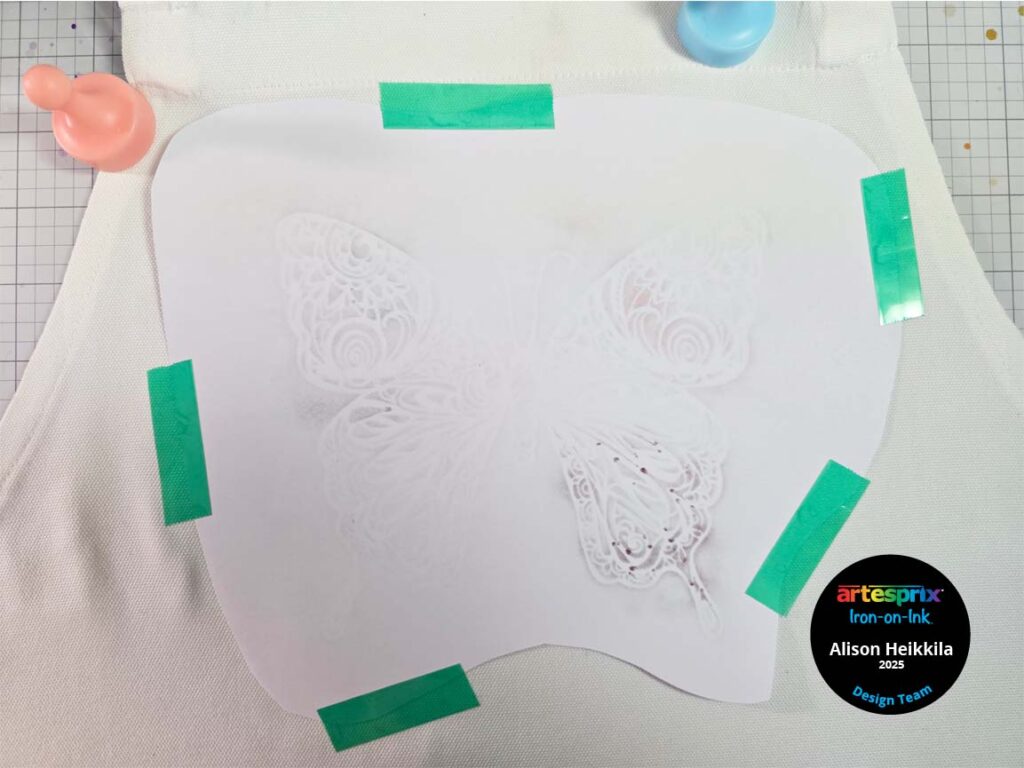
Step 5: Trim down the design to make placement easier.
Step 6: Tape the finished design face down to the Apron using Heat Tape.
Pro Tip: I use a magnetic glass mat, and I’m using magnets to hold the apron in place while I get my Apron ready for sublimation.
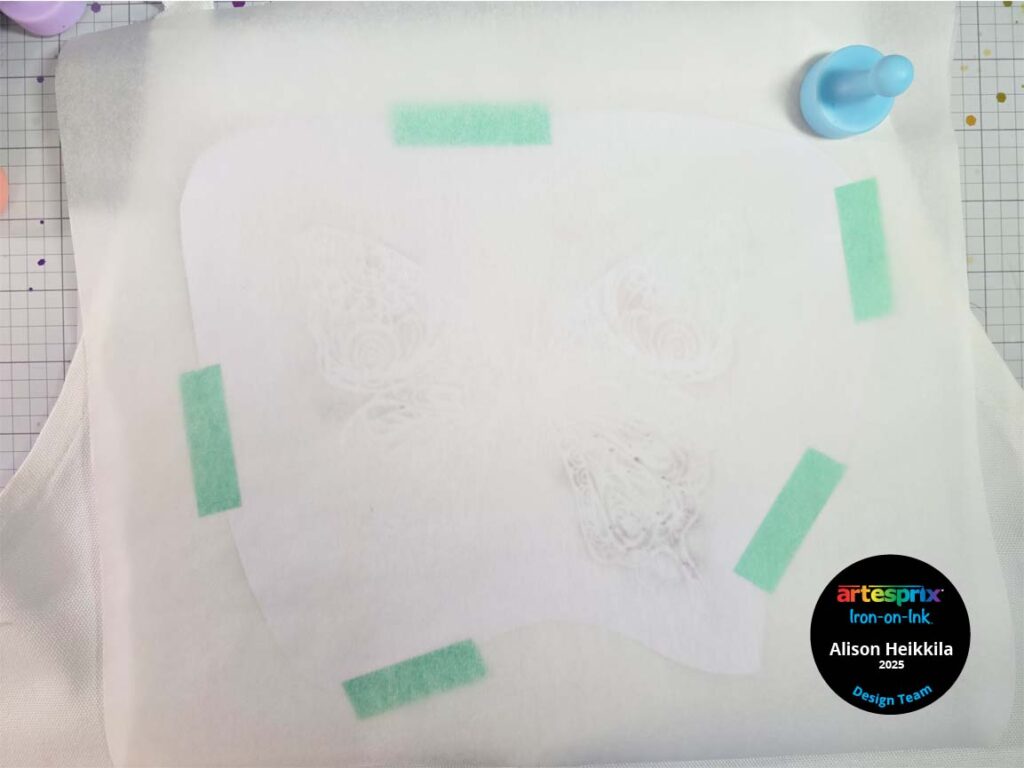
Step 7: It’s time to make the Sublimation Sandwich. This sandwich not only ensures a great transfer of your design, but it will protect your heat source from any ink transfer as well. Your sandwich will be: Protective Paper – Design (face down) – Apron – Protective Paper.
Step 8: Press the Apron for 60 seconds at 400 degrees.
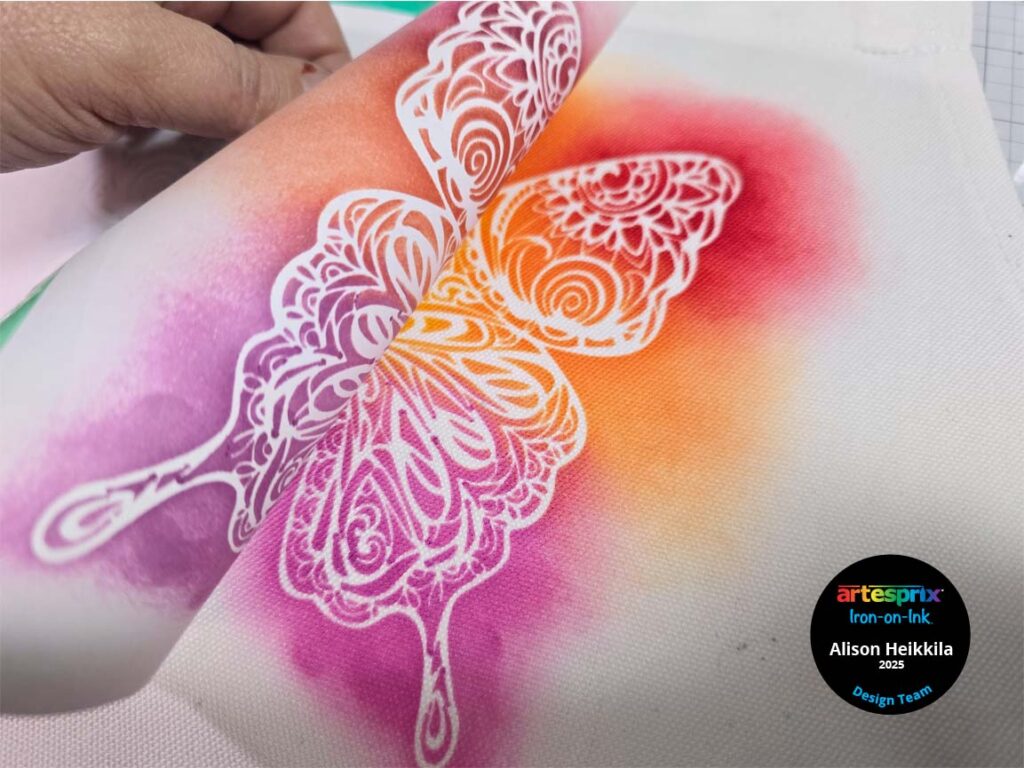
Step 9: It’s time for the Peek Test! Carefully lift up part of the design away from the Blank to see if your design sublimated well. If it didn’t, the Heat Tape is still attached so you can re-sublimate without worrying that the design shifted on the Blank. I’m loving how this looks, so we’re good to move on.
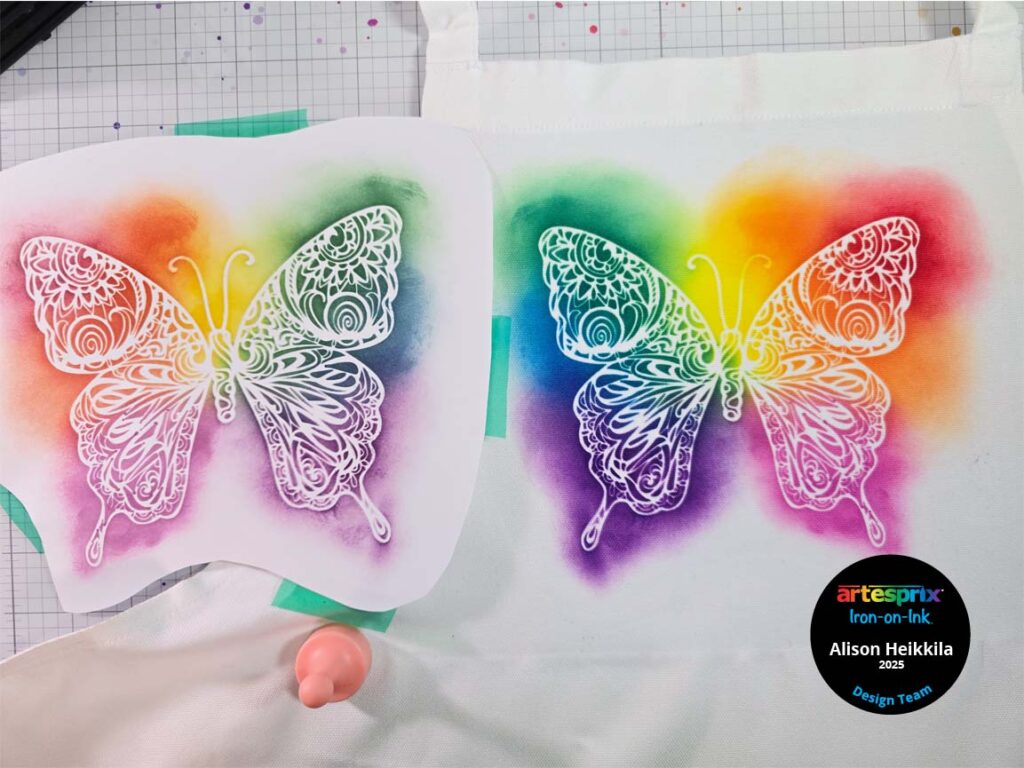
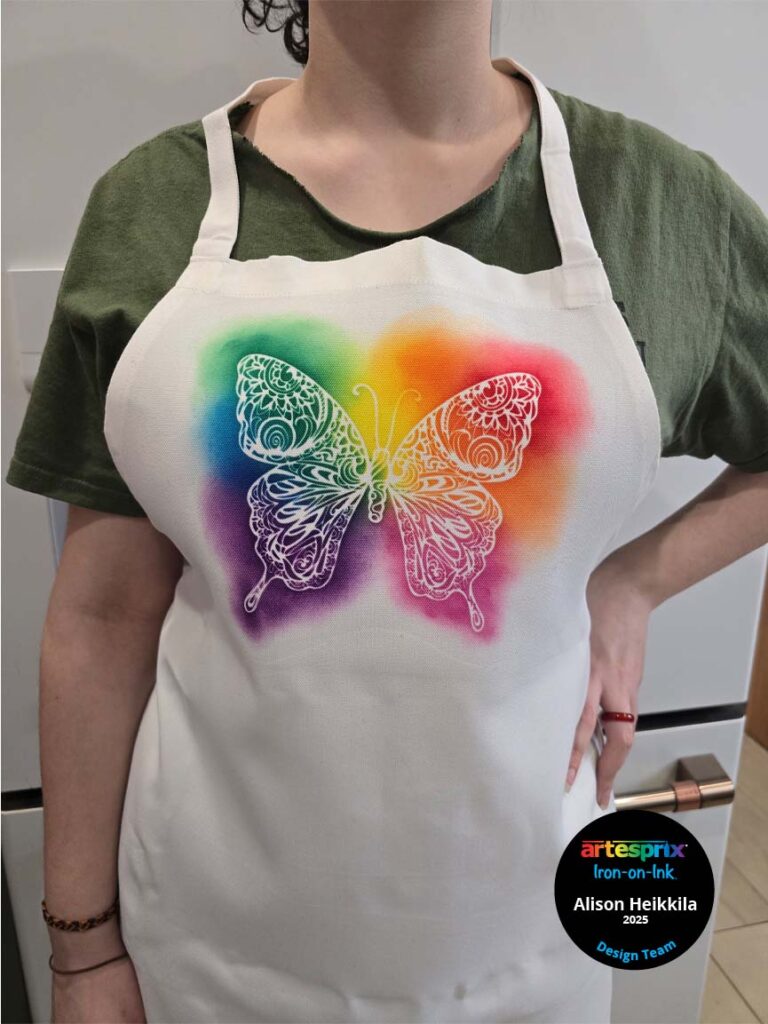
Here is the sublimated Apron next to the original design. Look at how bold those colors have become! It’s gorgeous! Since the Apron has so much room, you can even sublimate multiple butterflies all over.
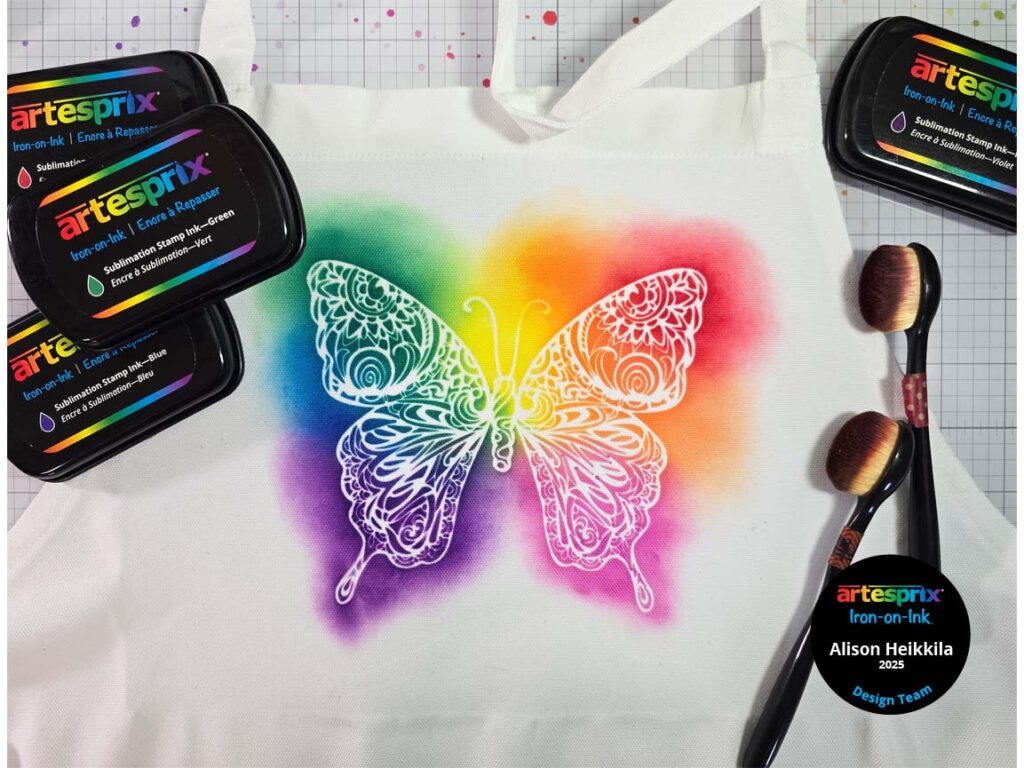
I am so pleased with how this Apron turned out. It was quick to make, but super impactful and bold. How would you like to get more ideas using Artesprix’s Sublimation Ink Pads, Markers, and Paint? There’s a Facebook Group that’s just for fans of Artesprix! You can click HERE to join. Also, don’t forget to visit the Artesprix store to see all of the available blanks and bundles, so you can get started with sublimation. You can use my code, ALISON10 to save 10% on your purchase. Thanks so much for stopping by. Have an inspiring day!
Thank you so much for your kind words!