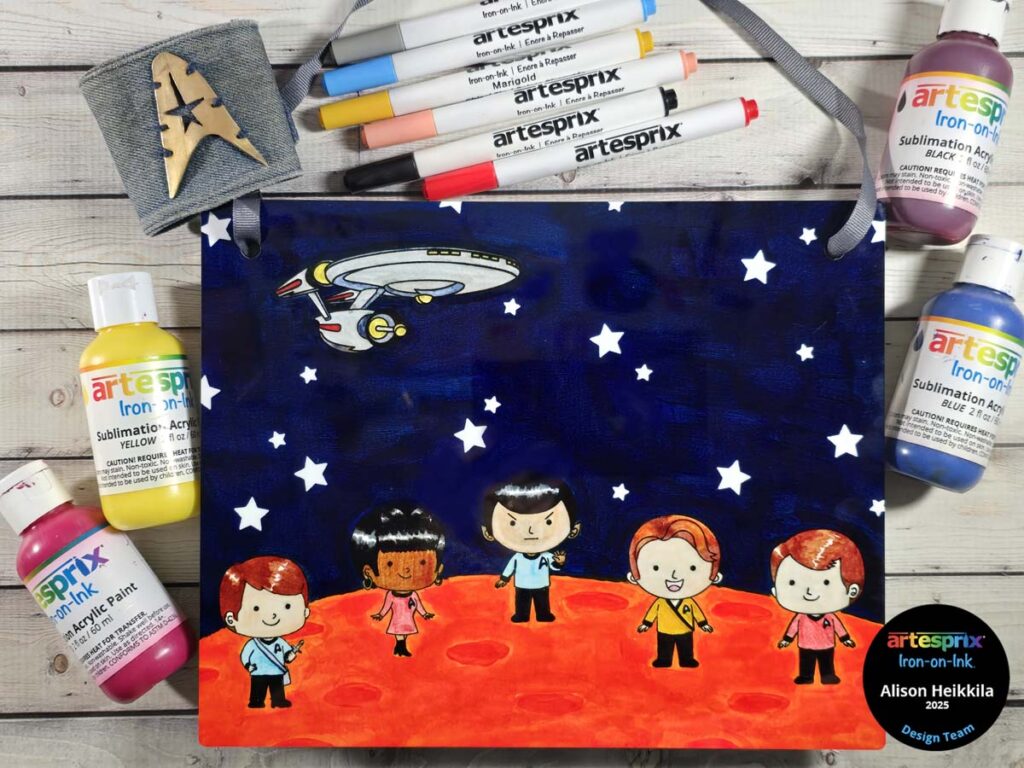
Greetings! Artesprix’s February Blank of the month is a Decorative Sign. This is a really fun Blank because it’s large, so you have lots of room to create an amazing design. My family (particularly my mom and son) is really into Star Trek, so I decided to use that as my theme after my daughter suggested it. I used Artesprix Sublimation Markers and Sublimation Acrylic Paints to create this design, along with the Space Explorers stamp set from Kindred Stamps.
*Some affiliate links are used in this post. That means that if you shop through these links, I may receive a small compensation, at no cost to you. For more information, please see my Affiliates page, where I also have some coupon codes.
What is Iron-On Ink?
Artesprix Sublimation Markers, Ink, and Paint are specially formulated to allow you to use basic copy paper to: color, stamp, stencil, and monoprint anything you wish and turn it into a heat-transferable design. These designs are then applied to a polyester or polyester coated substrate with heat and pressure. You can use a heat press or a home iron! These designs, through this process of sublimation, will become permanent on your substrates.
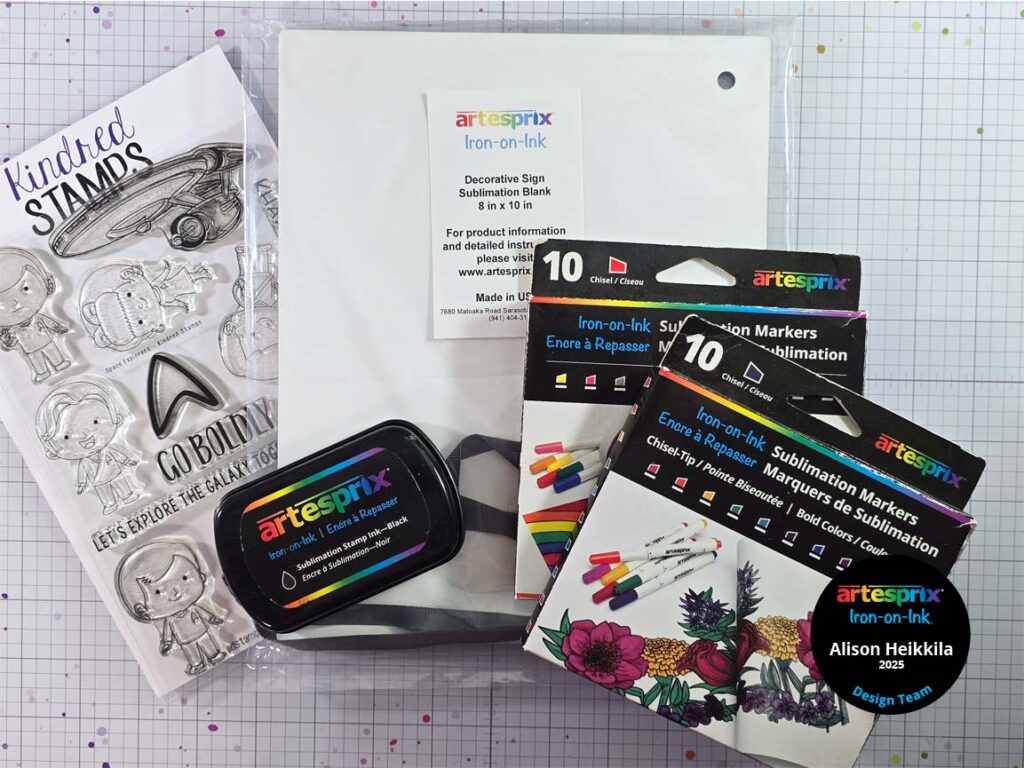
Supplies:
Artesprix:
Decorative Sign
Black Sublimation Stamp Ink
Basic Sublimation Markers in Fine Point
Bold Sublimation Markers
Pastel Sublimation Markers
Sublimation Acrylic Paint Set
Heat Resistant Transfer Mask
Protective Paper
Heat Tape
Other:
Kindred Stamps: Space Explorers Stamp Set
Poppystamps: Big Star Border
Poppystamps: Little Star Border
Canson Mixed Media Paper
Paint Brushes
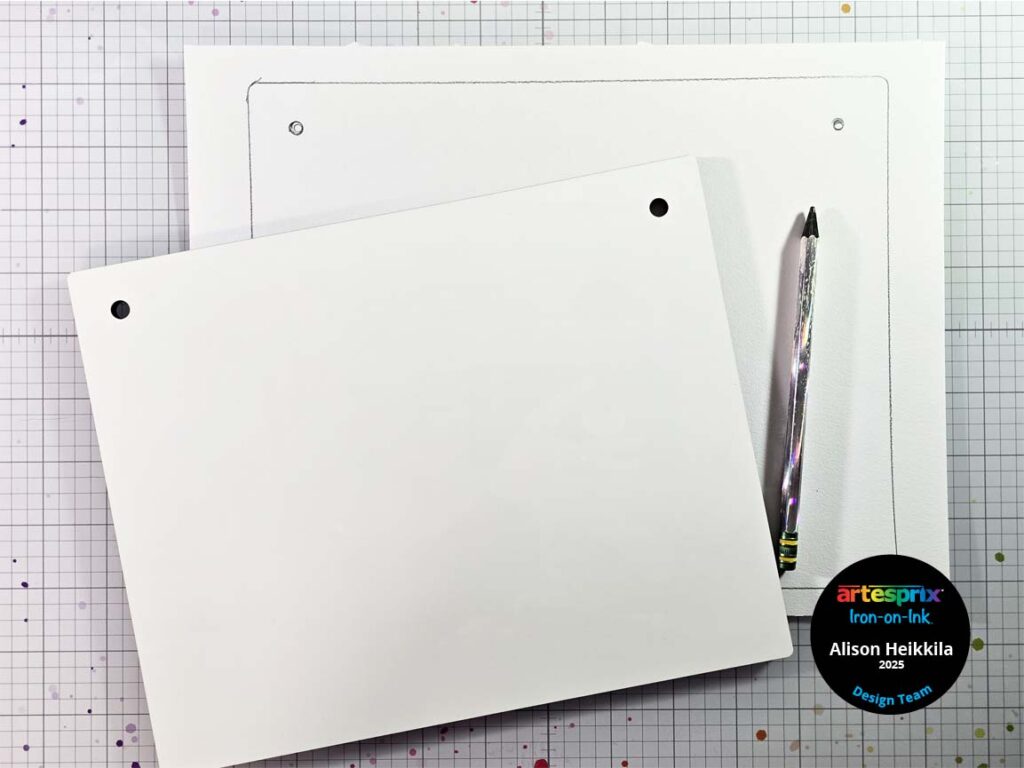
Step 1: Outline your Blank onto a piece of Canson Mixed Media paper.
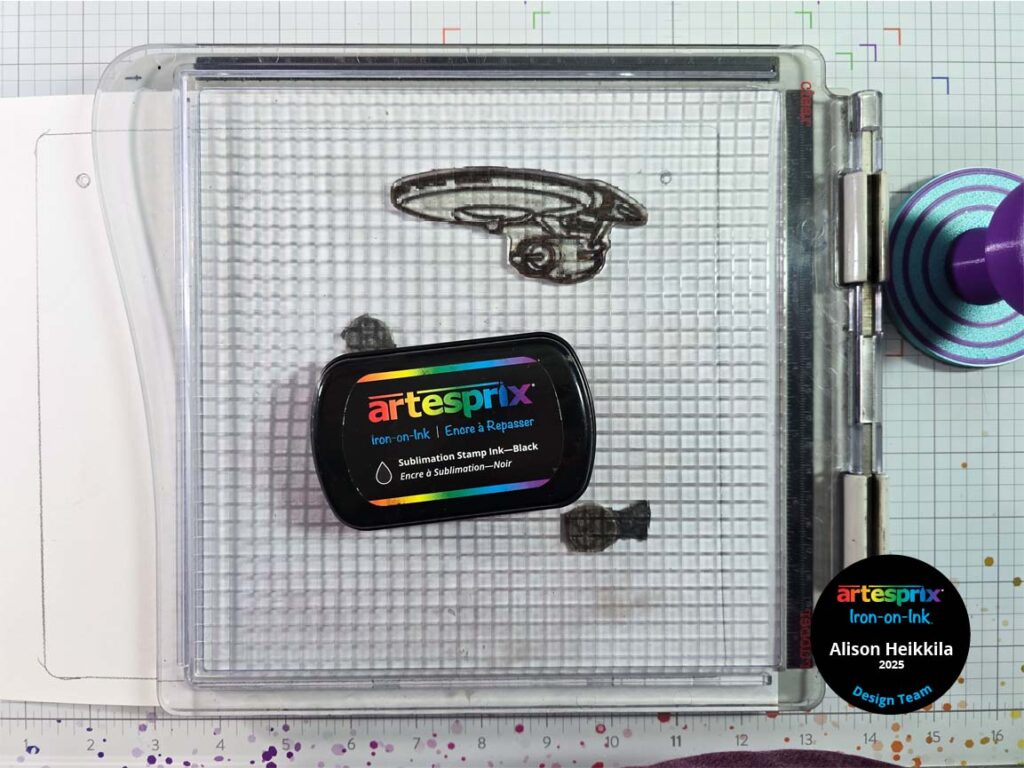
Step 2: Stamp the spaceship near the top of the outline with Black Sublimation Stamp Ink.
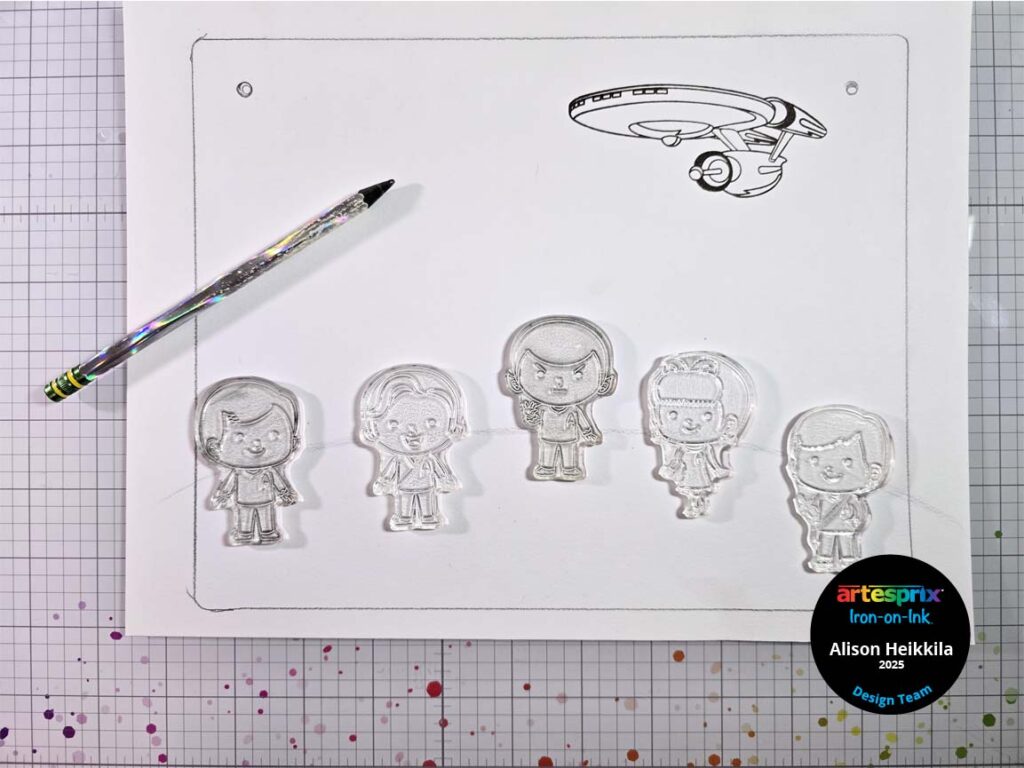
Step 3: Sketch out a “ground” with pencil and arrange the space explorers on it.
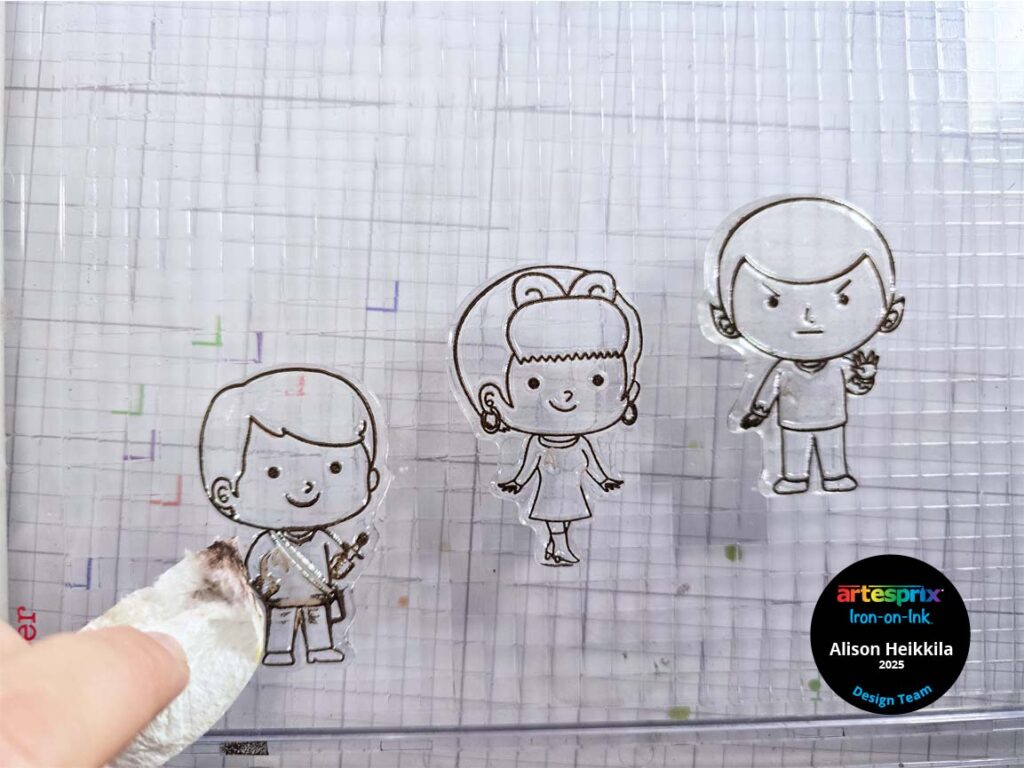
Step 4: Adhere the space explorers to a stamping tool or block and ink with Black Sublimation Stamp Ink.
Optional: I didn’t want their communicators on the wrong side, and they would be since the images are reversed after sublimation. So, I removed the ink from them with a wet paper towel. I’ll draw them on the other side after I stamp them.
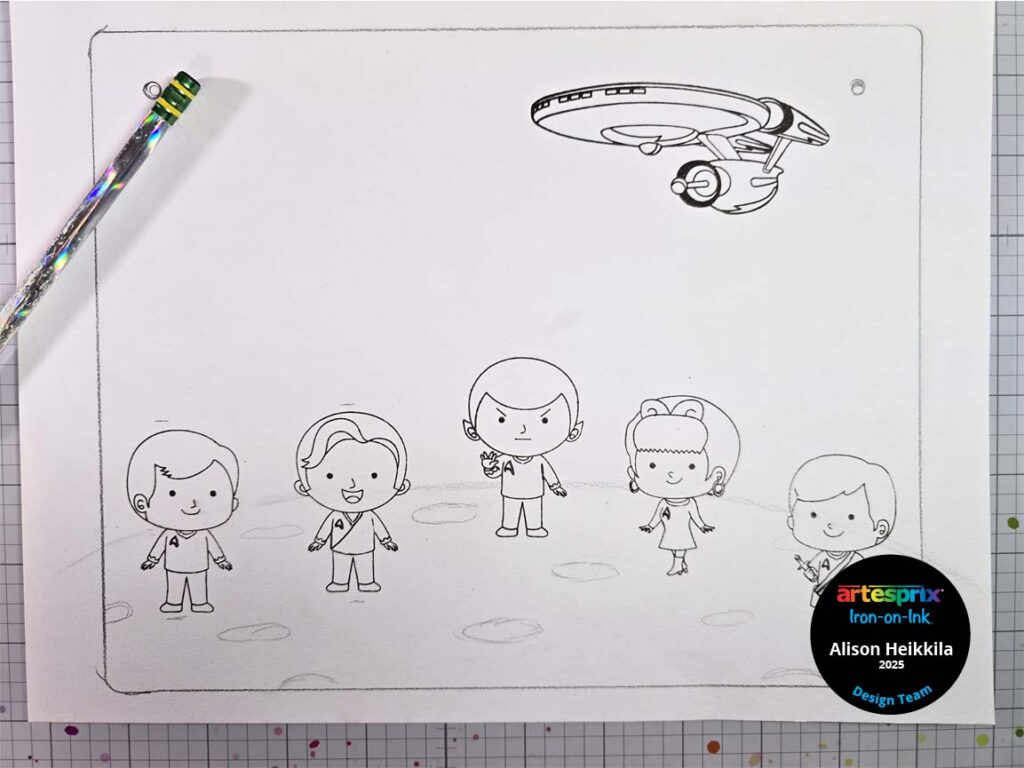
Step 5: Finish stamping all of the explorers. You can also add craters to the ground with pencil. Note the redrawn communicators, which was done with the Black Fine Tip Sublimation Marker.
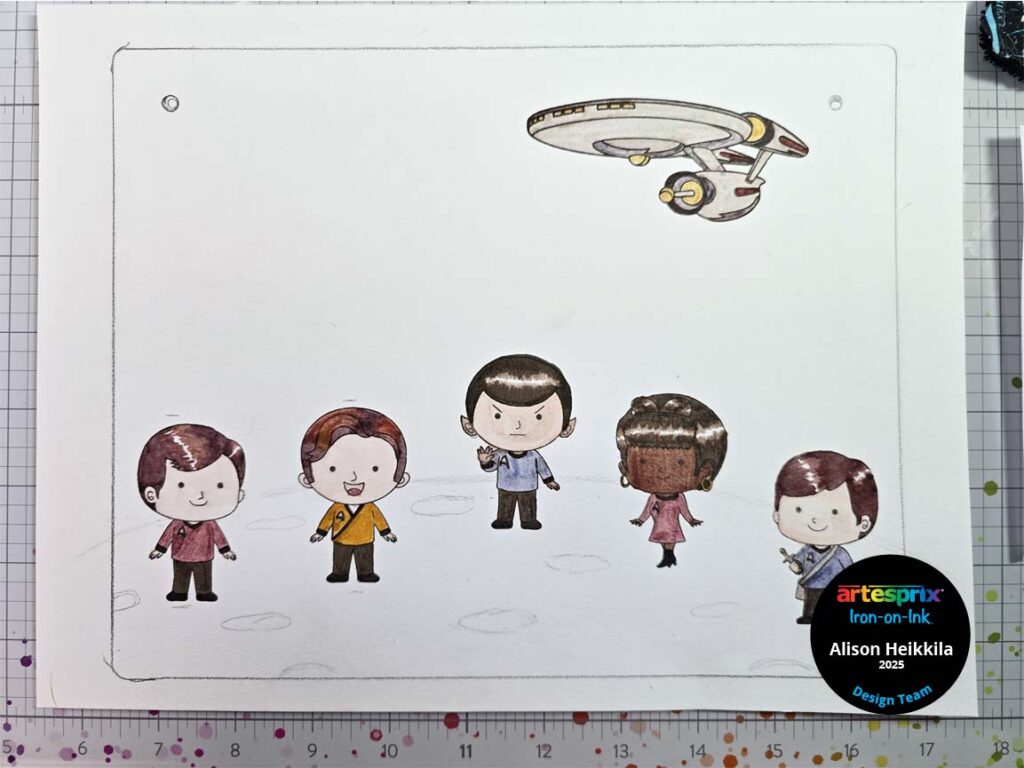
Step 6: Color in the spaceship and explorers with the Sublimation Markers. I used a combination of colors from each of the sets.
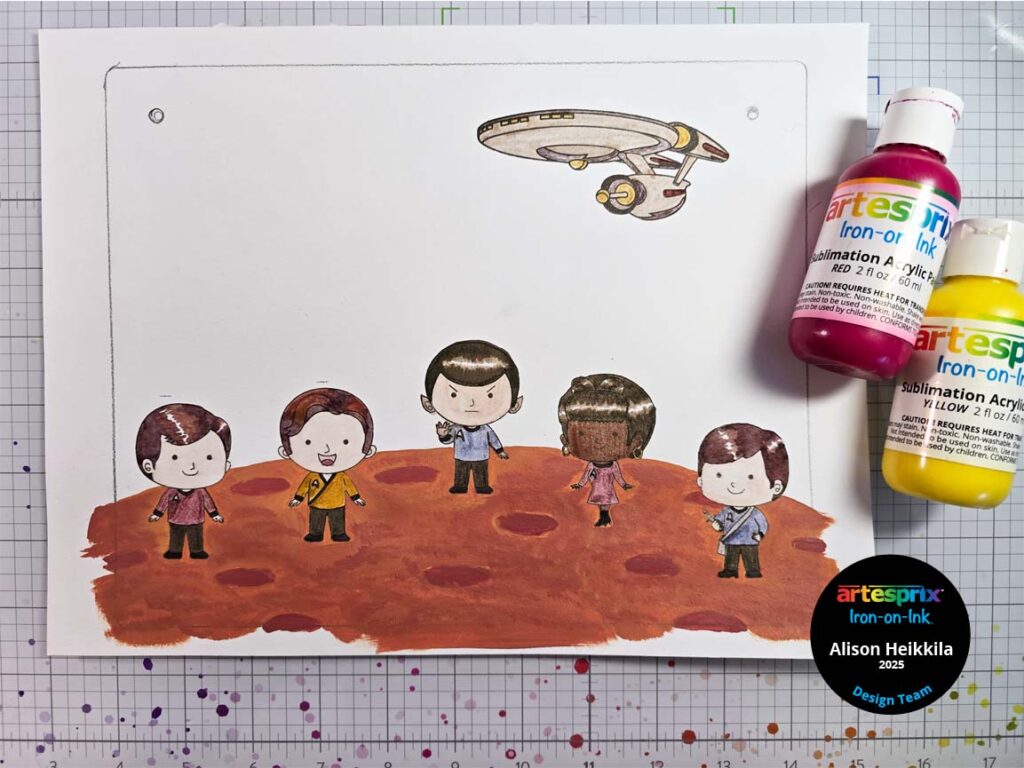
Step 7: Mix Yellow and Red Sublimation Acrylic Paint together to make 2 shades of orange. The darker color is for the craters. Paint the planet, making sure to go past your outline.
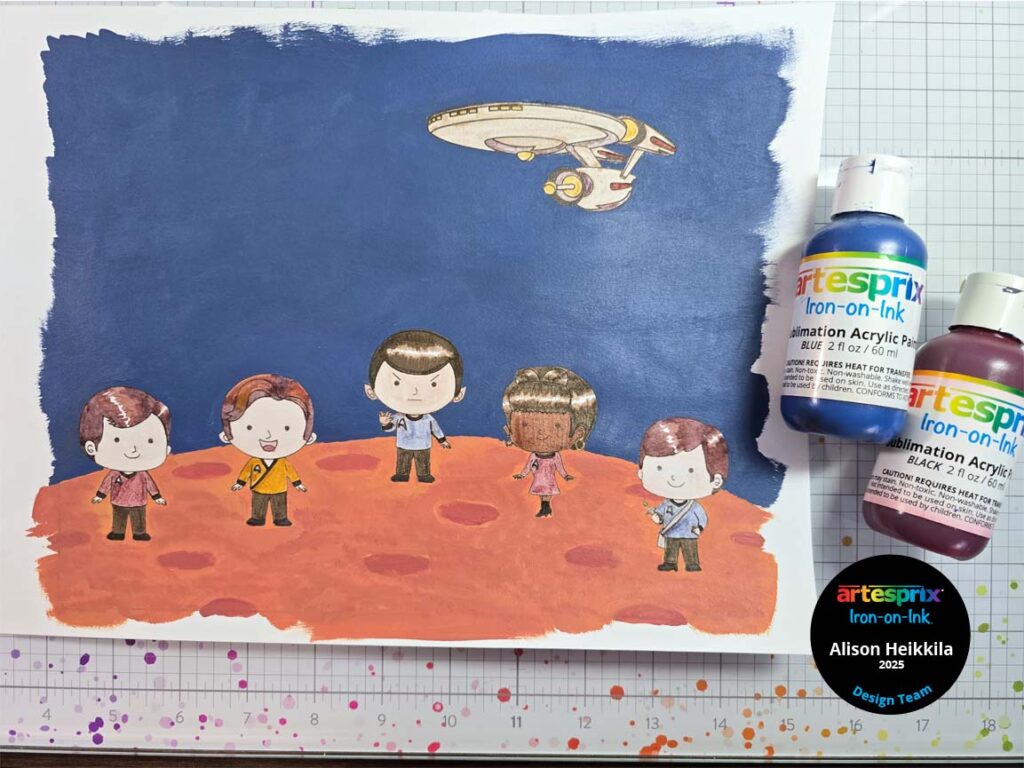
Step 8: Mix Blue and Black Sublimation Acrylic Paint for outer space.
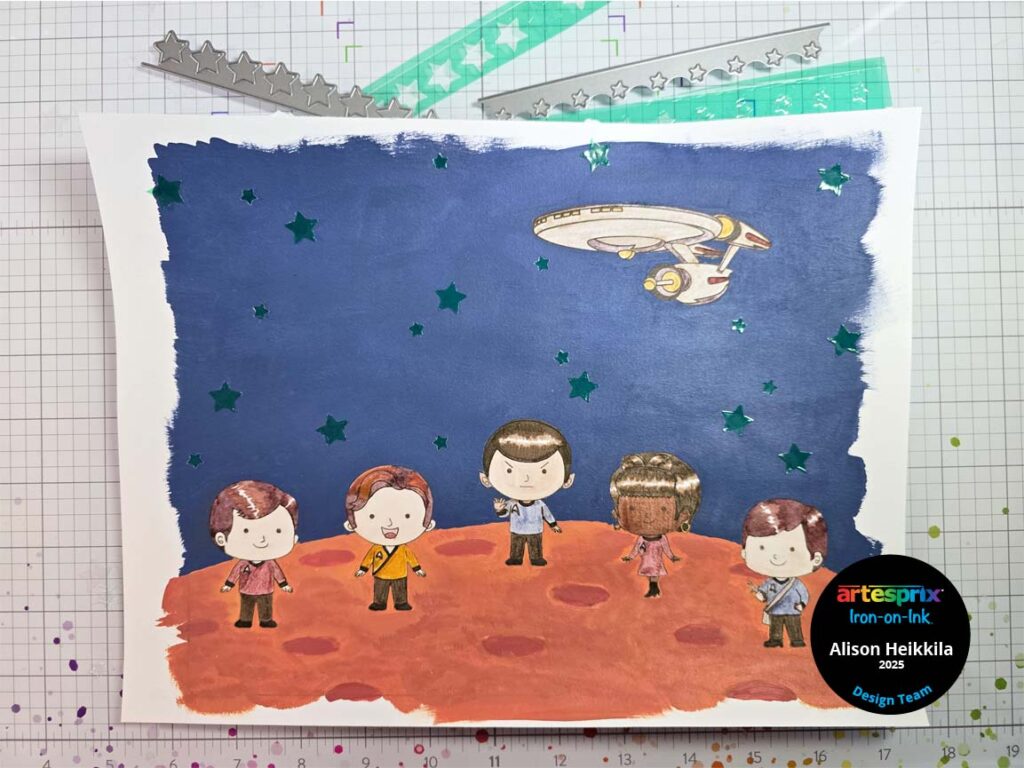
Step 9: Die cut different sizes of stars from the Heat Resistant Transfer Mask. Place the stars in outer space. This will prevent the color from transferring wherever the stars are, so they’ll remain white.
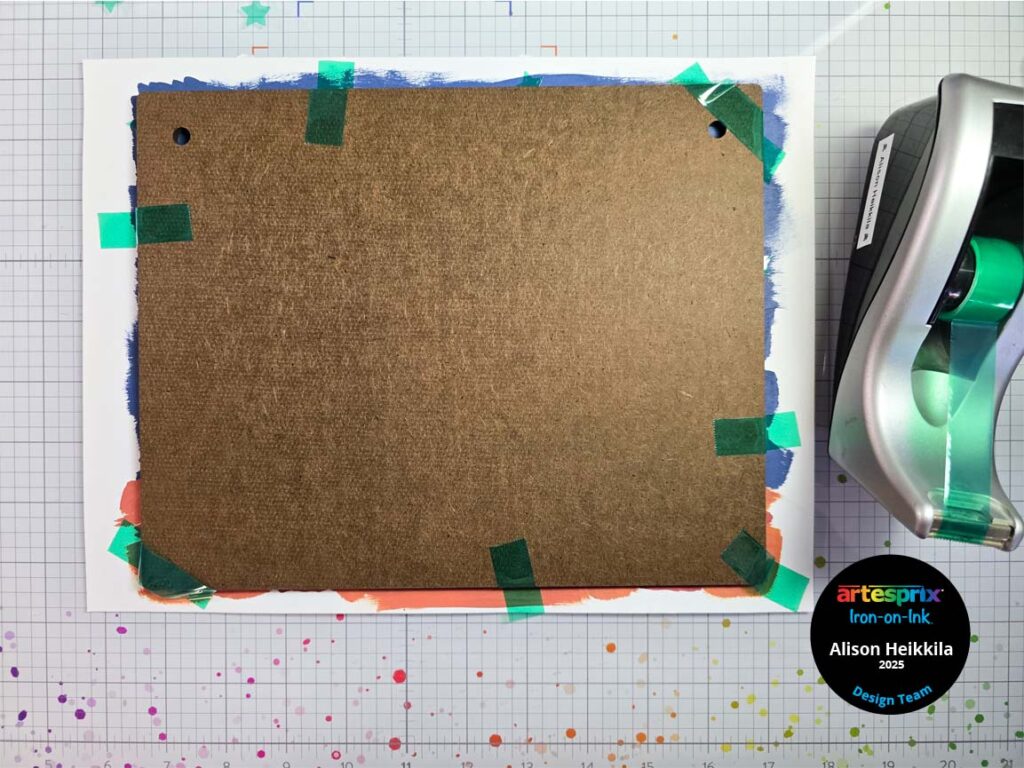
Step 10: Tape the Decorative Sign face down to the completed design.
Step 11: It’s time to make the Sublimation Sandwich. This sandwich not only ensures a great transfer of your design, but it will protect your heat source as well. Your sandwich will be: Protective Paper – Design (face down) – Blank – Protective Paper.
Step 12: Sublimate the design onto the Decorative Sign. The temperature needs to be set to 400 degrees and you’ll need to press the design for 105 seconds.

Step 13: It’s time for the Peek Test! Carefully lift a corner of the design away from the Blank to be sure your design sublimated properly. If it didn’t, you can sublimate again.
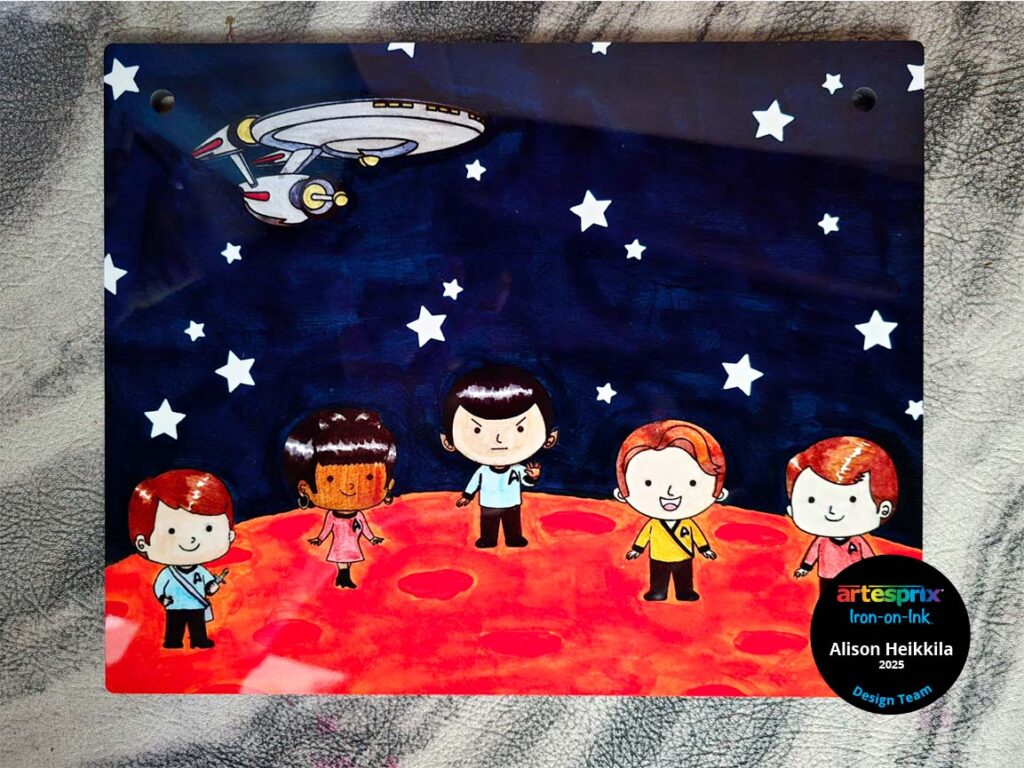
Here is my finished design! It’s a bit tricky to photograph because of the fabulous shine on the Decorative Sign.
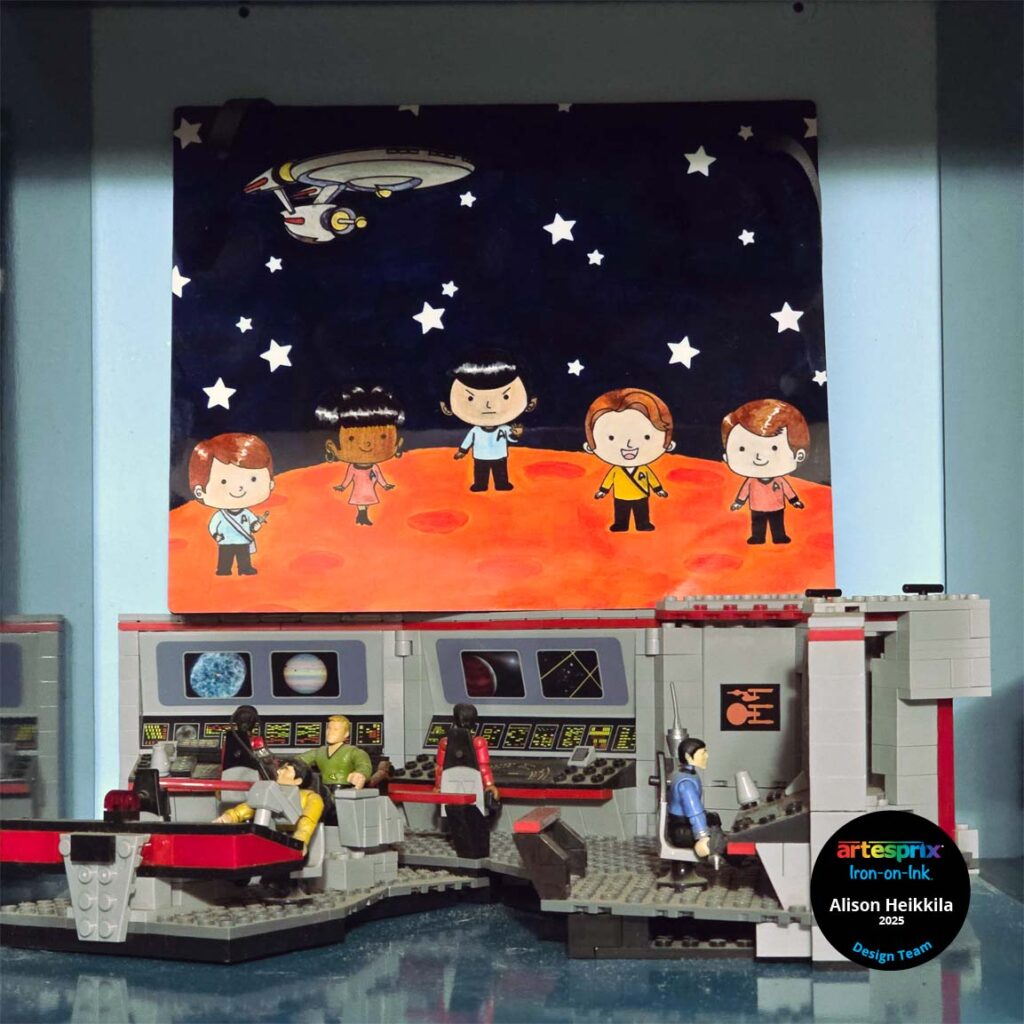
I gave the sign to my son, and he loves it. It will work really well with all of his sci-fi memorabilia. How would you like to get more ideas on using Artesprix’s Sublimation Ink Pads, Markers, and Paint? There’s a Facebook Group that’s just for fans of Artesprix! You can click HERE to join. Also, don’t forget to visit the Artesprix store to see all of the available blanks and bundles, so you can get started with sublimation. You can use my code, ALISON10 to save 10% on your purchase! Thanks so much for stopping by. Have an inspiring day!
Thank you so much for your kind words!