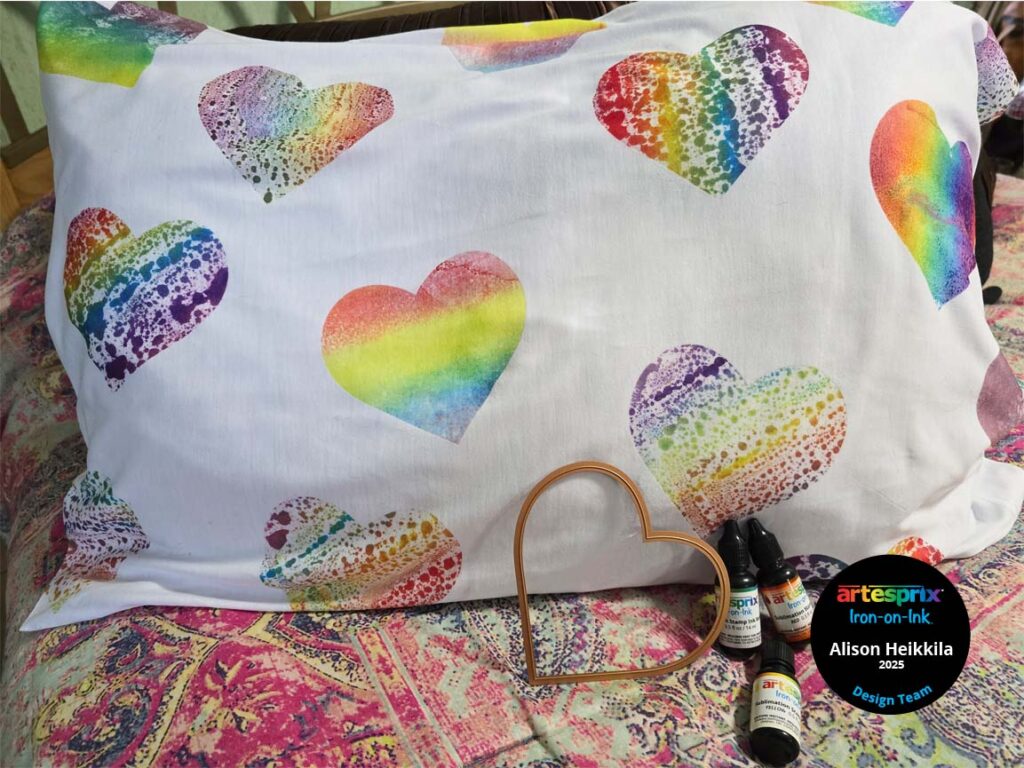
Hello! Today I’m sharing how I decorated a Pillow Case using Artesprix’s Ink Refills a Gel Press, and a large heart die. When I take out my Gel Press, I like to make a lot of monoprints. I often have many left over. All of the papers I used today were actually from print making sessions that I had months ago. I keep them all in a folder and take them out when I’m ready to use them. Artesprix’s ink will last a very long time like this, so you don’t need to worry about the colors not transferring well. Just take a look at how vibrant the colors are in the photo below, then I’ll walk you through my process.
*Some affiliate links are used in this post. That means that if you shop through these links, I may receive a small compensation, at no cost to you. For more information, please see my Affiliates page, where I also have some coupon codes.
What is Iron-On Ink?
Artesprix Sublimation Markers, Ink, and Paint are specially formulated to allow you to use basic copy paper to: color, stamp, stencil, and monoprint anything you wish and turn it into a heat-transferable design. These designs are then applied to a polyester or polyester coated substrate with heat and pressure. You can use a heat press or a home iron! These designs, through this process of sublimation, will become permanent on your substrates.
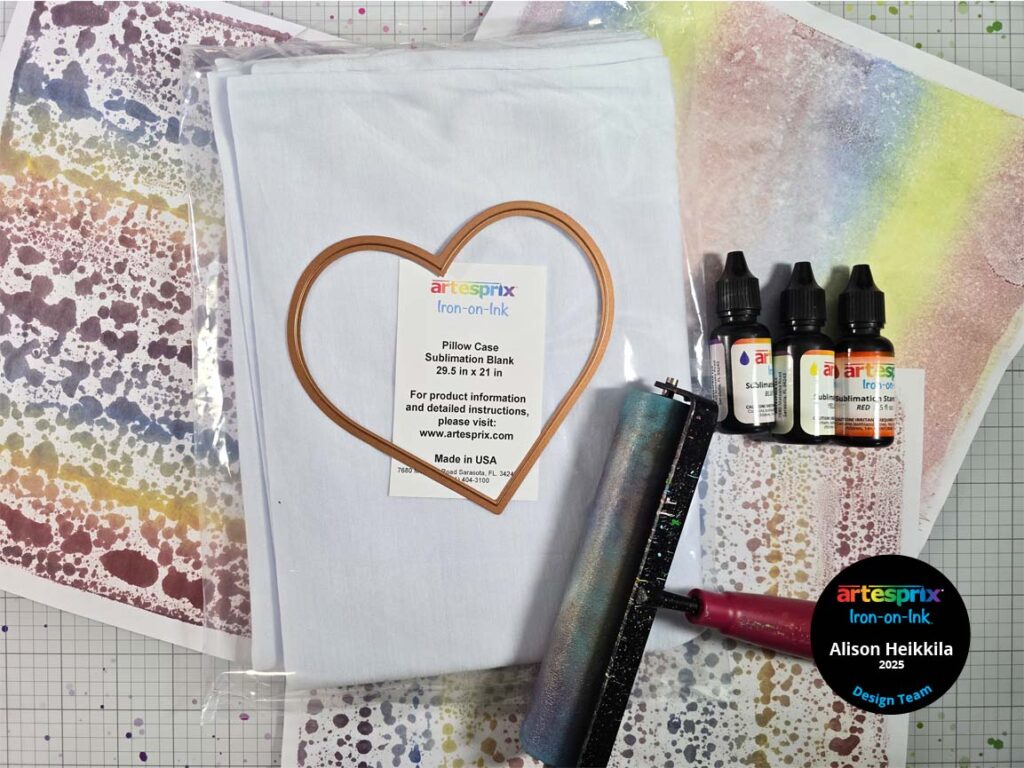
Supplies:
Artesprix:
Pillow Case
Ink Refills in Red, Yellow, Blue, and Purple
Protective Paper
Heat Tape
Other:
Gel Press: 8×10 Plate
Speedball: 6″ Brayer
Spellbinders: Pieced Heart Die Set (I only used the open heart die)

Step 1: Apply the Ink Refills in rainbow order across the Gel Press Plate. You can do this vertically or horizontally. You don’t need a lot of ink. I actually used too much here.
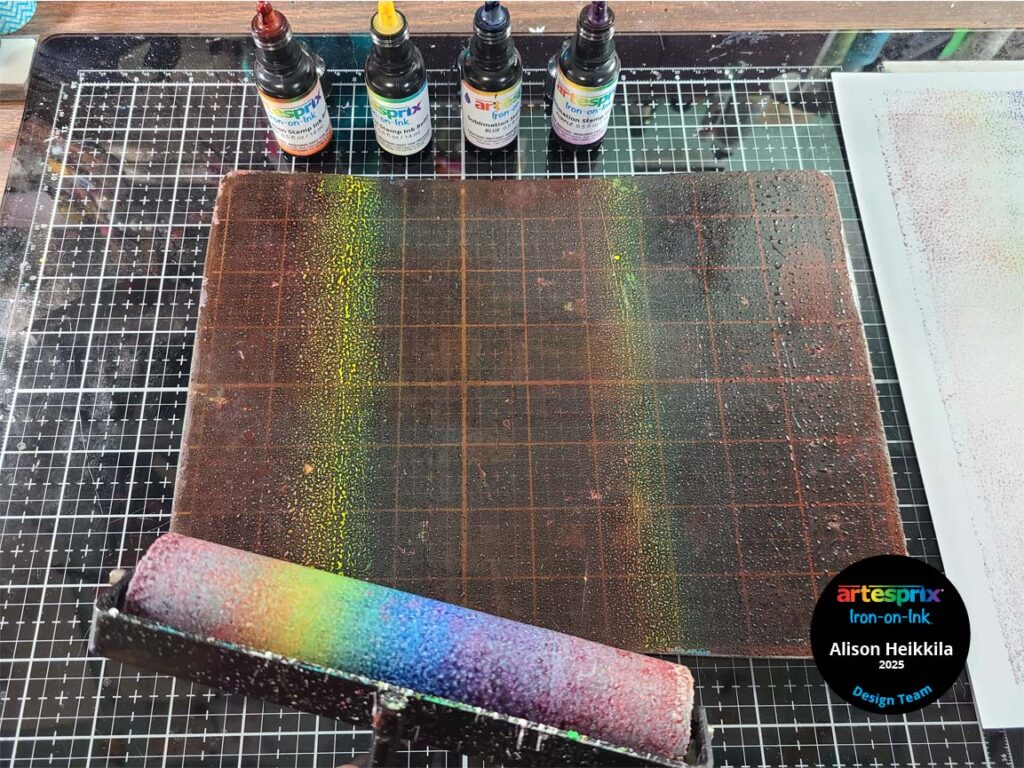
Step 2: Roll out the ink with a brayer. Sometimes the ink may bubble on the surface of the Plate, other times it may be very smooth. These differences will make our prints (and eventually our hearts!) even more interesting!
Step 3: Lay copy paper on top of the Plate and rub it to transfer the ink. Pull the paper off to see your print. You will probably have plenty of ink left on the Plate and your brayer to pull a few more prints without adding any additional ink.
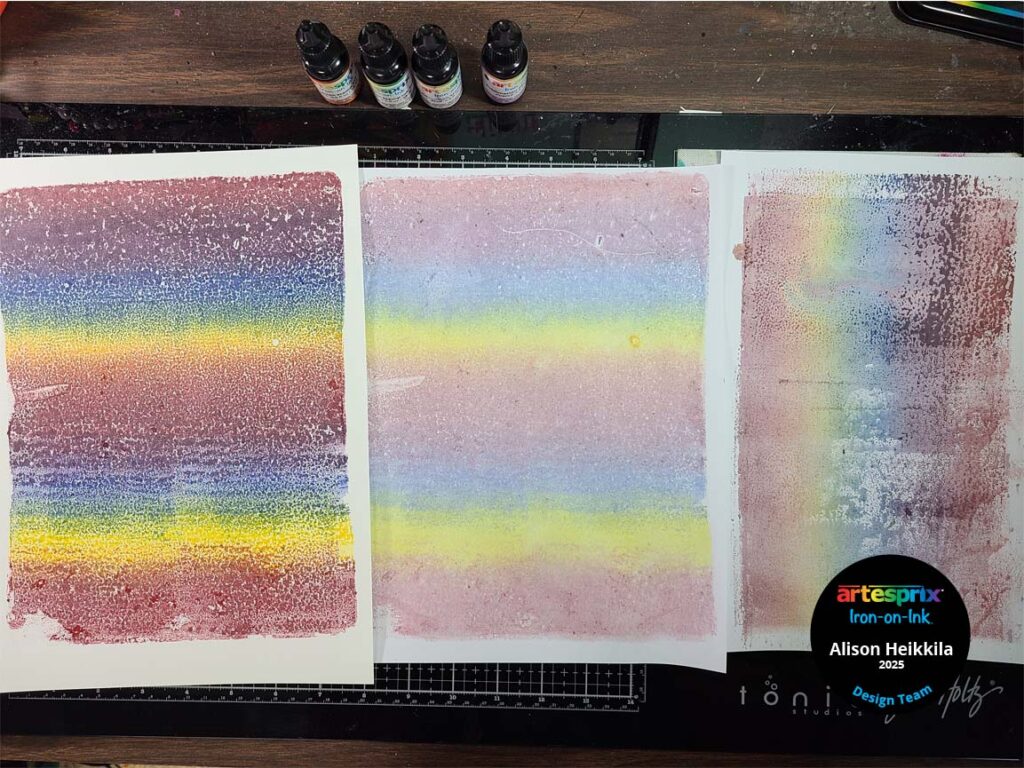
Here are what a few of my finished prints looked like. I made many more than this. And remember, these prints were made sometime last year, but we can still use them now.
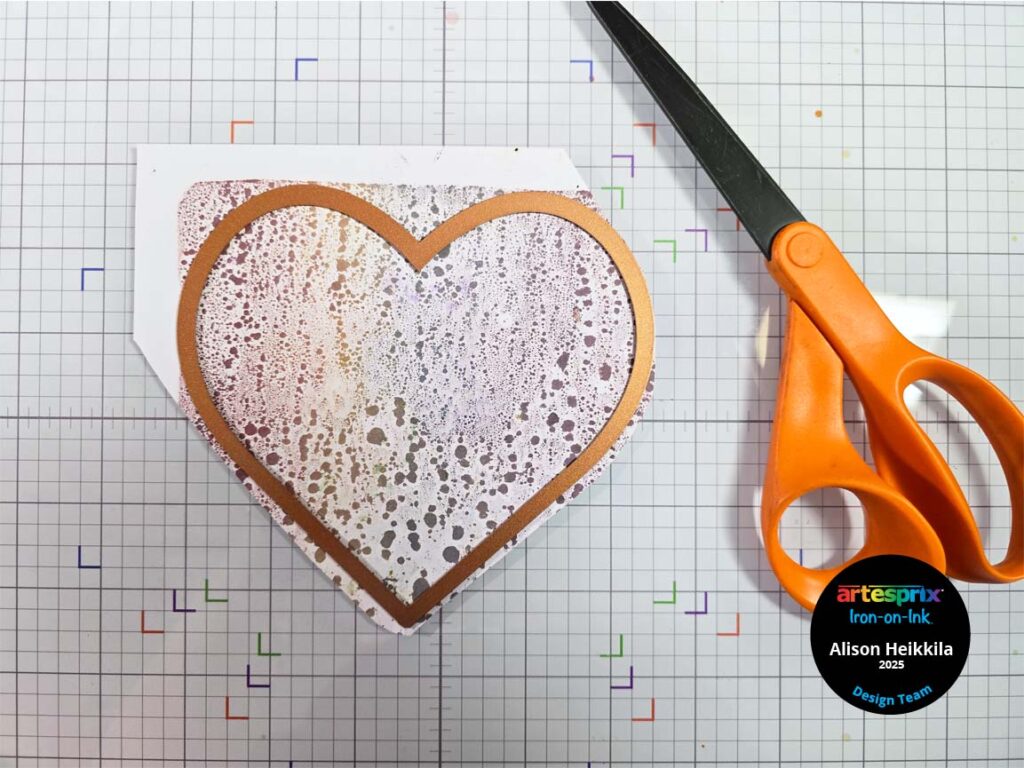
Step 4: Trim the monoprints down to slightly larger than the heart die. Run through a die cut machine. Repeat as many times as you like. I wanted lots of hearts on my pillow case, so I ran die cut about 13 hearts.
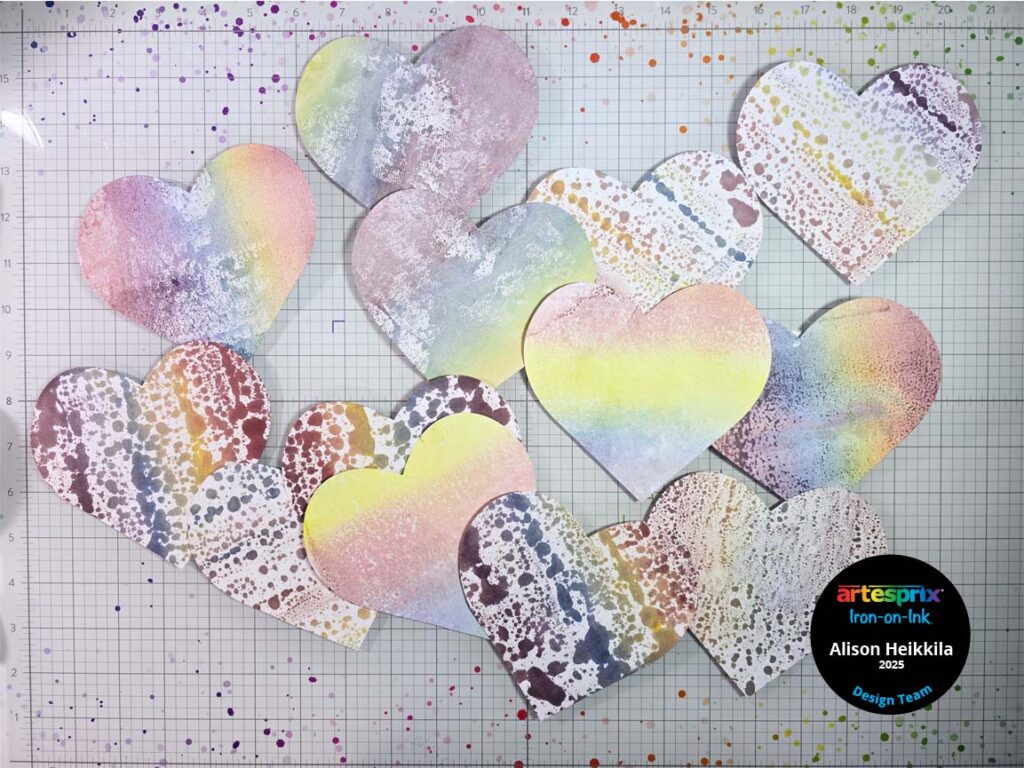
Here are some of my finished hearts. You can see I have my rainbows going in different directions, some have a smooth blend, while others are bubbly. You can make your hearts look any way you’d like!
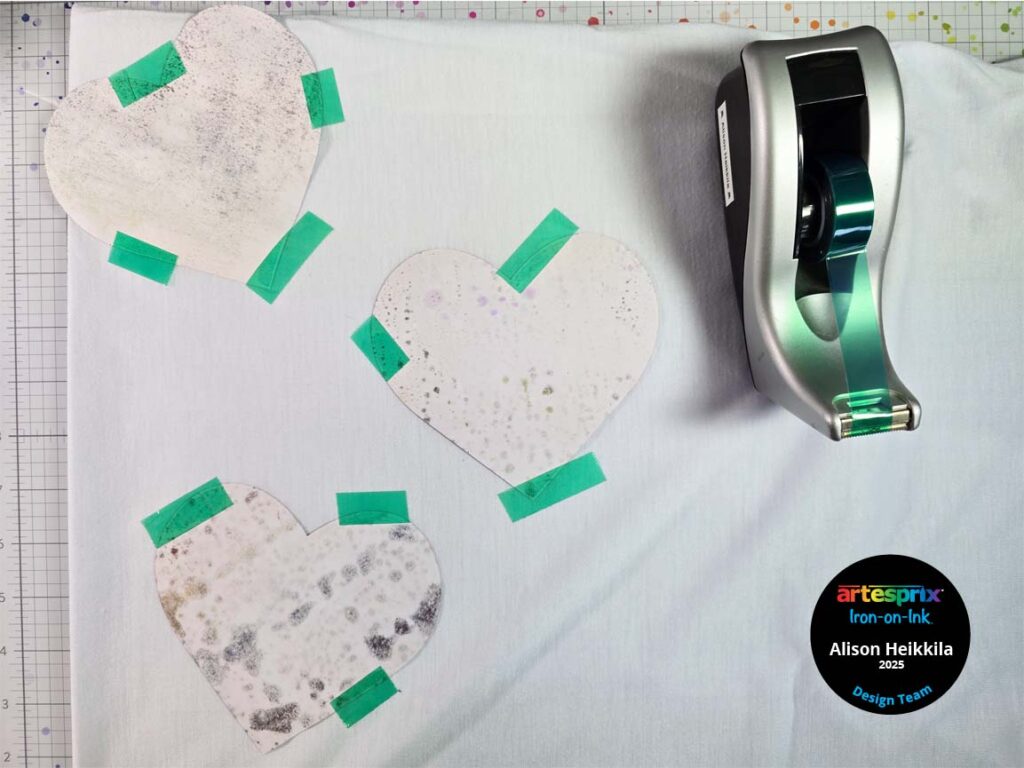
Step 5: Begin securing your hearts face down to the Pillow Case with Heat Tape. I have 3 in this photo as an example of how I arranged the hearts, but in reality, I sublimated only one heart at a time. If you have a large heat press, you can perhaps do multiples, but only one fit completely in my heat press at a time.
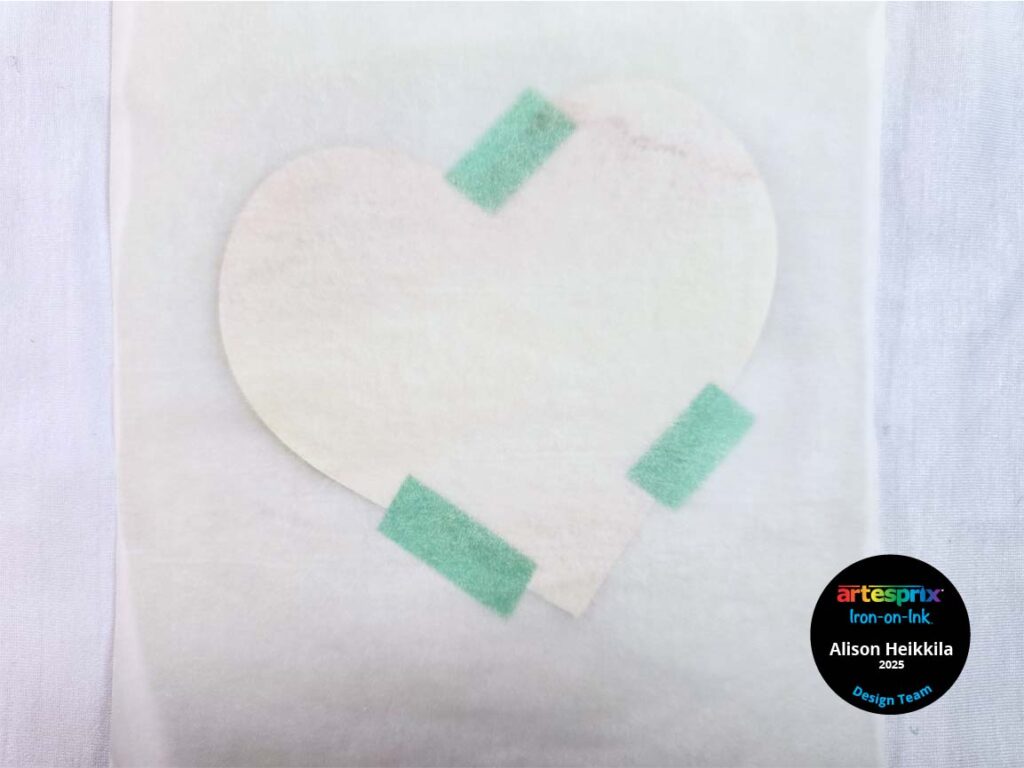
Step 6: Let’s make the Sublimation Sandwich. This sandwich not only ensures a great transfer of your design, but it will protect your heat source as well. Your sandwich will be: Protective Paper – Design – Pillow Case – Protective Paper.
Pro Tip: Add a large piece of Protective Paper to the inside of the Pillow Case before you start adhering your hearts to the outside.
Step 7: Sublimate your hearts at 400 degrees, for 45 seconds.
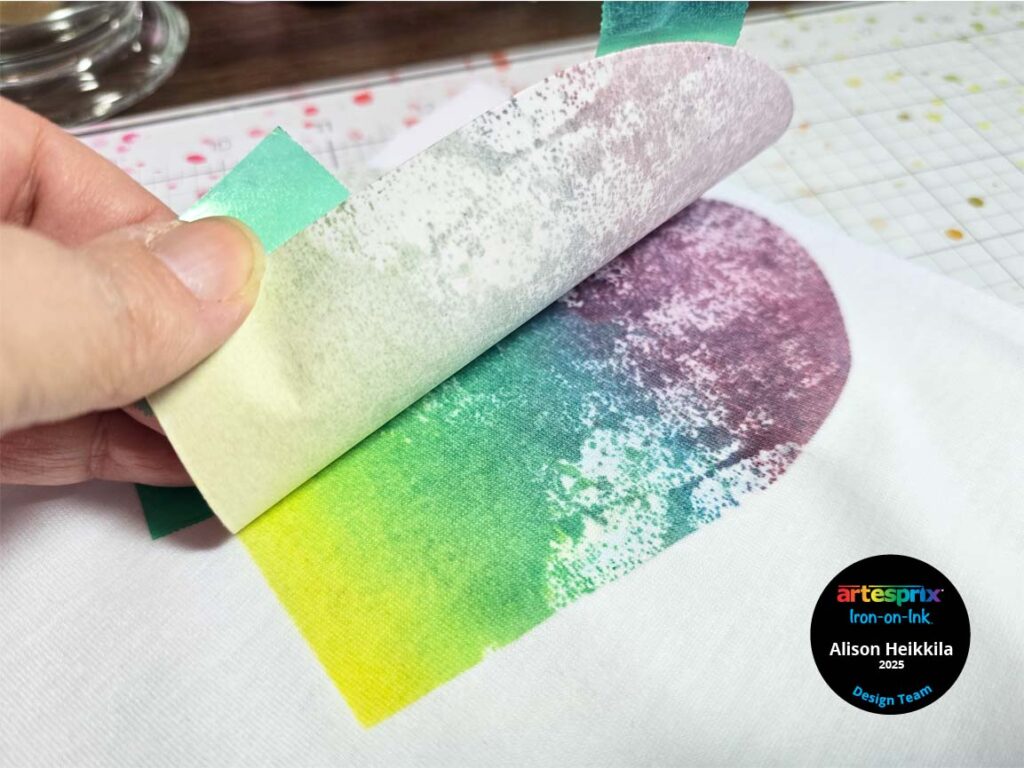
Step 8: It’s time for the Peek Test! Carefully lift up part of the design from the Pillow Case to ensure it sublimated well. If you need to sublimate again, you can place the design back down.
Step 9: Continue to sublimate all of your hearts.
Pro Tip: Have some of the hearts bleed off the edge to make your design more interesting.
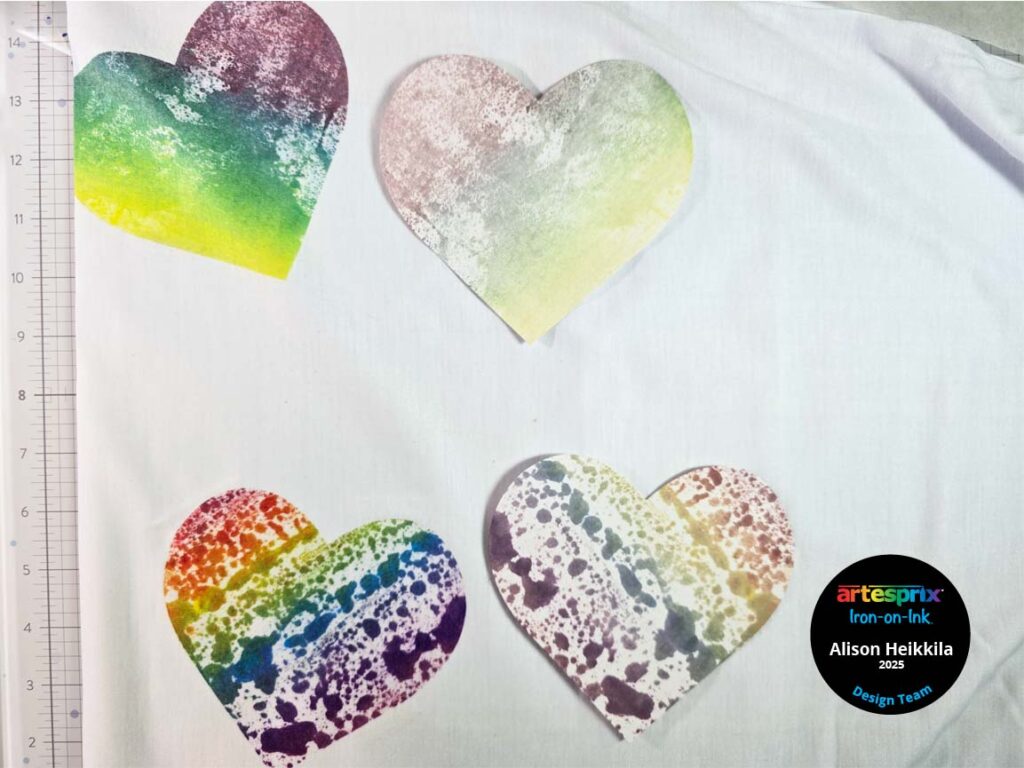
Here are 2 of my sublimated hearts next to the original papers. I never get tired of seeing how vibrant the ink colors become once they’ve been bonded to their Blank!

Here is my completed Pillow Case. I just love how different all of the hearts are. The colors are so bold and the design is really fun. Plus, I’m excited I got to use a bunch of old monoprints I had in my stash. How would you like to get more ideas on using Artesprix’s Sublimation Ink Pads, Markers, and Paint? There’s a Facebook Group that’s just for fans of Artesprix! You can click HERE to join. Also, don’t forget to visit the Artesprix store to see all of the available blanks and bundles, so you can get started with sublimation. You can use my code, ALISON10 to save 10% on your purchase! Thanks so much for stopping by. Have an inspiring day!

Leave a Reply