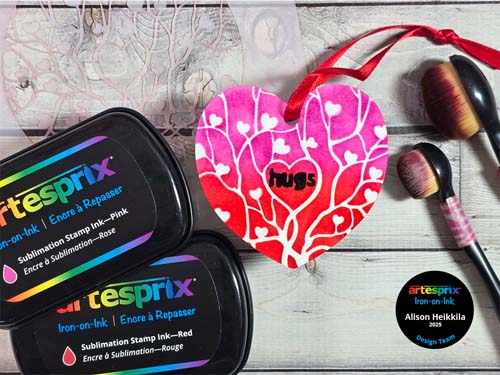
Hello! It’s time for me to share the January Blank of the Month from Artesprix. Each month, a special Blank is selected that’s only available for that month, so if you like it, you’ll want to grab it while you can! We’re featuring a sweet Heart Ornament, which comes in a pack of 2. I decided to use stencils with one of mine. Let me show you how easy it is to make this pretty ornament.
*Some affiliate links are used in this post. That means that if you shop through these links, I may receive a small compensation, at no cost to you. For more information, please see my Affiliates page, where I also have some coupon codes.
What is Iron-On Ink?
Artesprix Sublimation Markers, Ink, and Paint are specially formulated to allow you to use basic copy paper to: color, stamp, stencil, and monoprint anything you wish and turn it into a heat-transferable design. These designs are then applied to a polyester or polyester coated substrate with heat and pressure. You can use a heat press or a home iron! These designs, through this process of sublimation, will become permanent on your substrates.

Supplies:
Artesprix:
Heart Ornament
Sublimation Stamp Ink in Red, Pink, and Black
Protective Paper
Heat Tape
Multi-Purpose Cleaner
Other:
A Colorful Life Designs: Circle Love Tree (code AlFan10 to save 10%)
A Colorful Life Designs: Shadowed With Love (code AlFan10 to save 10%)
Blending Brushes
Low Tack Tape

Step 1: Trace the Heart Ornament with a pencil onto a piece of copy paper.
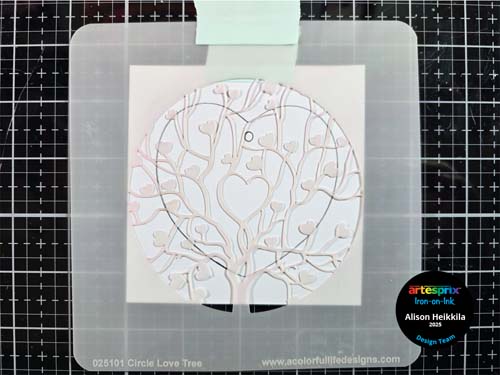
Step 2: Tape the paper to your work surface, then tape the Circle Love Tree stencil on top using low tack tape.
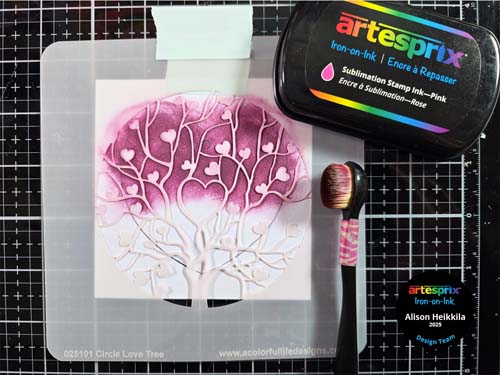
Step 3: Using a blending brush, apply the Pink Sublimation Stamp Ink to the top half of the stencil. Be sure to go past your pencil line to ensure a complete design when you sublimate.

Step 4: Apply the Red Sublimation Stamp Ink to the lower half of the stencil, again going past your pencil line. Blend the 2 colors together in the middle.
Pro Tip: Clean your stencil with Artesprix’s Multi-Purpose Cleaner.
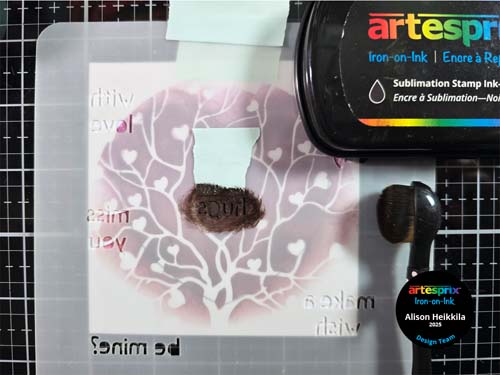
Step 5: Take the Shadowed with Love stencil and flip it over so it looks backwards. Tape the stencil so that the “hugs” is centered in the main heart that you inked. Apply low tack tape to mask off the other words above it so you don’t accidentally ink them.
Step 6: Ink the “hugs” with the Black Sublimation Stamp Ink and a blending brush.
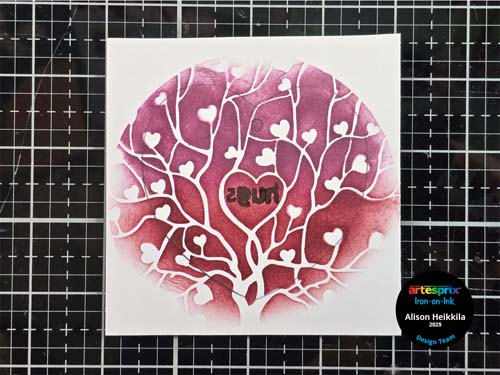
Here is what our finished design looks like. The “hugs” will be facing the correct way once it has been sublimated.
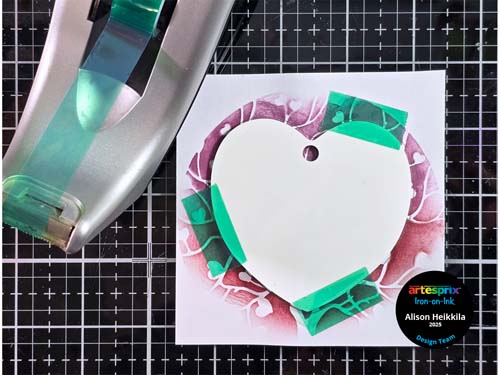
Step 7: Use Heat Tape to attach the Heart Ornament to the completed design. You can sublimate on both sides of the ornament!
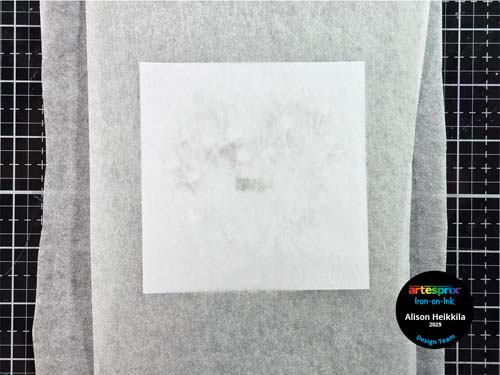
Step 8: It’s time to make the Sublimation Sandwich. This sandwich not only ensures a great transfer of your design, but it will protect your heat source as well. Your sandwich will be: Protective Paper – Design (face down) – Heart Ornament – Protective Paper.
Step 9: Sublimate the Heart Ornament at 400 degrees for 75 seconds.
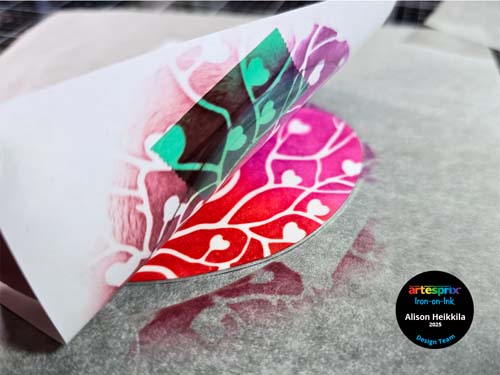
Step 10: It’s time for the Peek Test! Lift up a corner of the design to make sure it sublimated properly. If it didn’t, you can sublimate again.
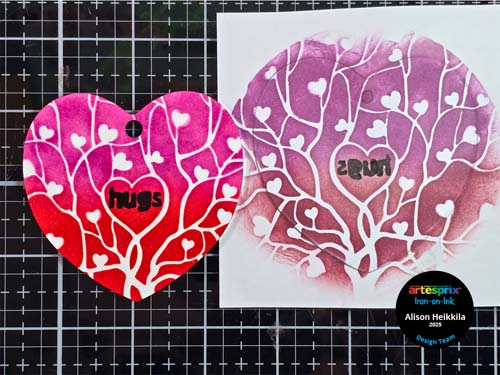
Here is what our sublimated design looks like next to the original art. Look at how bold those colors are. They really come to life once you’ve sublimated them!
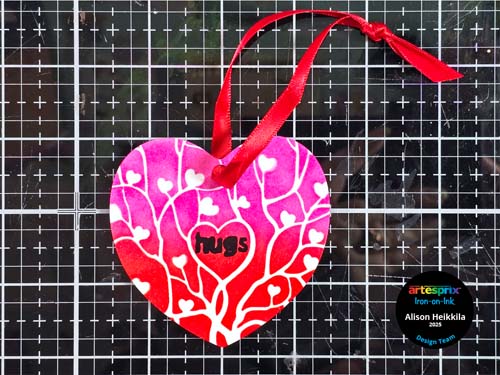
Step 11: Add the accompanying ribbon to the Heart Ornament.
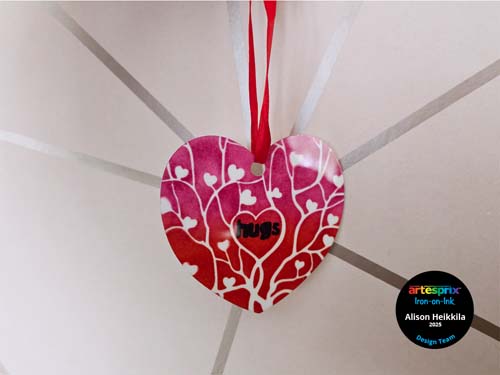
This Heart Ornament came out so sweet, and it was really quick to make! Plus, don’t forget that you can also sublimate a design on the back too. How would you like to get more ideas on using Artesprix’s Sublimation Ink Pads, Markers, and Paint? There’s a Facebook Group that’s just for fans of Artesprix! You can click HERE to join. Also, don’t forget to visit the Artesprix store to see all of the available blanks and bundles, so you can get started with sublimation. You can use my code, ALISON10 to save 10% on your purchase! Thanks so much for stopping by. Have an inspiring day!
Thank you so much for your kind words!