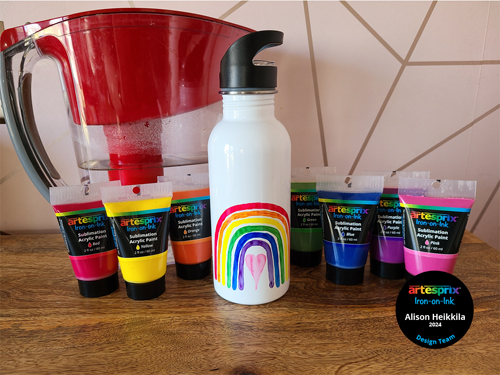
Greetings! Have you heard the news? Artesprix has added some pre-mixed colors to their Sublimation Acrylic Paint line! You can now get green, purple, pink, orange, and brown in addition to the original colors! And, they’re in great little tubes now as well! I wanted to showcase (almost) all of the new colors, so I decided to paint a rainbow on the Water Bottle. This was so simple and fun to do, and you can really see how beautiful these colors are.
*Some affiliate links are used in this post. That means that if you shop through these links, I may receive a small compensation, at no cost to you. For more information, please see my Affiliates page.
What is Iron-On Ink?
Artesprix Sublimation Markers, Ink, and Paint are specially formulated to allow you to use basic copy paper to: color, stamp, stencil, and monoprint anything you wish and turn it into a heat-transferable design. These designs are then applied to a polyester or polyester coated substrate with heat and pressure. You can use a heat press or a home iron! These designs, through this process of sublimation, will become permanent on your substrates.
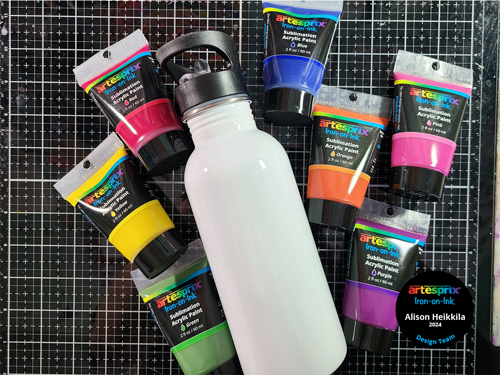
Supplies:
Artesprix:
Water Bottle
Sublimation Acrylic Paints: Red, Orange, Yellow, Green, Blue, Purple, and Pink
Heat Tape
Protective Paper
Other:
Craft Express: Pro Easy Auto Mug Press
Paint Brush
Pencil
Copy Paper
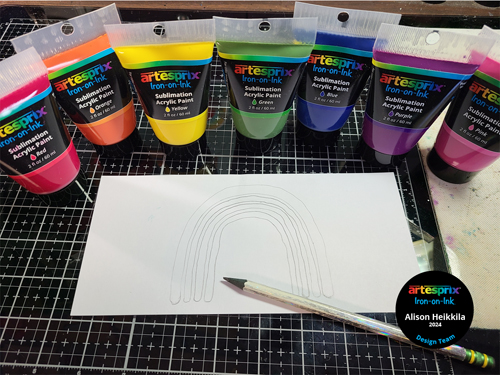
Step 1: Draw a rainbow on a piece of copy paper. I made mine kind of wonky and imperfect. I also added a heart. The pencil marks will not show when you sublimate.
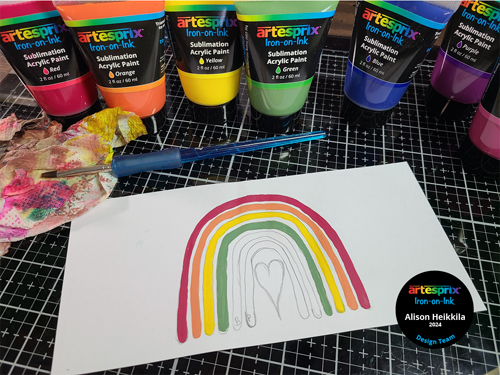
Step 2: Paint in your rainbow and heart with the Artesprix Sublimation Acrylic Paints. I recommend 2 coats.

Here is the finished painted design. It’s really cute! I can’t wait to see how the colors look when they’ve been sublimated!
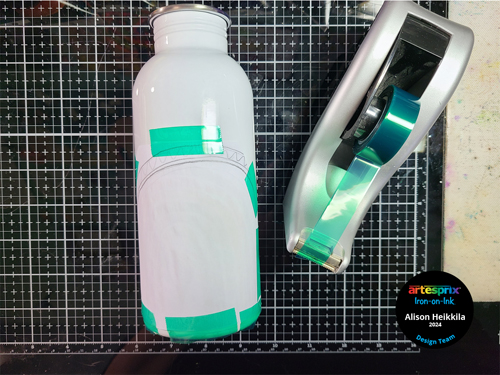
Step 3: Trim some of the excess paper away from the rainbow.
Step 4: Attach the design to the Water Bottle using Heat Tape. I kept my design low on the Water Bottle because the Heat Press I used is meant for mugs, which are shorter than this bottle.
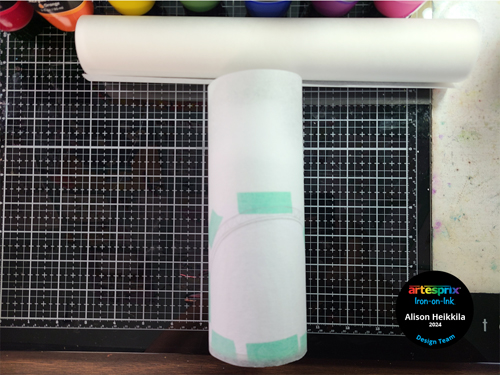
Step 5: Wrap the Water Bottle with Protective Paper. You can secure it with a piece of Heat Tape.
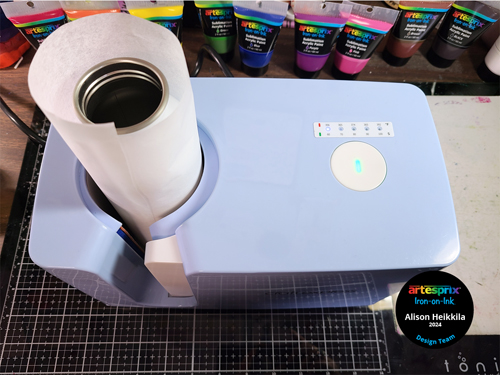
Step 6: Have your Heat Press set to 400 degrees (or as close as possible to that) and press the Water Bottle for at least 30 seconds. The Mug Press I used has settings that start at 60 seconds, so I experimented with that and found it worked just fine.
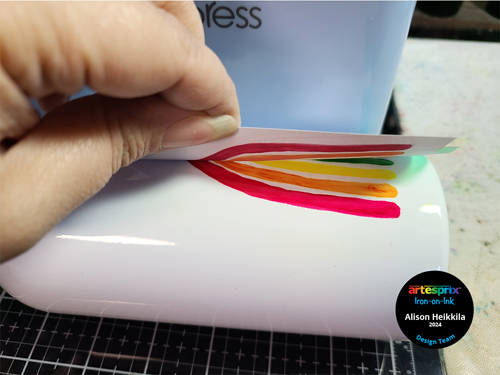
Step 7: It’s time for the Peek Test! Carefully lift up a small portion of the paper away from the Water Bottle to make sure your design sublimated well. I’m already loving how this looks!
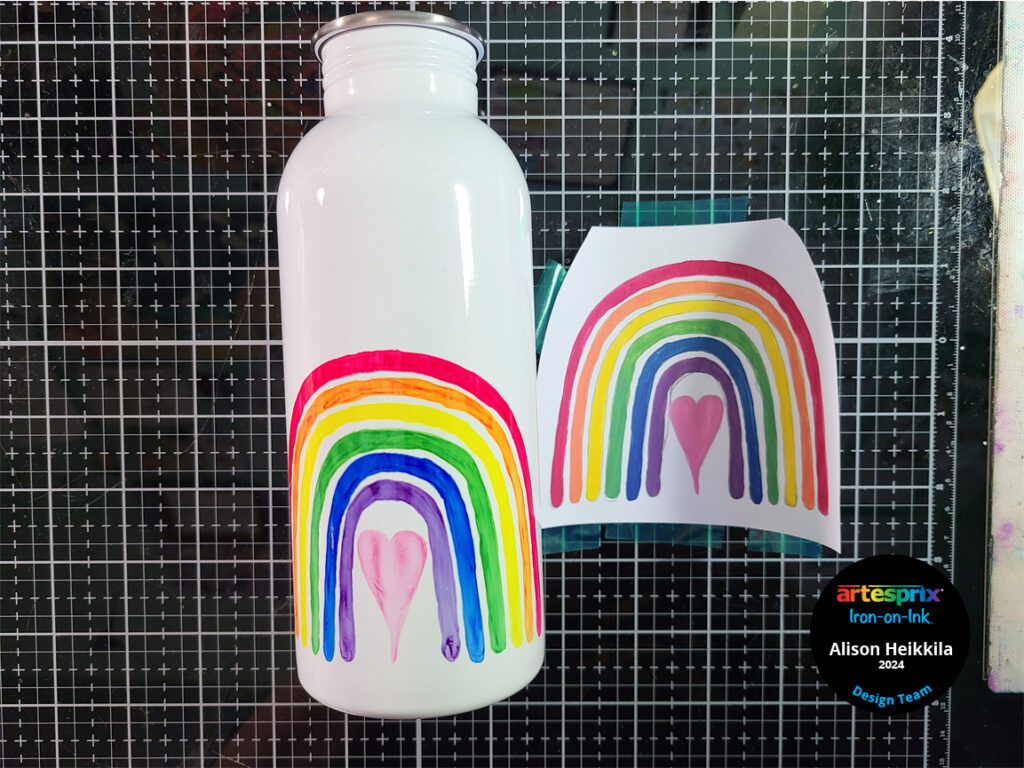
Here is what my design looks like once it’s been sublimated. That rainbow is so cute, and the Sublimation Acrylic Paint colors are so vibrant!
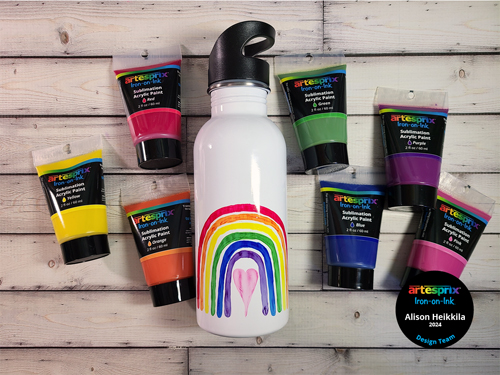
I love to mix paints. I really do. But not everyone does, so it’s fantastic that Artesprix now has a wider range of colors available that don’t require mixing. Of course, you can still mix paints until your heart’s content, but you have more options that don’t require it now. And as you can see, the colors are just fabulous. How would you like to get more ideas on how to use Sublimation Markers? There’s a Facebook Group that’s just for fans of Artesprix! You can click HERE to join. Also, don’t forget to visit the Artesprix store to see all of the available blanks and bundles, so you can get started with sublimation. You can use my code, ALISON10 to save 10%, and don’t forget that Blanks are 25% off for the month of March! Thanks so much for stopping by. Have an inspiring day!

Leave a Reply