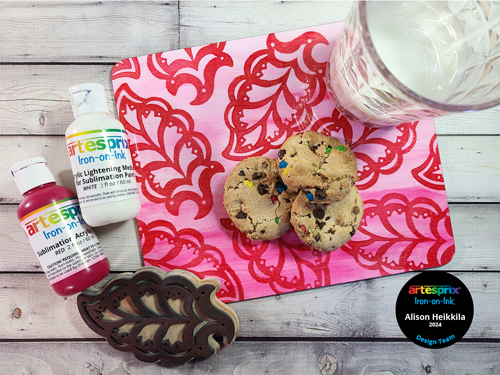
Hello! Today I’d love to show you a fun and simple way to create a fun design on a Trivet using Artesprix products. The Trivet is the February Blank of the Month, which means it’s only going to be available until the 29th (did you know it was a leap year?). This Blank gives you plenty of room to make a large design, so I decided to break out a really old foam stamp that’s from 2004. The bold design is perfect for the Trivet, and a simple ombre paint job completes the look.
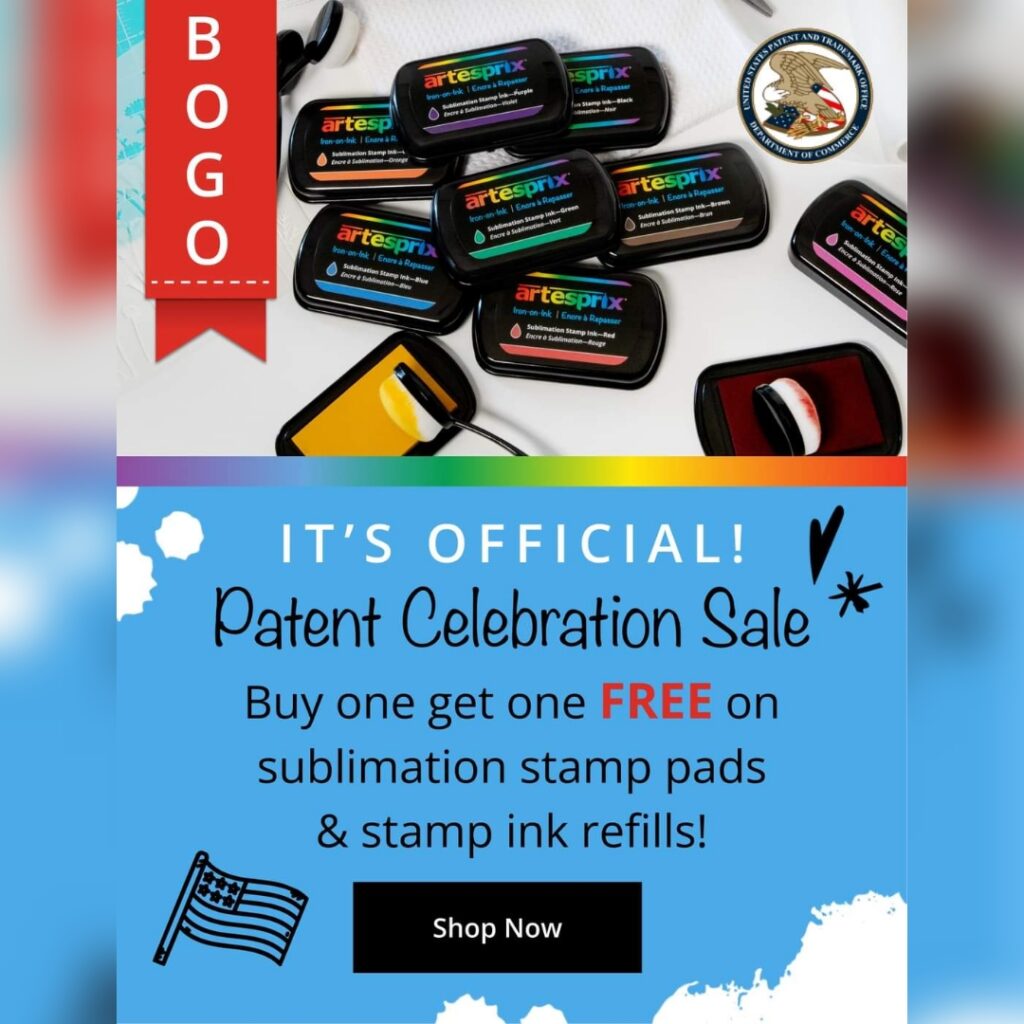
There is a MAJOR sale going on! For the month of February, Artesprix is celebrating their new US Patent on their Sublimation Stamp Pads and Stamp Ink Refills. Use these codes at checkout: BOGO STAMP PAD & BOGO INK REFILL.
*Affiliate links are used in this post. That means that if you shop through these links, I may receive a small compensation, at no cost to you.
What is Iron-On Ink?
Artesprix Sublimation Markers, Ink, and Paint are specially formulated to allow you to use basic copy paper to: color, stamp, stencil, and monoprint anything you wish and turn it into a heat-transferable design. These designs are then applied to a polyester or polyester coated substrate with heat and pressure. You can use a heat press or a home iron! These designs, through this process of sublimation, will become permanent on your substrates.
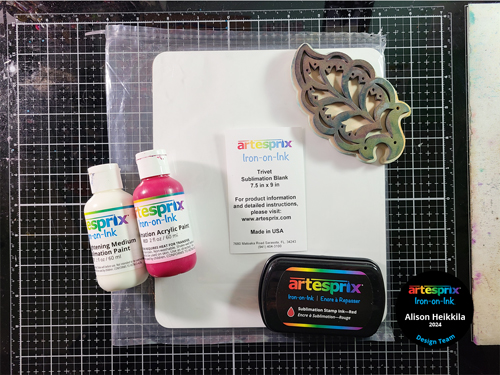
Materials:
Artesprix:
Trivet
Sublimation Acrylic Paint (Red & White)
Sublimation Stamp Pad: Red
Protective Paper
Heat Tape
Other:
Paint Brush
Foam Stamp (mine is from Plaid Enterprises)
Work surface/palette for paint
Copy Paper
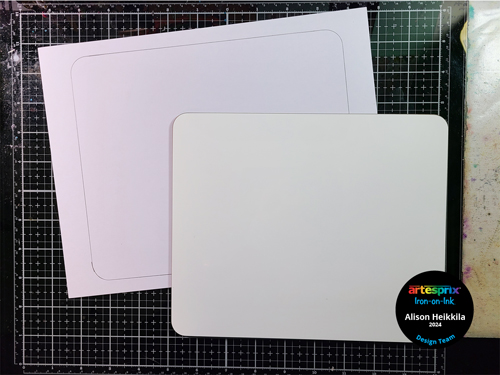
Step 1: Trace around the Trivet with a pencil on a piece of copy paper.
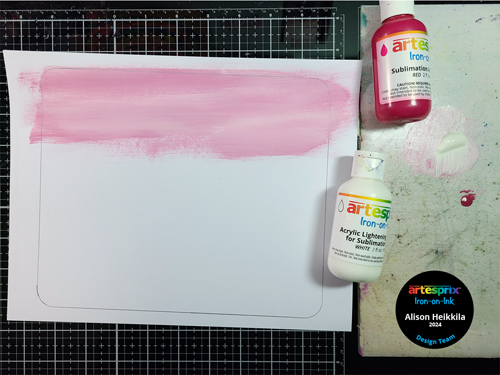
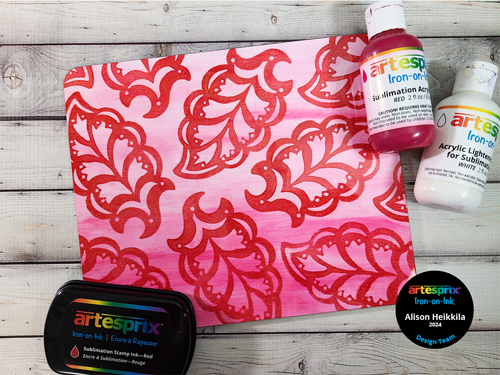
Step 2: Apply a few drops of red and plenty of white paint to your palette. Mix the paints and apply to the paper. I started with a darker shade of pink and worked my way to a lighter shade as I went down the piece of paper to create an ombre effect. Be sure to go past your pencil lines so you have no white areas when you sublimate.
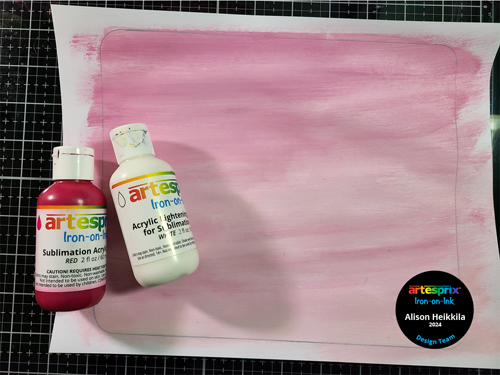
This is what the paint looks like after it’s dried. You can see how pretty the ombre is. Now, let’s decorate this!
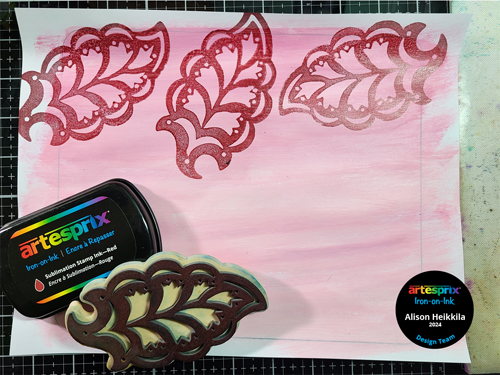
Step 3: Ink up the foam stamp with the Red Sublimation Stamp Pad. The foam accepts the ink really well. I like to start in one corner and work my way across, turning the stamp each time.
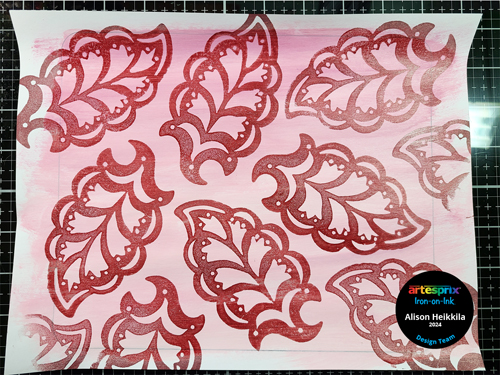
Here’s what the completed design looks like. I love how much the red stands out against the background.
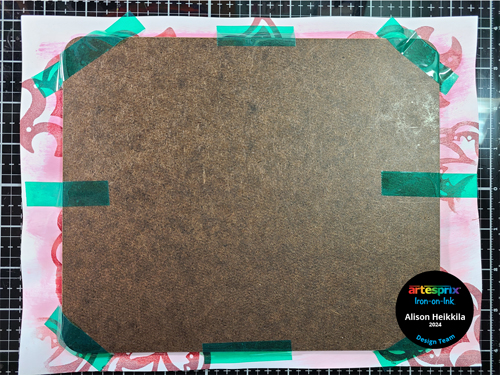
Step 4: Tape the Trivet face down on to the dry design with Lots of Heat Tape. Be sure to really secure this, as the Trivet is on the thicker and heavier side, and you don’t want it to shift or fall apart at any point accidentally.
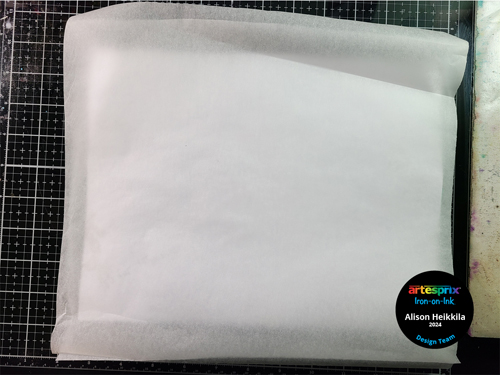
Step 5: Flip the taped panel and design over and put a piece of Protective Paper on the top and bottom, creating the Sublimation Sandwich.
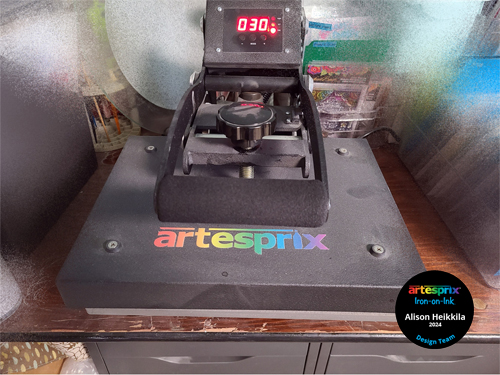
Step 6: Press the Trivet in your Heat Press for 105 seconds at 400 degrees. Don’t forget to adjust the height of the upper panel before trying to press, as this is a thick Blank.
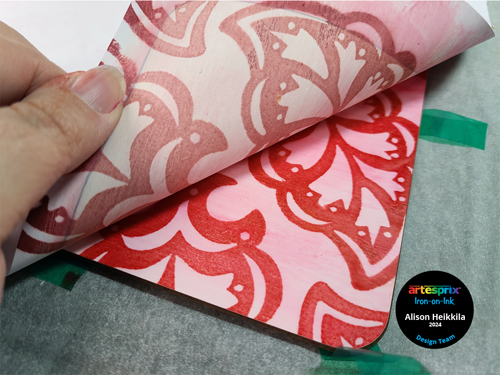
Step 7: Time for the Peek Test! Very carefully lift one corner of the paper away from the Trivet to make sure the design sublimated well. If you need to re-sublimate, you can do so now, since the design is still mostly attached to the Blank.
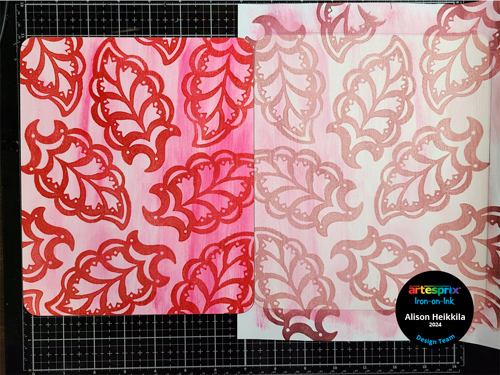
Here’s what my finished Trivet looks like next to my original design. I just love those vibrant colors together! The bold stamp looks so striking.
I am just loving how this turned out. I love the shine on this Blank and the amount of room we have to create a unique design. This would make an terrific housewarming gift, when paired with some cheese and crackers. How would you like to get more ideas on using Artesprix’s Sublimation Ink Pads, Markers, and Paint? There’s a Facebook Group that’s just for fans of Artesprix! You can click HERE to join. Also, don’t forget to visit the Artesprix store to see all of the available blanks and bundles, so you can get started with sublimation. Don’t forget to use my code, aLISON10 to save 10% on your purchase. Thanks so much for stopping by. Have an inspiring day!

Leave a Reply