Hello! I am so excited to share this project with you. It’s part of a collaboration that Artesprix is doing with Heffy Doodle, and what a perfect pairing it is! Hop along as fabulous designers from both Heffy Doodle and Artesprix show you how to use your paper crafting supplies with Iron-on-Ink. There are so many ways to get creative with sublimation craft ink using the amazing Heffy Doodle designs! More hop information is at the bottom of this post.
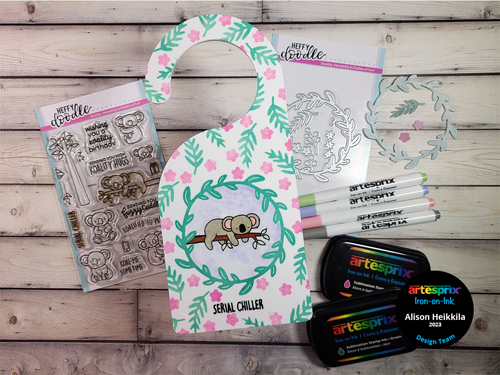
I worked with the Door Hanger today, which is great because you can sublimate on both sides! I only used one this time, but I might wind up doing the other side at a later date. This seriously came out so cute, and I hope you think so too!
*Some affiliate links are used in this post. That means that if you shop through these links, I may receive a small compensation, at no cost to you. For more information, please see my Affiliates page.
What is Iron-On Ink?
Artesprix Sublimation Markers, Ink, and Paint are specially formulated to allow you to use basic copy paper to: color, stamp, stencil, and monoprint anything you wish and turn it into a heat-transferable design. These designs are then applied to a polyester or polyester coated substrate with heat and pressure. You can use a heat press or a home iron! These designs, through this process of sublimation, will become permanent on your substrates.
Supplies:
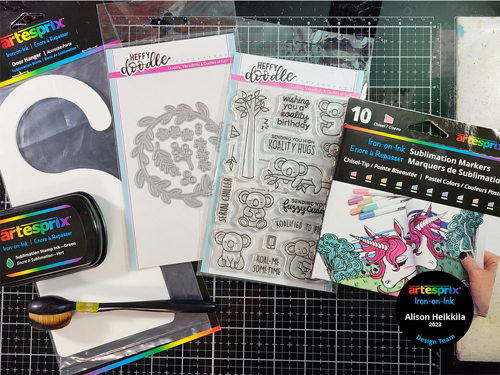
Artesprix:
Door Hanger
Sublimation Stamp Pads in Green, Pink, and Black
Pastel Sublimation Markers in Rose, Periwinkle, Fog, and Seafoam
Fine-Tip Sublimation Markers in Black, Brown, and Gray
Mirror Stamp Plate
Acrylic Stamping Block
Heat Tape
Protective Paper
Multi-Purpose Cleaner
Other:
Heffy Doodle: Koality Hugs Stamp Set
Heffy Doodle: Leafy Laurel Circle Dies
Craft Foam Sheet
MISTI Stamping Tool
Temporary Adhesive
Copy Paper
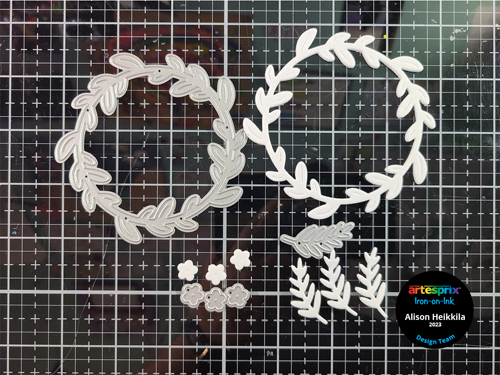
Step 1: Die cut the Leafy Laurel elements from craft foam. We will use these as stamps.
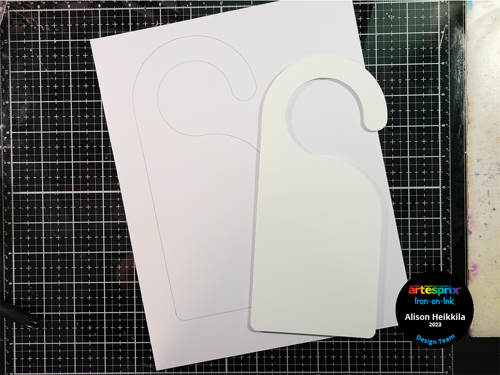
Step 2: Trace the Door Hanger in pencil onto a piece of copy paper.
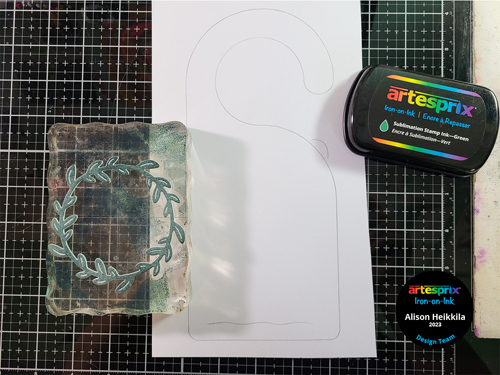
Step 3: Use temporary adhesive to attach the Laurel Leaf circle to an acrylic block. The foam tends to be too thin to use in a MISTI. Ink up the stamp with the Green Sublimation Ink Pad and stamp it on to your copy paper. There are some additional pencil marks on my paper so that I would get the proper placement of the stamp.
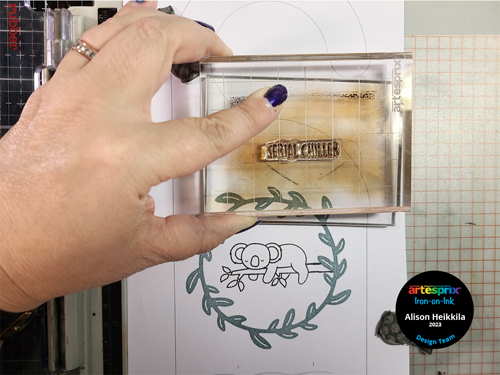
Step 4: Let’s get the sentiment onto our design. We need to reverse letters and numbers so that when we sublimate, they are facing the correct direction. To do that, ink your sentiment with the Black Sublimation Ink Pad, then stamp it onto the Mirror Stamp Plate.
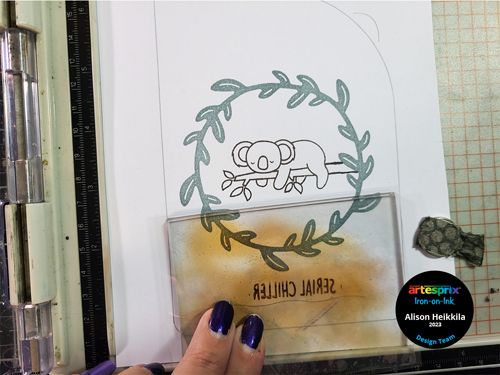
Step 5: Stamp the sentiment onto your design with the Mirror Stamp Plate. The sentiment will now be reversed.
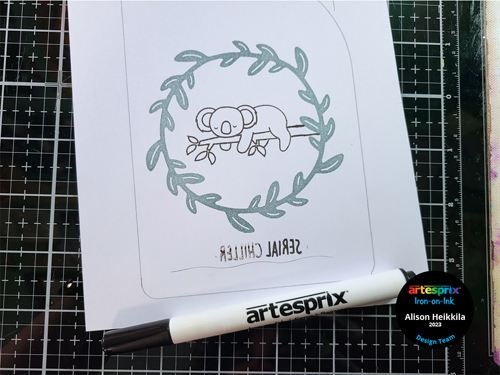
Step 6: The words were a little blotchy because the stamp was new and I didn’t condition it very well. To fix this, go over your sentiment with the Fine-Tip marker in black.
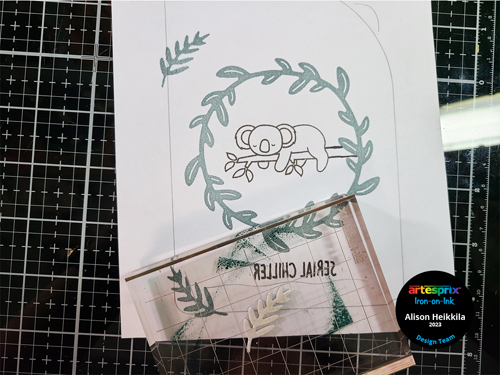
Step 7: Adhere at least one of the leaf stamps that were die cut with foam to an acrylic block with temporary adhesive. Stamp them all around the outline, being sure to leave room for the flowers. Make sure to go beyond the pencil line so you have a continuous design.
Step 8: Stamp the flowers using the Pink Sublimation Ink Pad.
Step 9: Color in the Koala with the Sublimation Markers. I also scribbled the Periwinkle color onto my work surface, added some water, and painted in my sky with a brush.
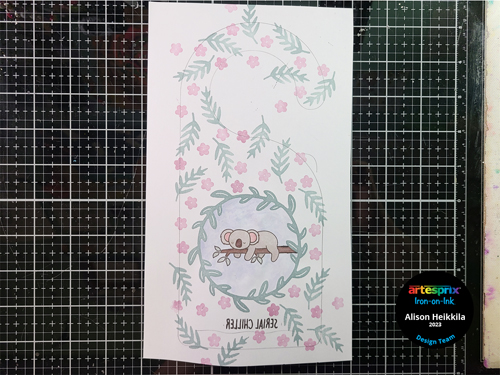
Here is my completed design! It is so adorable.
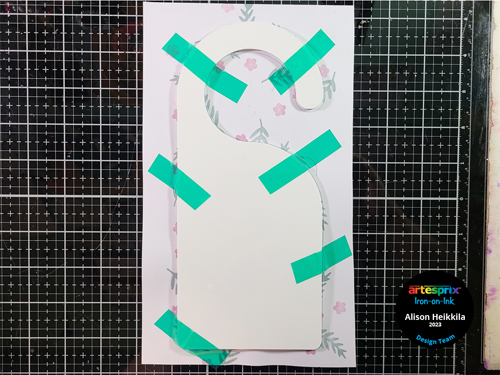
Step 10: Use Heat Tape to adhere the Door Hanger to the finished design.
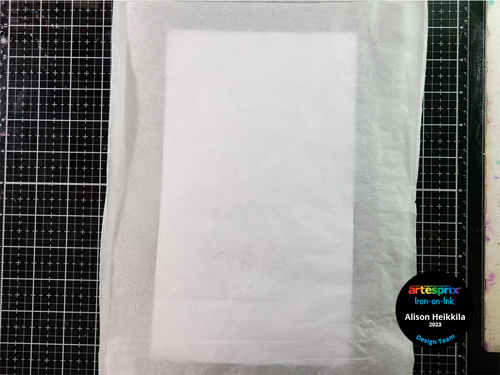
Step 11: It’s time for the Sublimation Sandwich! Add a layer of siliconized paper to the top and bottom of your Blank. Your sandwich will be: Protective Paper-Colored Design-Blank-Protective Paper. The Protective Paper prevents any images accidentally transferring to either side of your Heat Press or to your home iron.
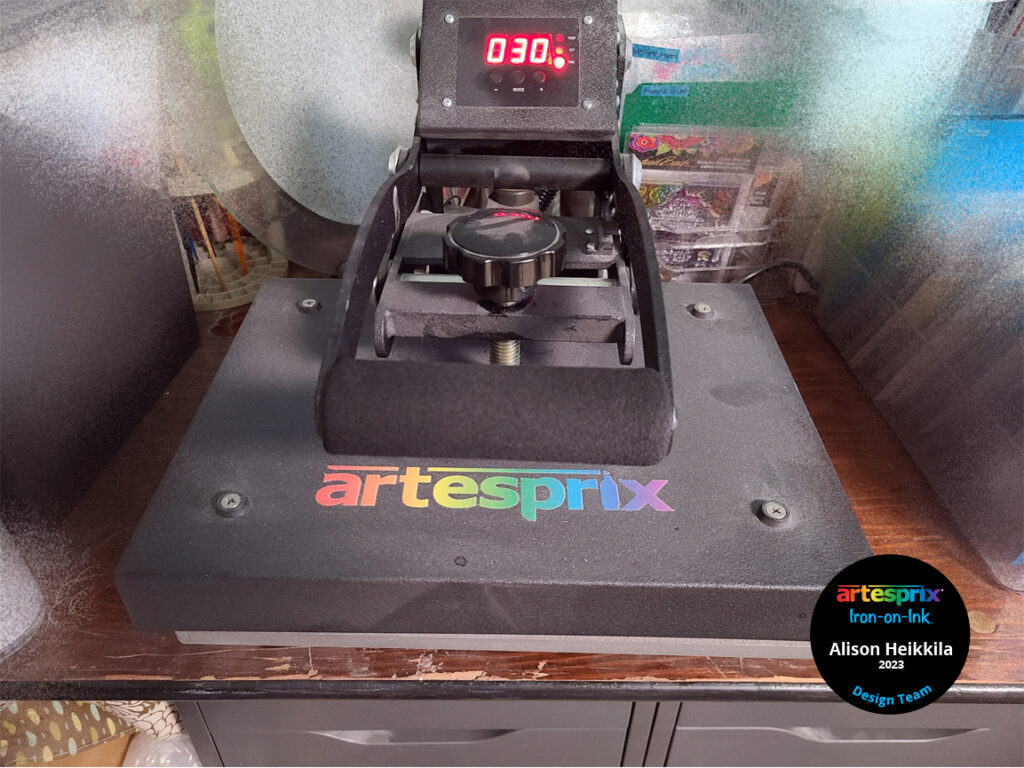
Step 12: Sublimate the Door Hanger for 90 seconds at 400 degrees.
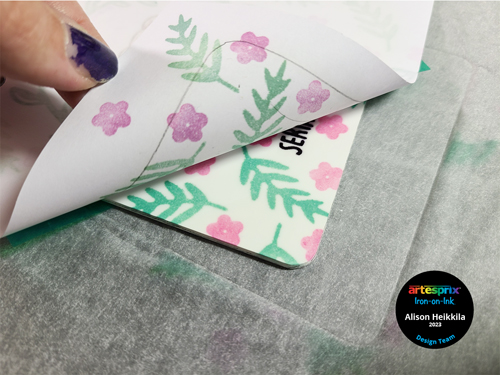
Step 13: Time for the Peek Test! Carefully lift a small portion of your art off of the Blank to ensure a good transfer. If you need to re-press your piece, you can do it since you haven’t moved the art out of place. This looks great, so we can remove the rest of the paper and Heat Tape.
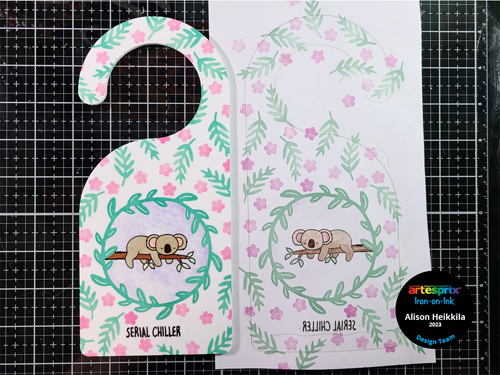
Here is a comparison of the finished Door Hanger with the original art. Look at how vibrant those colors are now!
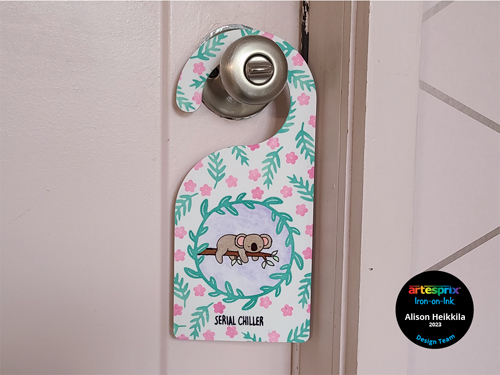
And here is the finished Door Hanger on display. This came out so cute. I may add koalas that are awake on the other side, since there are so many adorable options in the Koality Hugs stamp set. I’m really loving this collaboration with Heffy Doodle! To be entered to win the giveaway, all you need to do is comment at each stop along the Blog Hop!
Artesprix will be giving away $30 (US addresses only) and Heffy Doodle £20 to their stores! Be sure to comment before 11:59 PM EST on November 27th to be entered to win!
Each company will post their random winner on November 29th at 10AM EST!
START THE HOP HERE:
https://heffydoodle.com/blog/
How would you like to get more ideas on using Artesprix’s Sublimation Ink Pads, Markers, and Paint? There’s a Facebook Group that’s just for fans of Artesprix! You can click HERE to join. Also, don’t forget to visit the Artesprix store to see all of the available blanks and bundles, so you can get started with sublimation. You can use my code, ALISON10 to save 10% off of your purchase. Thanks so much for stopping by. Have an inspiring day!

Leave a Reply