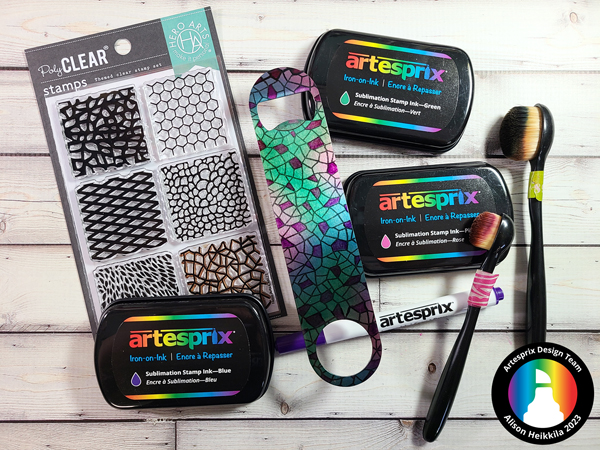
Hello! I’m Alison Heikkila and I’ve got a fun Artesprix project to share with you that uses the cool Bottle Opener as a Blank (AKA substrate) and a fantastic stamp set from Hero Arts called Tiling Textures. This stamp set makes it easy to connect the patterns on the stamps to create as big of a design that you need seamlessly. I have wanted this set for a while, and I knew using any of the patterns in the set would look great on the Bottle Opener. We’ll use some of Artesprix’s Ink Pads to add color to the project.
*Affiliate links are used in this post. That means that if you shop through these links, I may receive a small compensation, at no cost to you.
What is Iron-On Ink?
Artesprix Sublimation Markers, Ink, and Paint are specially formulated to allow you to use basic copy paper to: color, stamp, stencil, and monoprint anything you wish and turn it into a heat-transferable design. These designs are then applied to a polyester or polyester coated substrate with heat and pressure. You can use a heat press or a home iron! These designs, through this process of sublimation, will become permanent on your substrates.
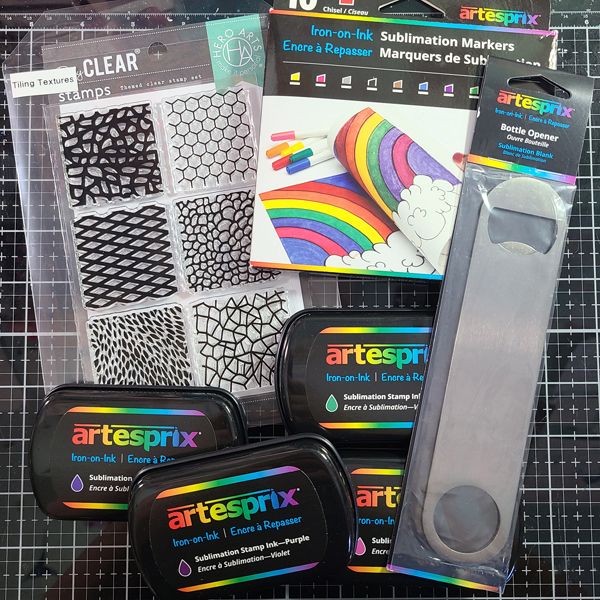
Materials:
Bottle Opener
Ink Pads (I used Black, Green, Blue, and Pink)
Original Sublimation Markers (I used Black and Purple)
Protective Paper
Heat Tape
Hero Arts: Tiling Textures Stamps
Blending Brushes (I have a dedicated brush for each color)
MISTI Stamping Tool or an Acrylic Block
Heat Source: Home Iron or Heat Press
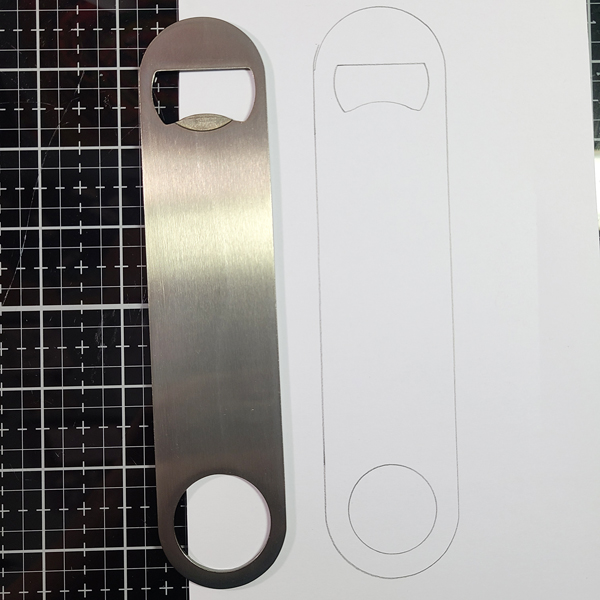
Step 1: Trace the bottle opener onto a piece of copy paper with a pencil.None of your pencil lines will transfer during the sublimation process.
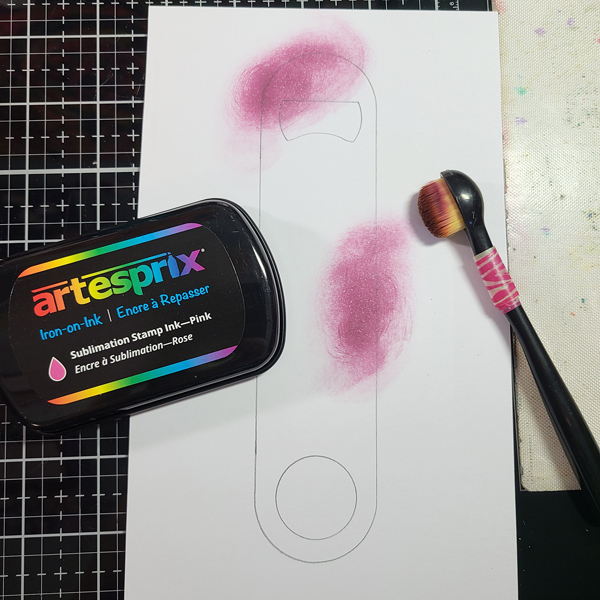
Step 2: Ink up a Blending Brush and apply a color in a circular motion. I applied the pink in random spots.
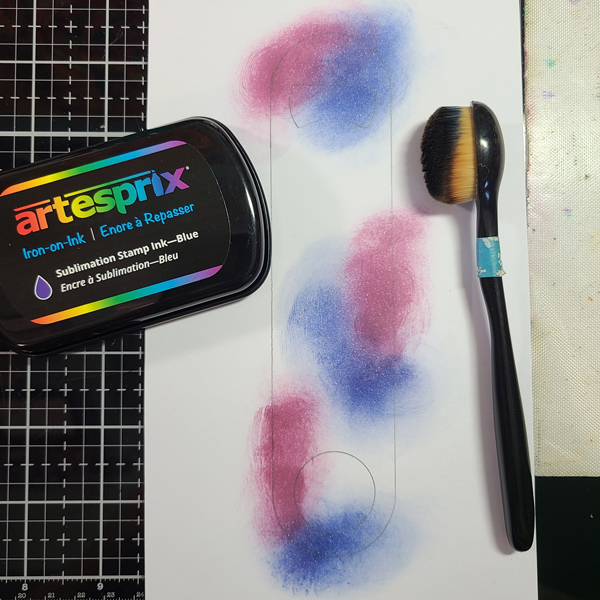
Step 3: Repeat the inking process with the blue.
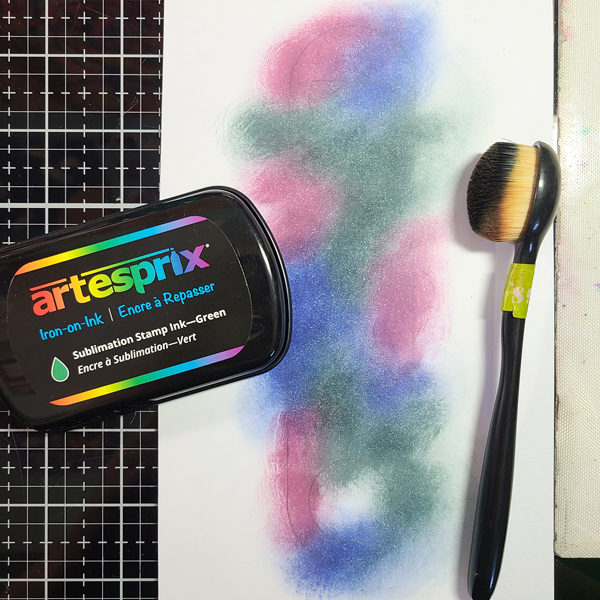
Step 4: Repeat with the green ink. Cover the entire traced outline and be sure to go past the line…just in case your Blank shifts when you tape it down later. If you need to retrace the outline to darken it, you can.
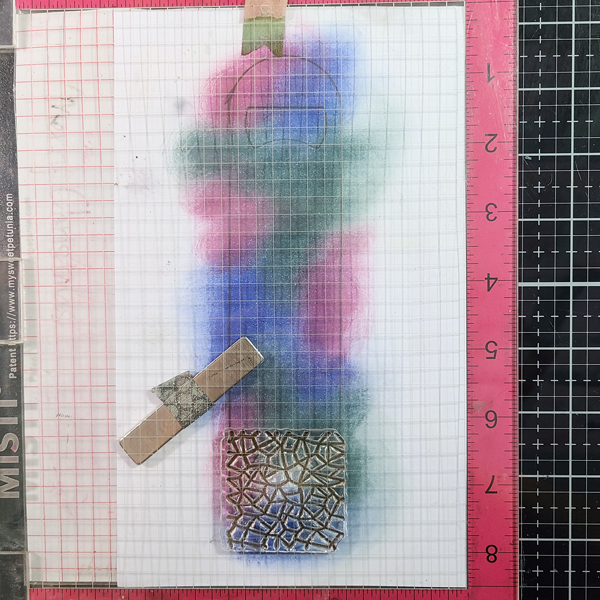
Step 5: Apply one of the Tiling Textures stamps to the bottom of the design, going past the outline a bit. If you’re using some type of stamp platform, close the door to pick up the stamp. If you’re using an acrylic block, simply apply the stamp to the block. Ink the stamp with Artesprix’s black ink.
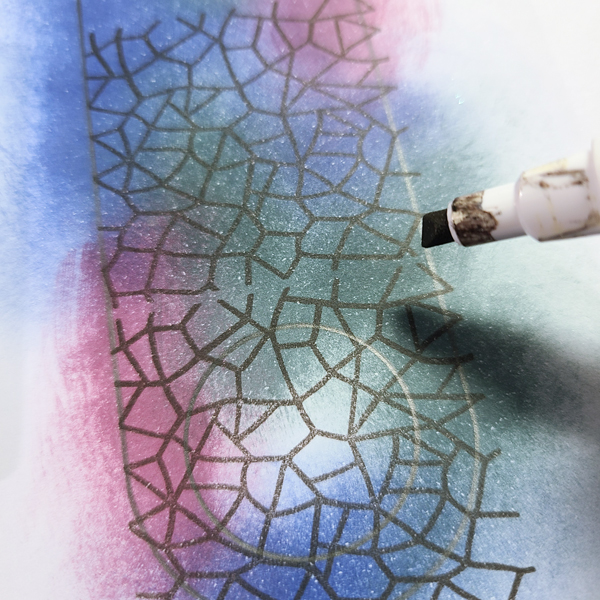
Step 6: Continue to stamp up the entire outline. Lining up the tiles is pretty easy, but if you find that you’ve got a bit of a gap between stampings, as I did here, you can use your Black Artesprix Marker to join the lines together. Be sure to have your markers face down for at least 20 minutes before you start using them.
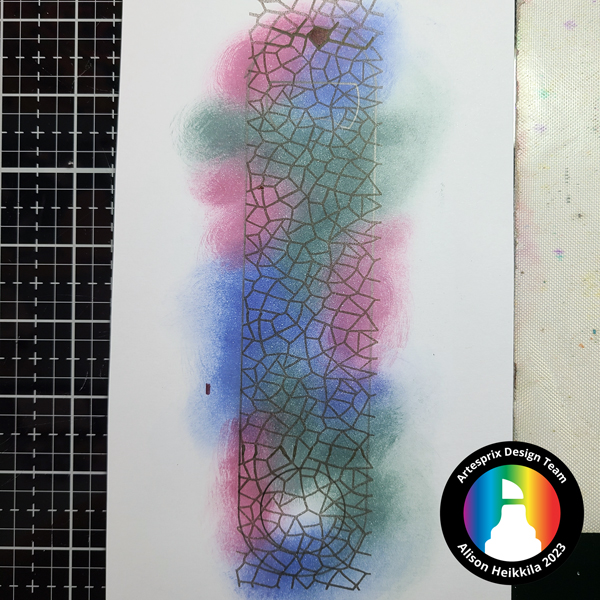
This is what my completed stamped design looks like. You can stop here if you’d like. But I wanted to take it a little further.
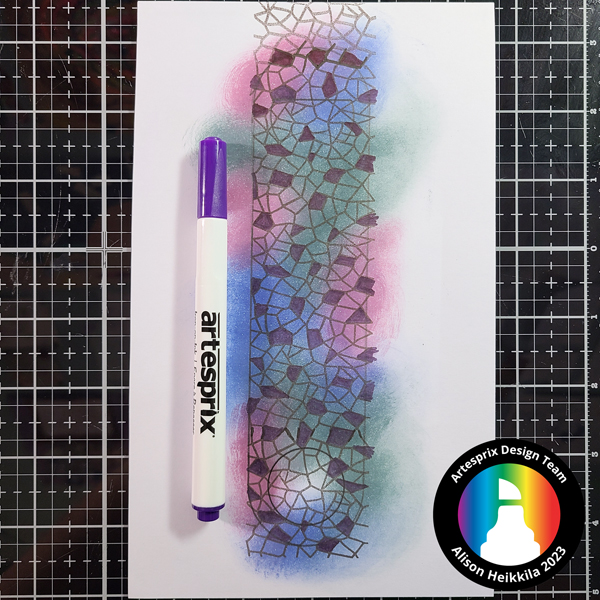
Step 7: Fill in random openings with Artesprix’s purple marker. Try to fill them in randomly, and not have too many in any one area.
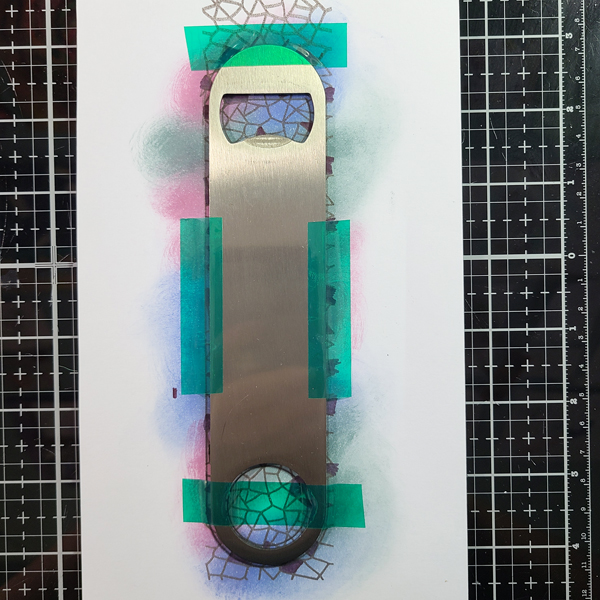
Step 8: Tape your Bottle Opener Blank to the finished art. You can print on either side of it, which is awesome because you can do two different designs!. If you are using a Heat Press, you don’t need to use too much tape. If you are using a Home Iron, be sure to tape around the Bottle Opener Blank completely so that it doesn’t shift while you’re doing your sublimation.
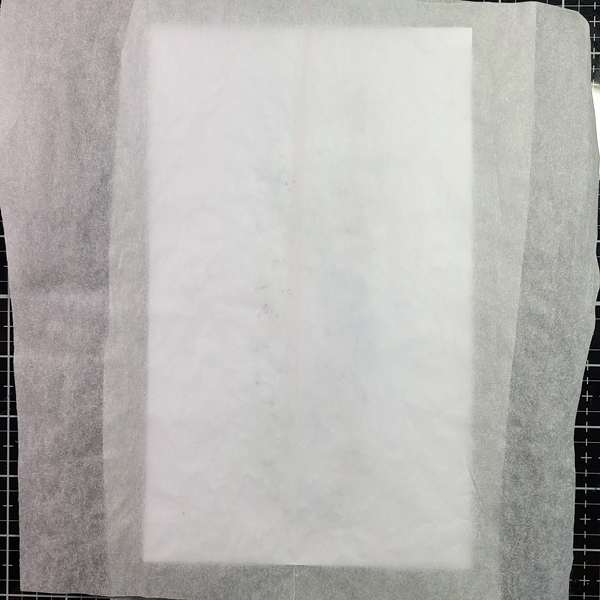
Step 9: Let’s make our Sublimation Sandwich! Add a layer of siliconized paper to the top and bottom of your Blank. Your sandwich will be: Protective Paper-Colored Image-Blank-Protective Paper. The Protective Paper prevents any images accidentally transferring to either side of your Heat Press or to your home iron.
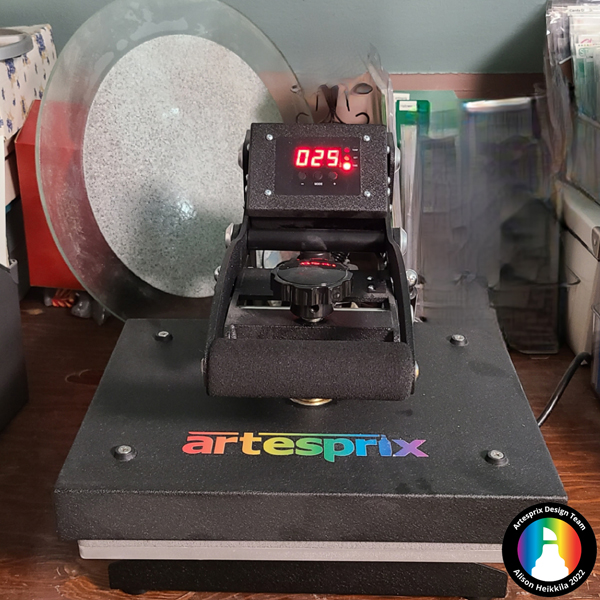
Step 10: Press the Sublimation Sandwich at 400 degrees for 75 seconds.
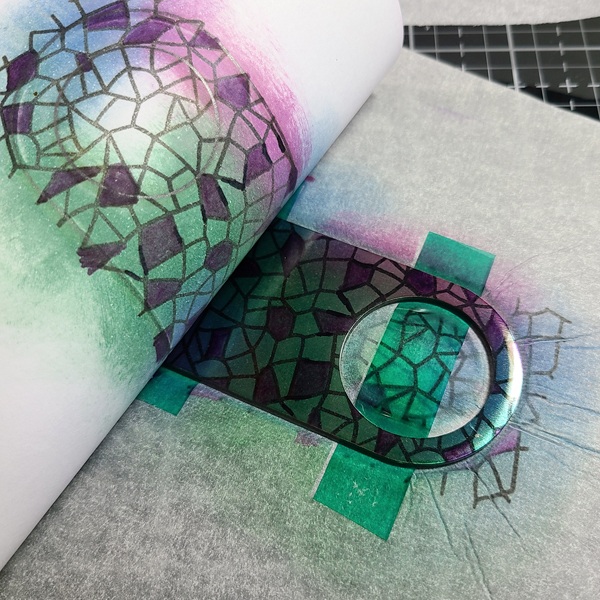
Step 11: It’s time for the peek test! This is one of my favorite steps. Very carefully peel back part of the paper to see how your image has transferred. This Bottle Opener will be HOT! Be sure to not remove too much, in case you need to press the item again.
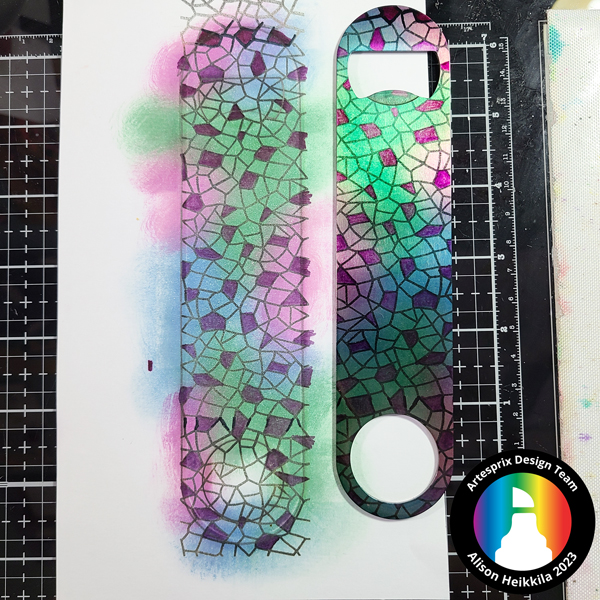
Here is what my design looks like next to the completed Bottle Opener. I love that since the Bottle Opener is metal, it makes the colors look metallic. Don’t forget, you can also sublimate the other side!
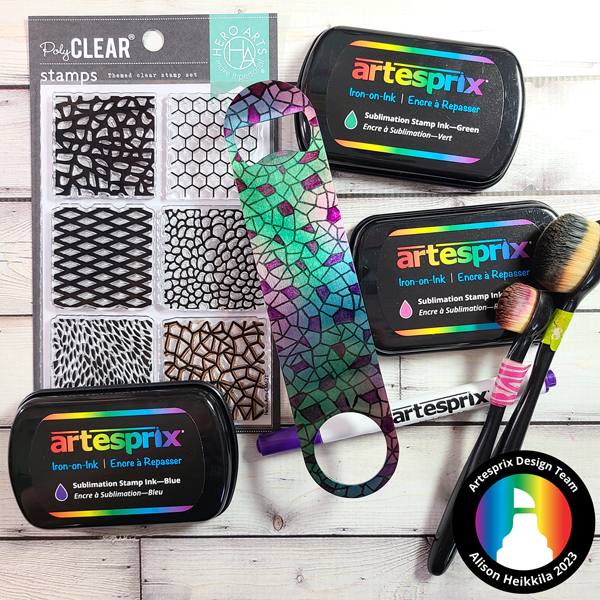
The Tiling Textures stamps from Hero Arts can work so well with many Blanks, since you can easily make your design any size you want by lining up the stamps. And since you can customize your design however you like, because of the wide variety of mediums from Artesprix, you can create the perfect gift for anyone in your life. How would you like to get more ideas on using Artesprix’s Sublimation Ink Pads, Markers, and Paint? There’s a Facebook Group that’s just for fans of Artesprix! You can click HERE to join. Also, don’t forget to visit the Artesprix store to see all of the available blanks and bundles, so you can get started with sublimation. You can use my code, ALISON10 to save 10% off of your purchase. Thanks so much for stopping by. Have an inspiring day!

Leave a Reply