Hello! I’m Alison Heikkila and I am so happy you’re here. I have a really fun project to share that uses my favorite Blank from Artesprix, plus their brand new Sublimation Acrylic Paints! These are so much fun to work with! It feels just like regular acrylic paint, but you can do things the regular stuff could only dream of doing.
*Affiliate links are used in this post. That means that if you shop through these links, I may receive a small compensation, at no cost to you.
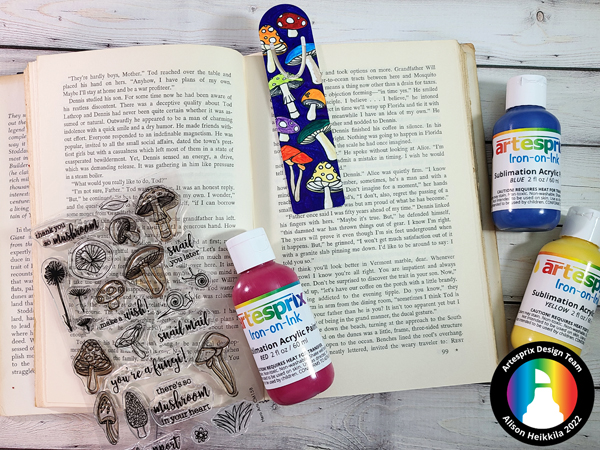
What is Iron-On Ink?
Artesprix Sublimation Markers, Ink, and Paint are specially formulated to allow you to use basic copy paper to: color, stamp, stencil, and monoprint anything you wish and turn it into a heat-transferable design. These designs are then applied to a polyester or polyester coated substrate with heat and pressure. You can use a heat press or a home iron! These designs, through this process of sublimation, will become permanent on your substrates.
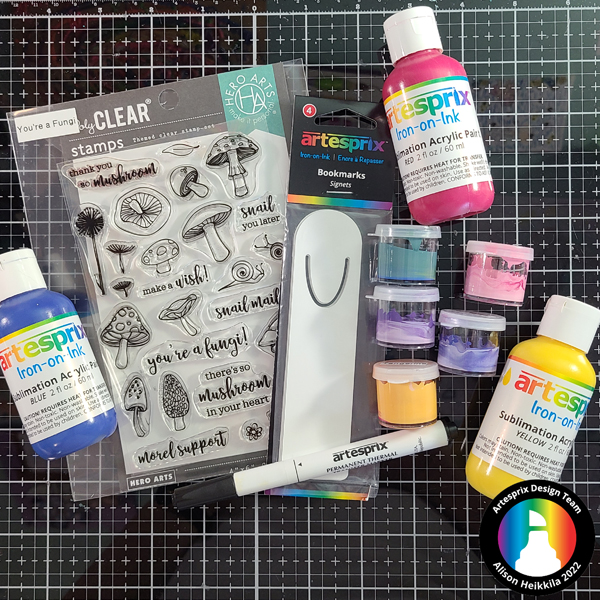
Materials:
Sublimation Acrylic Paint
Sublimation Stamp Pad in Black
Bookmarks
Protective Paper
Heat Tape
Heat Source: Home Iron or Artesprix Heat Press
Hero Arts: You’re a Fungi Stamps
Paintbrush
Optional: Paint Palette and/or small storage cups for mixed paints
Acrylic Blocks
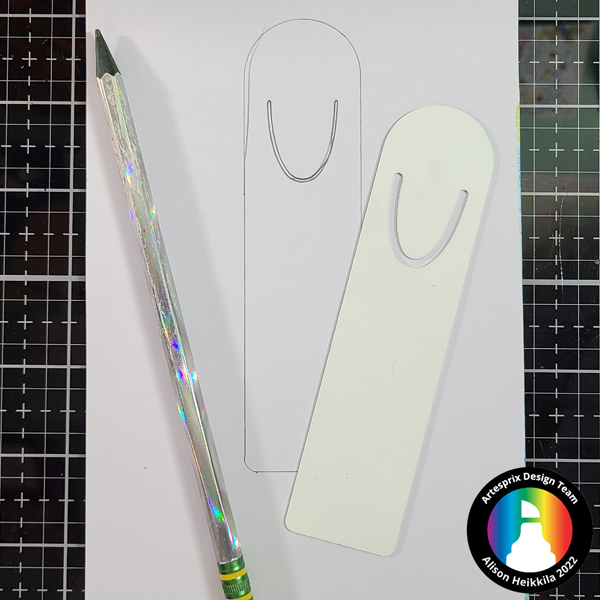
Step 1: Trace the bookmark onto a piece of copy paper with a pencil. Your pencil lines will not transfer during the sublimation process.
Step 2: Stamp the mushrooms all over the traced area with the Black Sublimation Ink Pad. Be sure to go over your pencil line in case your blank shifts when you sublimate later.
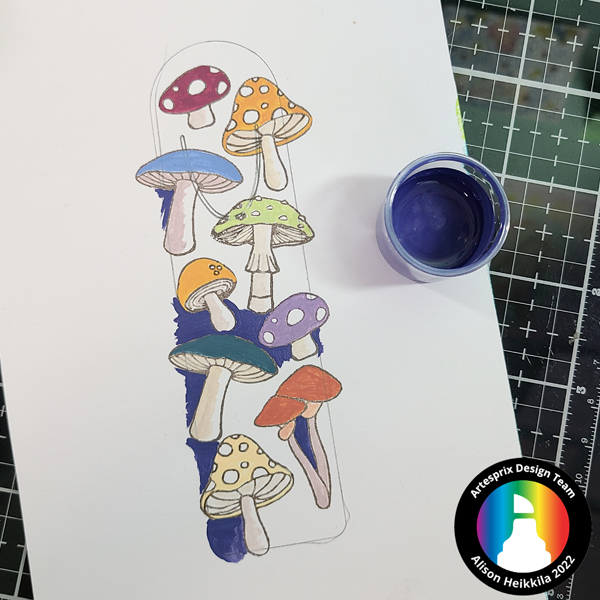
Step 3: Paint the mushrooms. You can download the color mixing chart from Artesprix by hovering over the Support tab and then clicking Paint Color Mixing Chart.
Step 4: Paint the background. I used Royal Blue for my background.
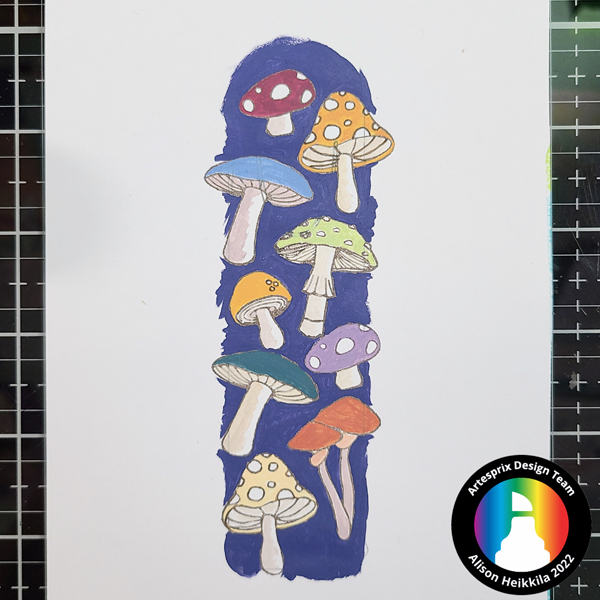
Here’s our finished painting. Let’s get to sublimating!
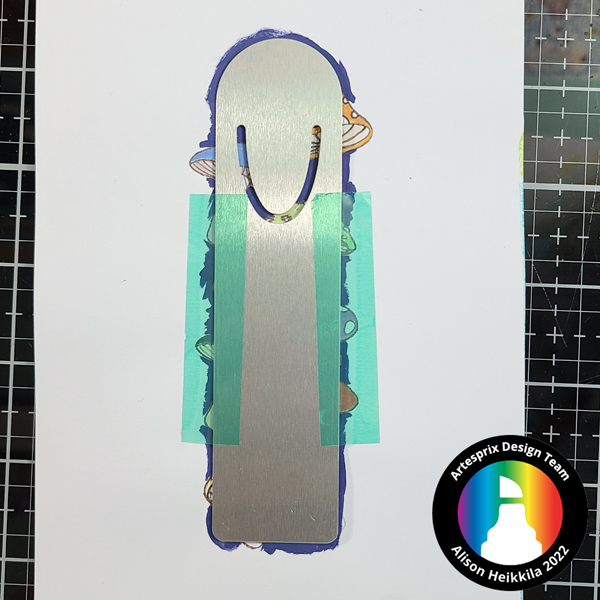
Step 5: Tape the bookmark face down on to your finished art. You don’t need a lot of tape if you’re using a Heat Press.
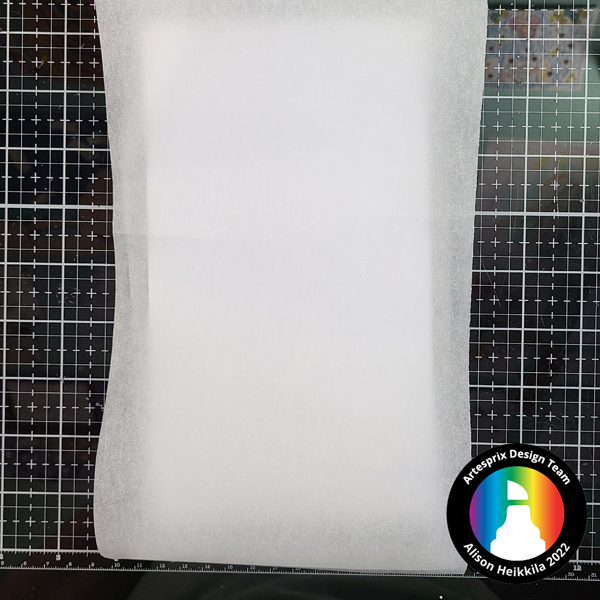
Step 6: Add a layer of siliconized paper to the top and bottom of your Sublimation Sandwich. Make sure your Protective Paper is cut bigger than your art and the headband. Your sandwich will be: Protective Paper-Blank-Colored Image-Protective Paper. The Protective Paper prevents any images accidentally transferring to either side of your Heat Press or to your home iron.
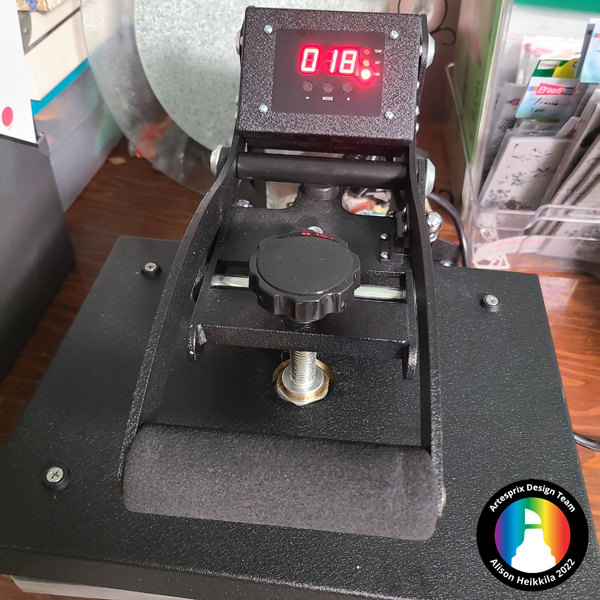
Step 7: If using a Heat Press, set the temperature to 400 degrees with the timer set to 45 seconds. For a home iron, set to the highest setting and use no steam.
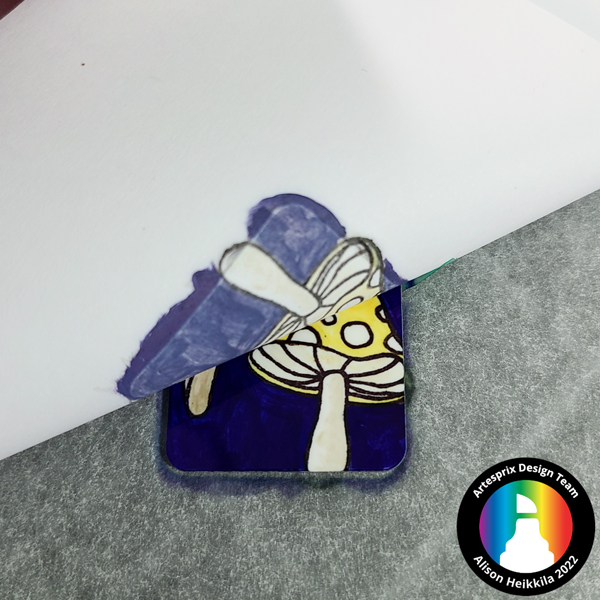
Step 8: Peek Test! This is still one of my favorite steps…lift up part of the paper to reveal a bit of your design on the blank. Don’t pull up too much, in case you need to re-press the image. Look at that awesome royal blue!
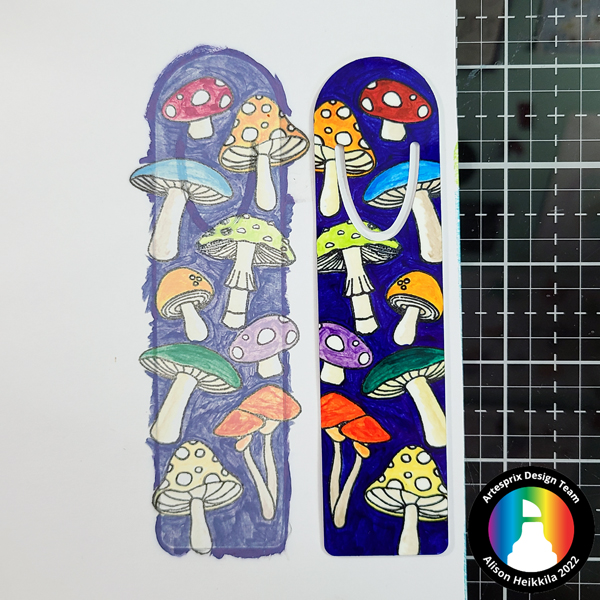
Check out the difference between the painted version and the finished bookmark. Those colors are awesome!
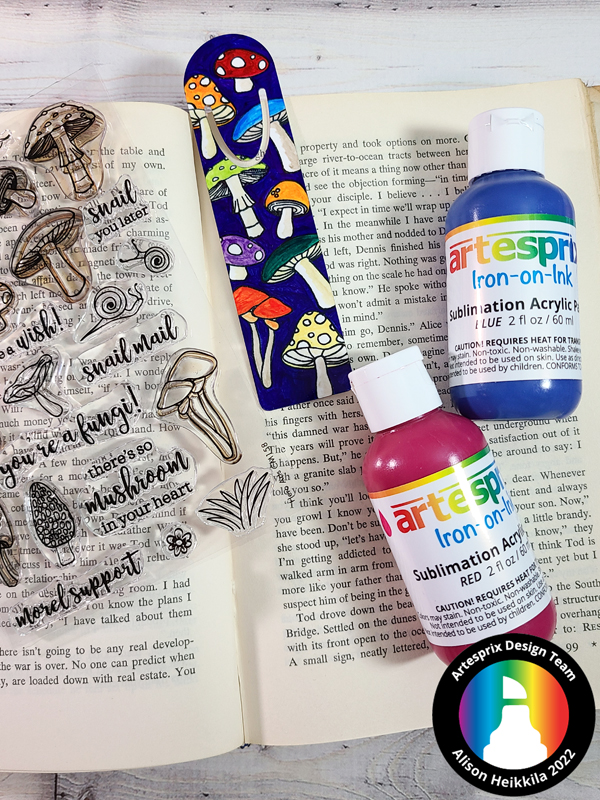
Like I mentioned earlier, this is my favorite blank to use. There’s plenty of room to design on, and it’s a totally practical item. I have given out a ton of these as gifts. How would you like to get more ideas on how to use Artesprix’s Iron-On Inks, Paints, and Markers? There’s a Facebook Group that’s just for fans of Artesprix! You can click HERE to join. Also, don’t forget to visit the Artesprix store to see all of the available blanks and bundles, so you can get started with sublimation. Thanks so much for stopping by. Have an inspiring day!

Leave a Reply