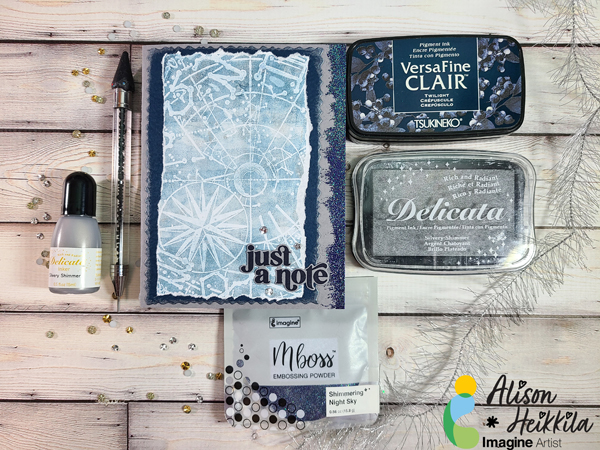
Hello! It’s time for my newest post for Imagine, as an official part of the 2022 Design Team. After the hustle and bustle of the holidays, many of us are wiped out, or even burnt out from making cards and gifts all season. Because of that, I decided to come up with a fast card that doesn’t take a ton of effort, but looks like it did because of the layering.
Skill Level: Beginner
Time to Complete: 15-20 Minutes
*Some affiliate links are used in this post. That means that if you shop through these links, I may receive a small compensation, at no cost to you.
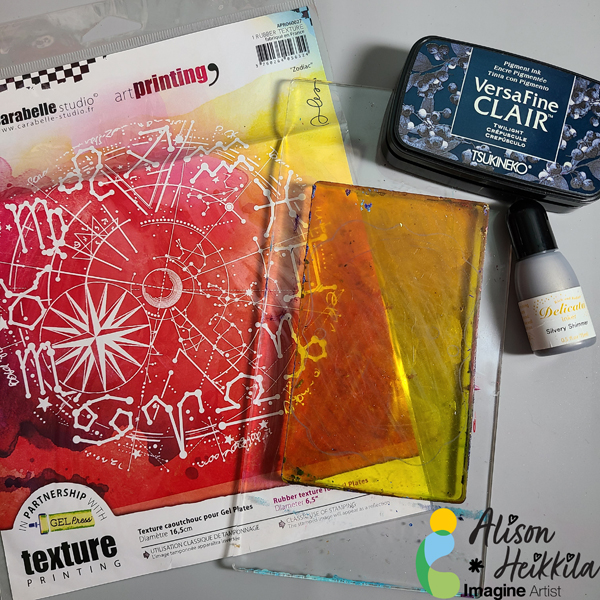
Step 1: Adhere your 3″ x 5″ Gel Press to an acrylic block. While you can adhere it to your work surface, but if it’s attached to a block, you can control where it goes on your printing plate.
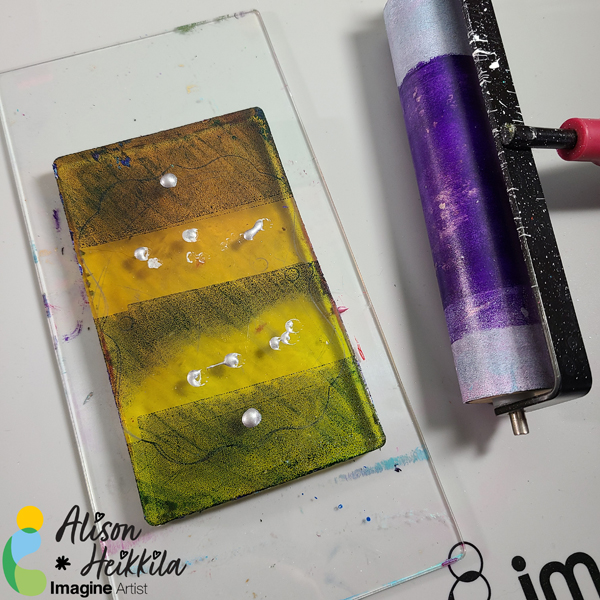
Step 2: Apply Versa Fine Clair Ink in Twilight to the Gel Press Plate. I applied it in rows, but you can do it however you like.
Step 3: Squeeze on a bit of Silvery Shimmer Delicata reinker. You don’t need too much.
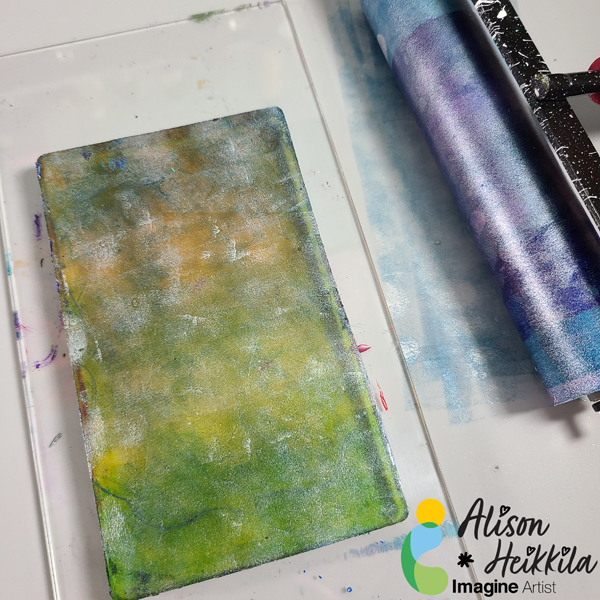
Step 4: Using a brayer, roll the colors together. Try not to overmix them.
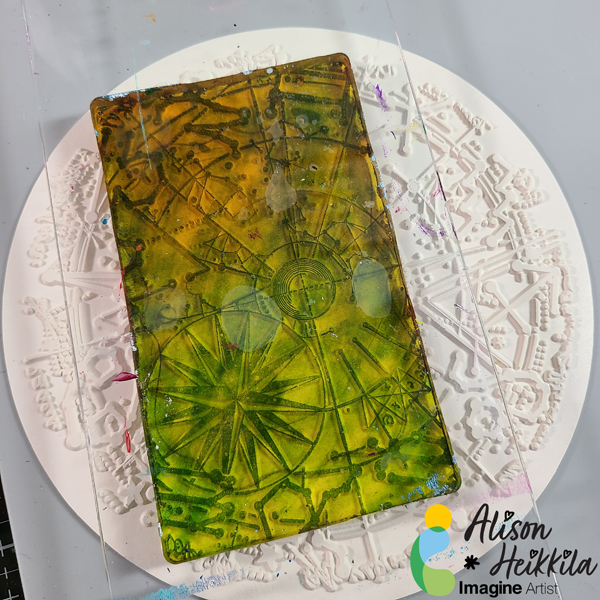
Step 5: While the inks are still wet, flip the Gel Press Plate on to the printing plate. Since it’s on an acrylic block, you can place the Gel Plate wherever you want easily. Press the Gel Press into the printing plate firmly.
Step 6: Flip the Gel Press back over, and lay a piece of copy paper on top. This will create your print. Press the paper firmly and evenly all over the plate to get a good transfer.
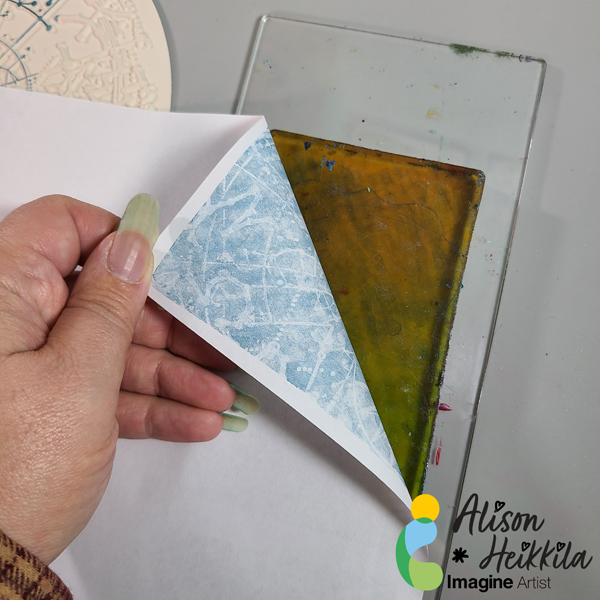
Step 7: Carefully peel back the paper to reveal your print. You can place the paper back down before you peel up the entire thing if you feel that you need to transfer the ink more.
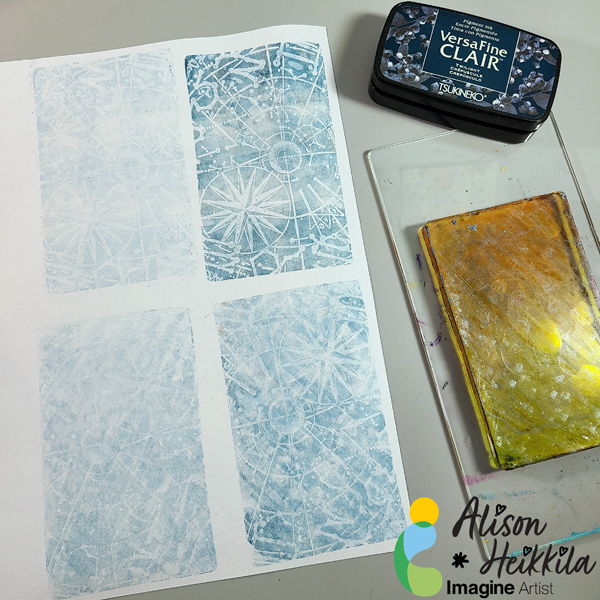
Step 8: After I made 3 more prints, I chose the one I wanted to use on my card. I went with my first print, which is the upper right. I tore the edges around the print instead of trimming it smoothly.
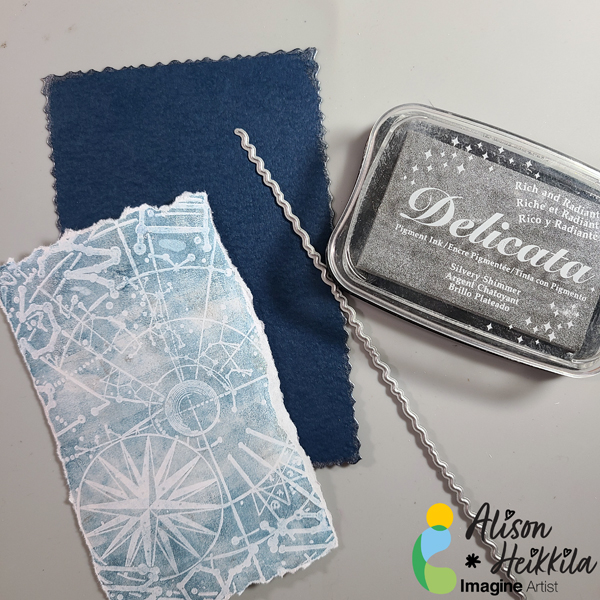
Step 9: Using an edger die, trim a piece of navy colored cardstock to create a mat around your print.
Step 10: Using Silvery Shimmer Delicata Ink, ink up the edges of the die cut mat.
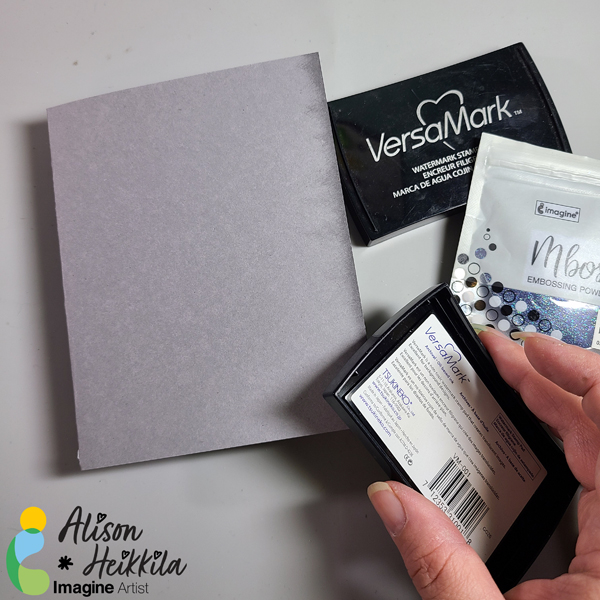
Step 11: On a gray card base, ink the right side with VersaMark ink. Try to not make it even, so that it has a more organic feel.
Step 12: Sprinkle Mboss in Shimmering Night Sky on to the wet ink. Shake off excess, and heat set with a heat tool.
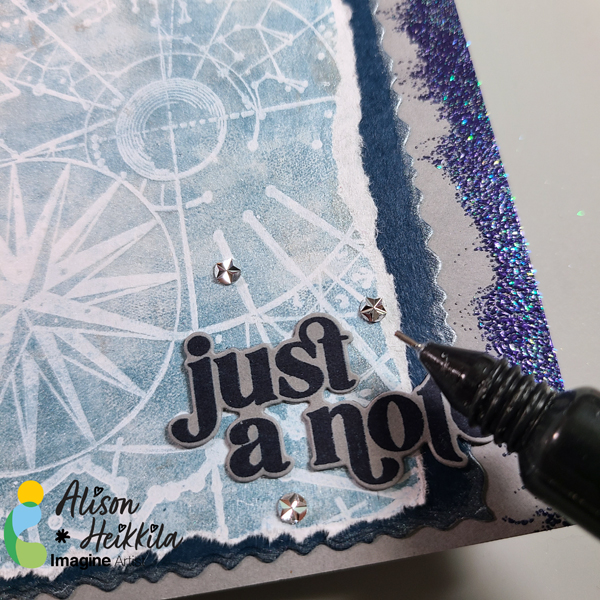
Step 13: Adhere your layers. I added a stamped and die cut sentiment, as well as some jewels. For the jewels, I used On Point Glue.
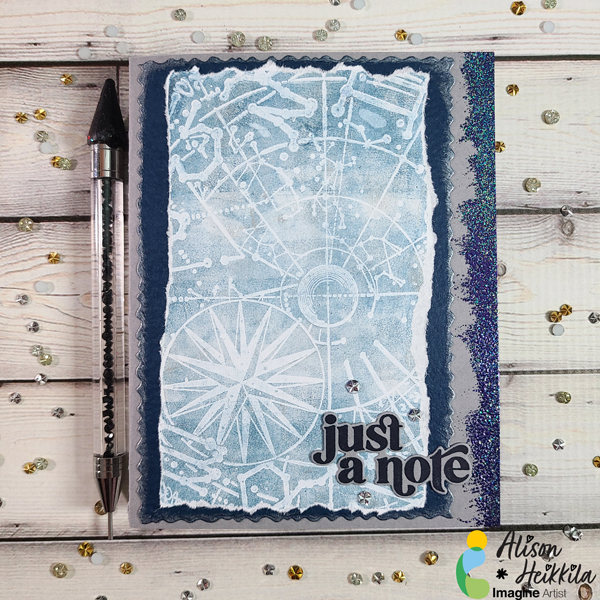
The finished card has lots of shine and cool texture. Using your inks and reinkers on a Gel Press Plate gives you the ability to mix colors from different lines and get beautiful, soft effects.
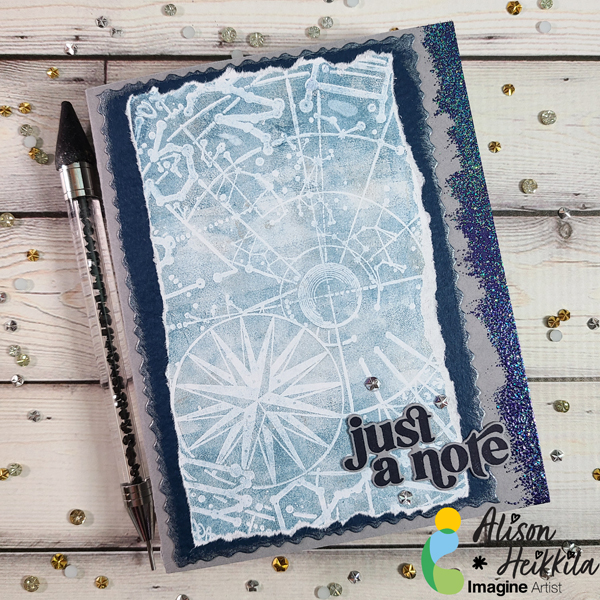
Again, using all of these layers may make it seem that this card took a lot of time, but it really didn’t because making the print is such a fast process. And you can choose to use a larger Gel Press Plate to cut down on some of the layers. Thanks for stopping by. Have an inspiring day!
Supplies:
Imagine:
VersaFine Clair Ink in Twilight
Delicata Ink Pad & Reinker in Silvery Shimmer
VersaMark Ink Pad
MBoss in Shimmering Night Sky
On Point Glue
Craft Mat
Other:
Gel Press: 3″ x 5″ Plate
Carabelle Studio: Zodiac Printing Plate
Speedball: Brayer
Stampendous: Deckle Die Set, Slim Acrylic Handle
Pinkfresh Studios: Perfect Sentiments stamp & die set
Doodles Paper Playground: Silver Starburst Rhinestones
Gray card base, white copy paper, navy cardstock
Heat Tool

Leave a Reply