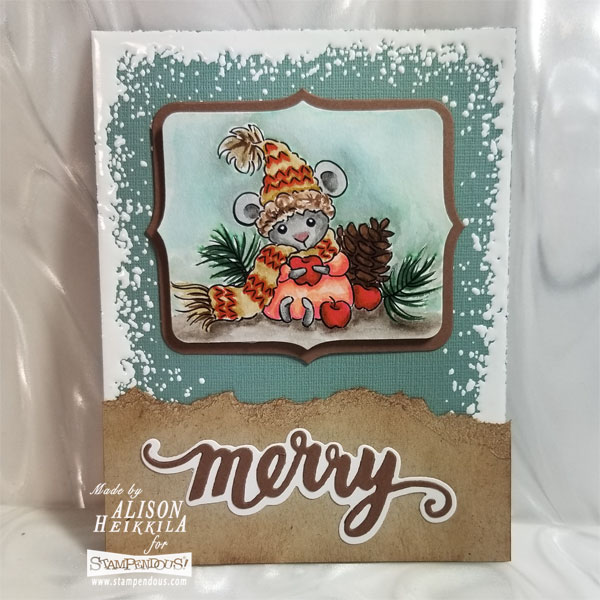
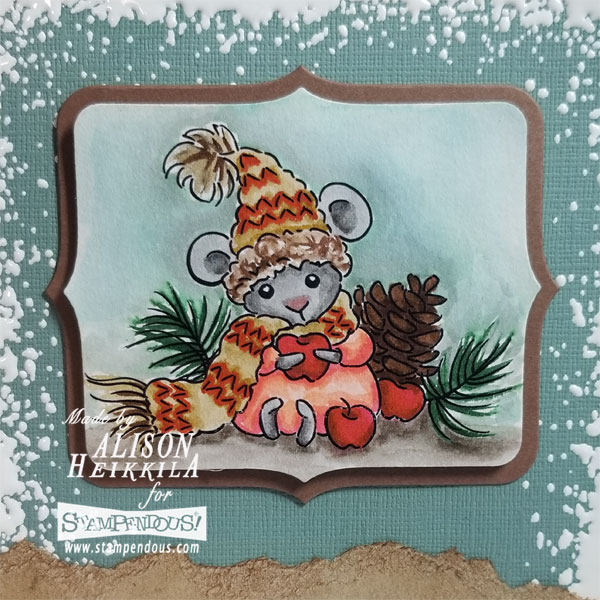
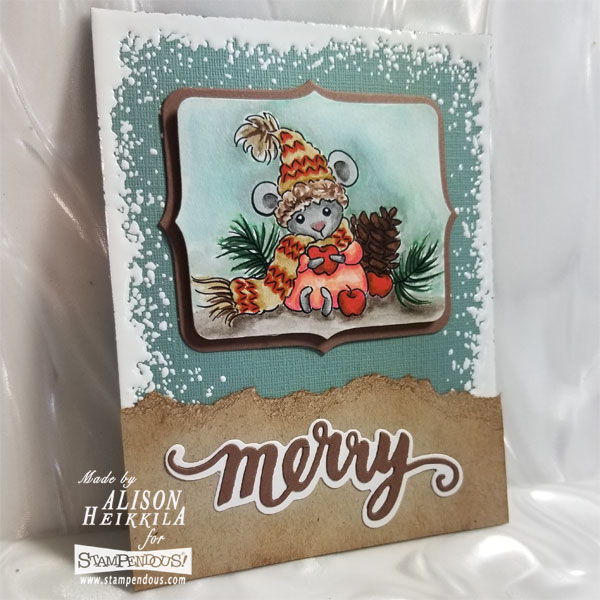
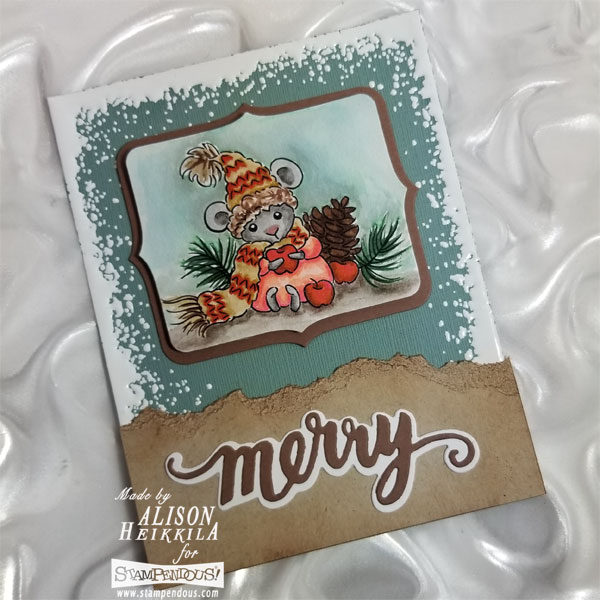
Hello! Today I have a holiday card that has an absolutely adorable and sweet image. It’s called Apple Mouse and it’s from Stampendous. I went for really soft, muted tones on it and I think it may be one of my favorite card from the year. My full instructions are below.

Supplies:
Stampendous:
V349: Apple Mouse
DCP1005: Fitted Frame Set A
CSD21: Christmas Bright Die Set
FREG021: Chunky White Embossing Powder
MPW811: Mixed Media White Cardstock
Other:
My Colors Cardstock: Aquamarine
Bazzill Basics: Carob Cream
Imagine: VersaMark Ink, VersaFine Ink in Onyx Black
Neenah: Desert Storm Cardstock
Ranger: Iced Spruce, Tumbled Glass, and Vintage Photo Distress Inks
Zig Clean Color Real Brush Pens: 021, 022, 023, 044, 065, 064, 068, 072, 091, 094, 096, 220, 222, 260, 901
Scrapbook Adhesives: EZ Runner and Foam Circles
Canson: Mixed Media Paper
Paint Brush

Directions:
1. Stamp Apple Mouse on to Canson Mixed Media Paper using VersaFine Ink in Onyx Black.
2. Color the mouse and the ground using the Zig pens listed.
3. Apply Tumbled Glass and Iced Spruce Distress Ink to a craft mat and spritz with water.
4. Using a paint brush, apply the two Distress Ink colors to create the sky. I kept the Iced Spruce closer to the mouse and faded into Tumbled Glass. Let dry.
5. Die cut the mouse using the Small “V” Fitted Frame.
6. Die cut a mat of Carob Cream cardstock using the Large “V” Fitted Frame.
7. Create the card base out of Aquamarine cardstock, cut to 5 1/2″ x 8.”
8. Apply VersaMark Ink to the top edge of the card base and sprinkle on Chunky White Embossing Powder. Be careful not to tap the card too much, as the ink doesn’t hold this powder too well.
9. Heat the powder from underneath, allowing it to melt.
10. Repeat the process on the two sides of the card, but not the bottom.

11. Die cut the top layer of “merry” from the Christmas Bright die set out of Carob Cream cardstock.
12. Die cut the shadow layer of “merry” out of Mixed Media White Cardstock.
13. Cut a strip of Neenah Desert Storm approximately 1 1/2″ x 4 1/4.” Tear the top of the strip.
14. Apply some Vintage Photo Distress Ink to the perimeter of the torn layer using an ink blending tool.
15. Using foam circles, adhere the Apple Mouse layer to the Carob Cream mat.
16. Adhere the rest of the pieces using EZ Runner.

I love the rustic, yet sweet vibe from this card. This is a color palette that I don’t usually use, as I typically gravitate towards bright colors. But I will definitely need to revisit it again soon. Please be sure to visit the Stampendous Blog to see more fantastic projects. Thanks for stopping by. Have an inspiring day!

This is just darling, Alison!!! Love the cute “snow” around the edges of the card. And the coloring is super sweet! Thanks so much for sharing!
Your Apple Mouse card is spectacular. Love the colors you used!