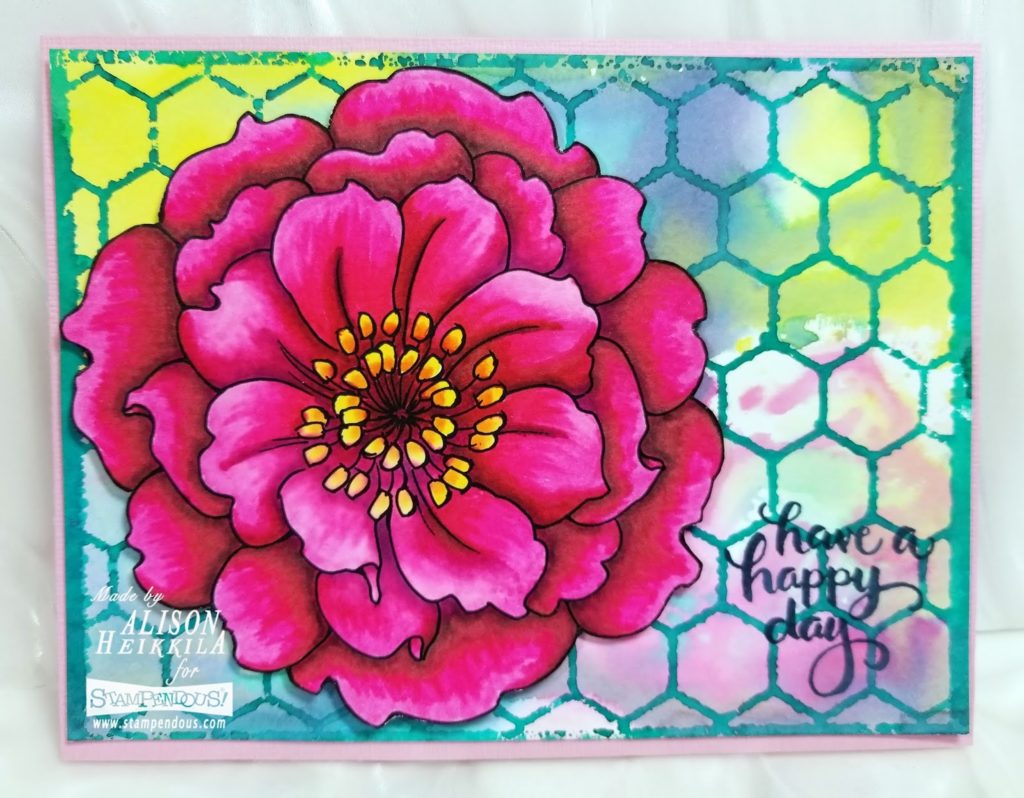
Hello! This week, the Stampendous Team is sharing projects with “Flowers for Spring.” I don’t know about you, but I am not a fan of the winter. I much prefer the warmth and beauty of the spring. Today’s card has the new Hellebore stamp. This is a BIG stamp, and it is just beautiful. I wanted to make this card very dynamic and bright, to sort of chase away those winter blues. And I think I succeeded. My full instructions are below so that you can make this card yourself.
Supplies:
Stampendous:
W207: Hellebore
DWLJ806: Honeycomb Stencil
SSC1272: Brushed Wishes Stamps
Other:
My Colors Cardstock: Sweetie Pie
Imagine: VersaFine Clair Ink in Nocturne, Twilight, On Point Glue
Tombow Dual Brush Markers: 025, 055, 703, 725, 755, 757
Distress Oxide Inks: Worn Lipstick, Twisted Citron, Peacock Feathers
Dylusions: Ink Spray in Vibrant Turquoise
Scrapbook Adhesives: EZ Runner
Canson: Mixed Media Paper
Recollections: Watercolor Paper
Craft Foam
Directions:
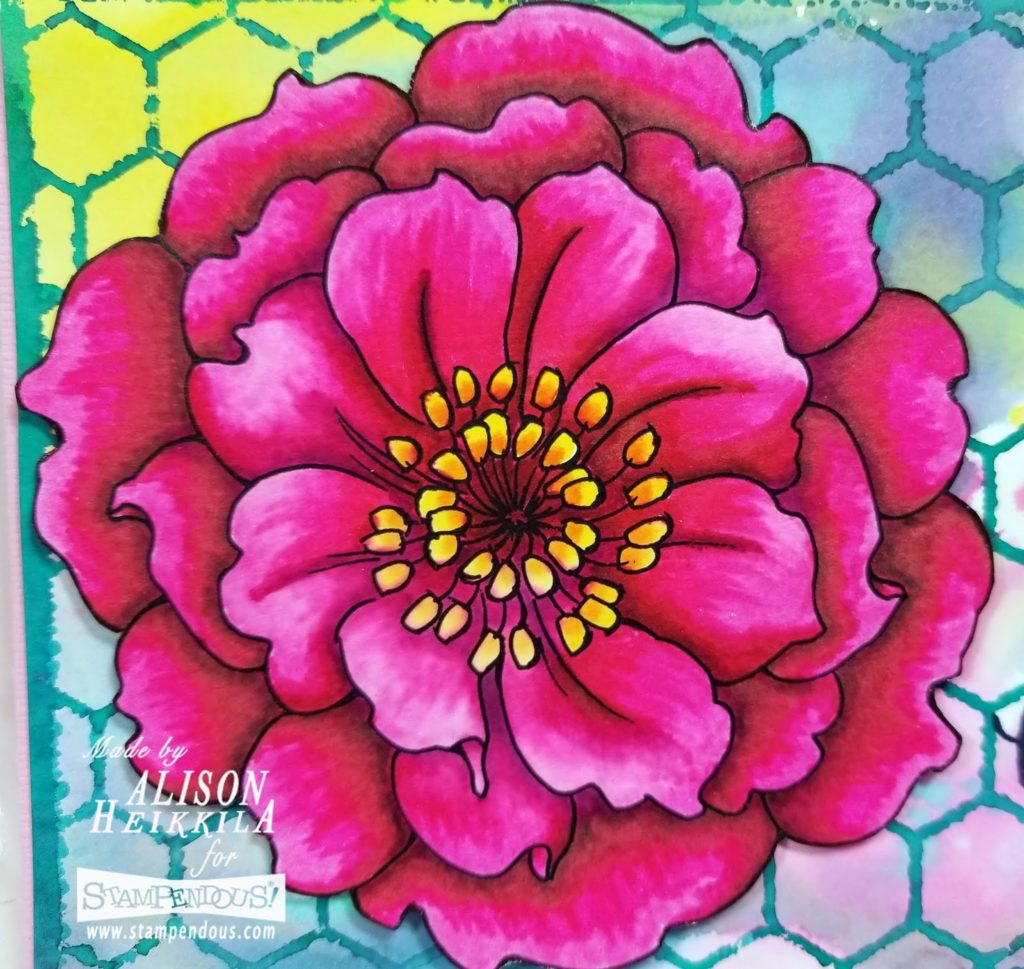
1. Stamp the Hellebore on to Mixed Media Paper with VersaFine Clair Ink in Nocturne
2. Color the stamped image in with the Tombow markers listed.
3. Fussy cut the image out.
4. Create the background on watercolor paper with Distress Oxides by swiping the color on to a glass or media mat, spritzing with water, and swiping the paper through until the desired look is achieved.
5. Let the background dry fully.
6. Spray the Honeycomb stencil with Vibrant Turquoise Ink Spray and lay it on to the dried background.
7. Carefully lift up the stencil and allow background to dry again.
8. Trim the background to your desired size.
9. Create the card base out of Sweetie Pie cardstock, cut to 5 1/2″ x 8.”
10. Adhere the flower to a piece of craft foam using On Point Glue.
11. Stamp the sentiment to the lower right corner of the background with VersaFine Clair Ink in Twilight.
12. Adhere the background to the card base with EZ Runner.
13. Adhere the flower to the background with On Point Glue.
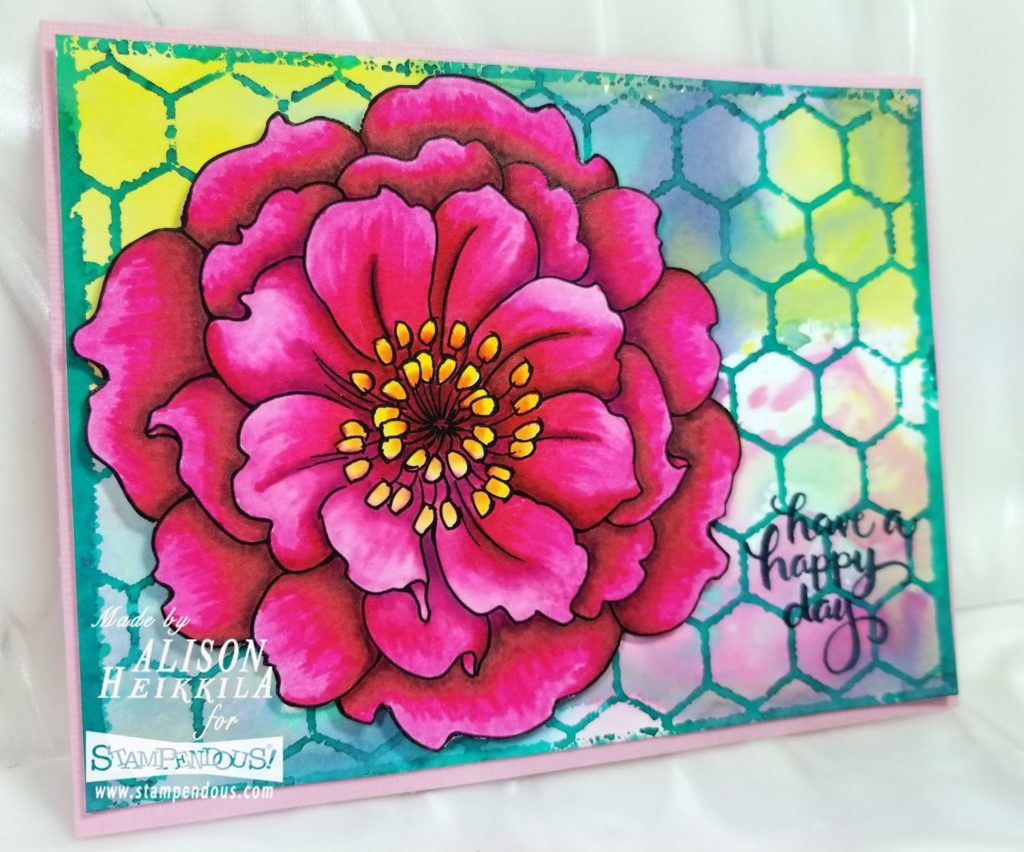
I love the bold colors of this card. They just make me smile! Please be sure to visit the Stampendous Blog to see more “Flowers for Spring.” Thanks for stopping by. Have an inspiring day!
Thank you so much for your kind words!