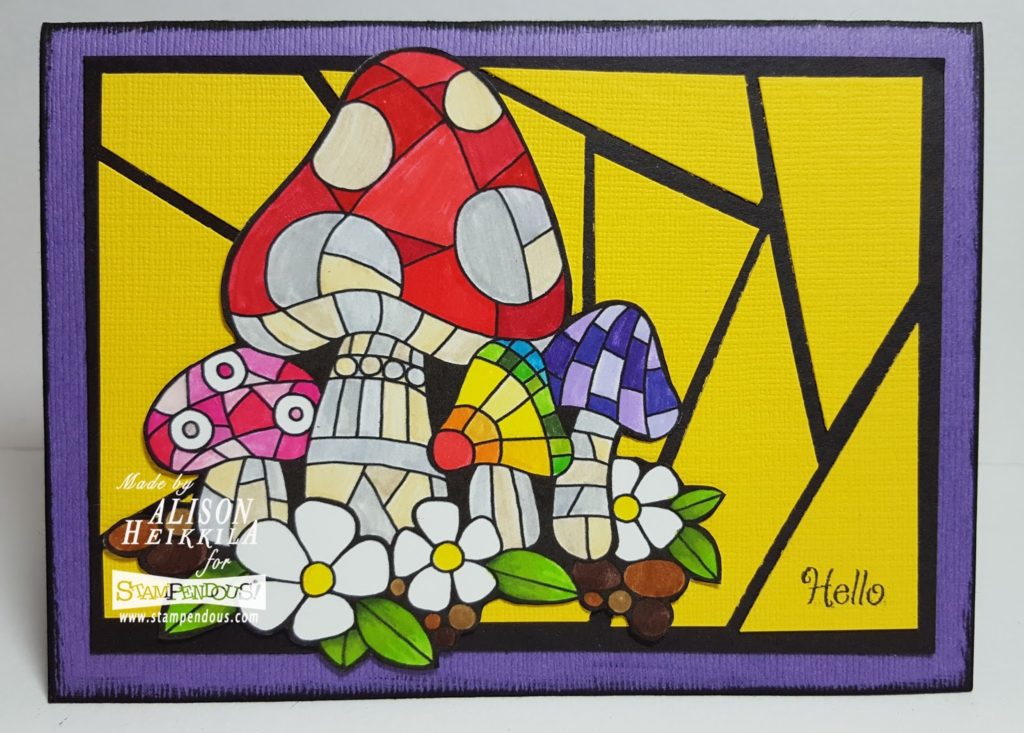
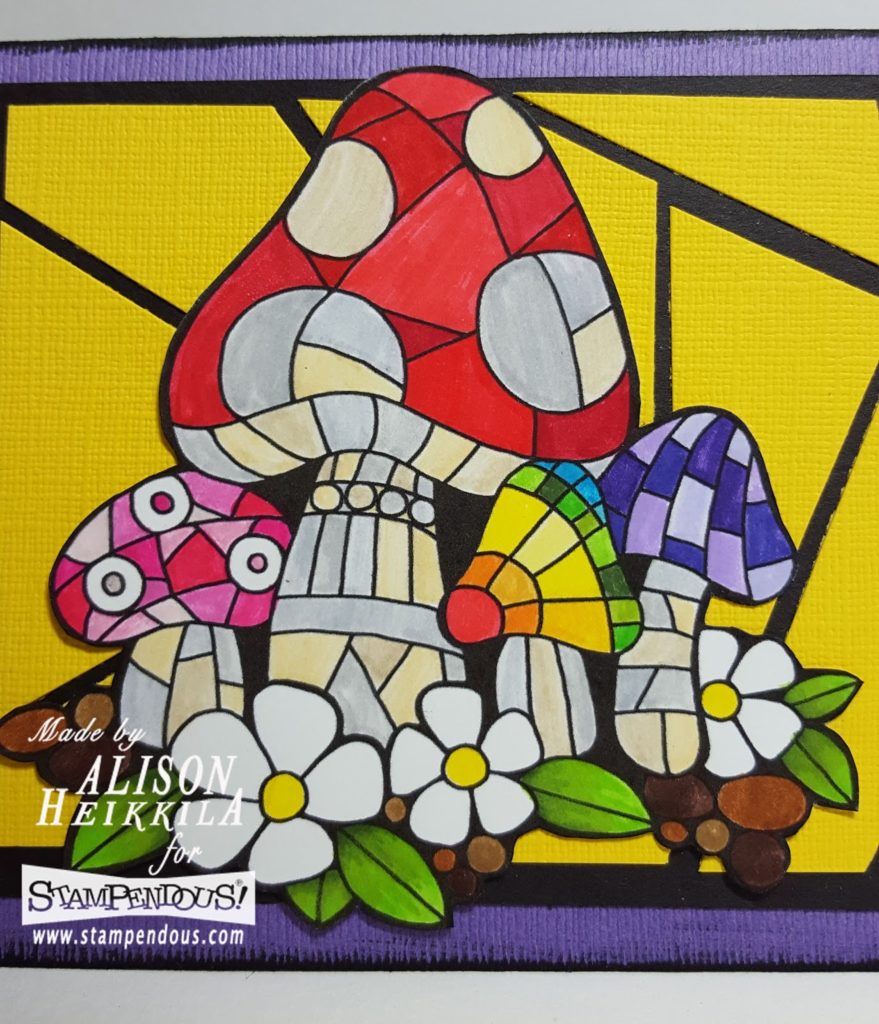
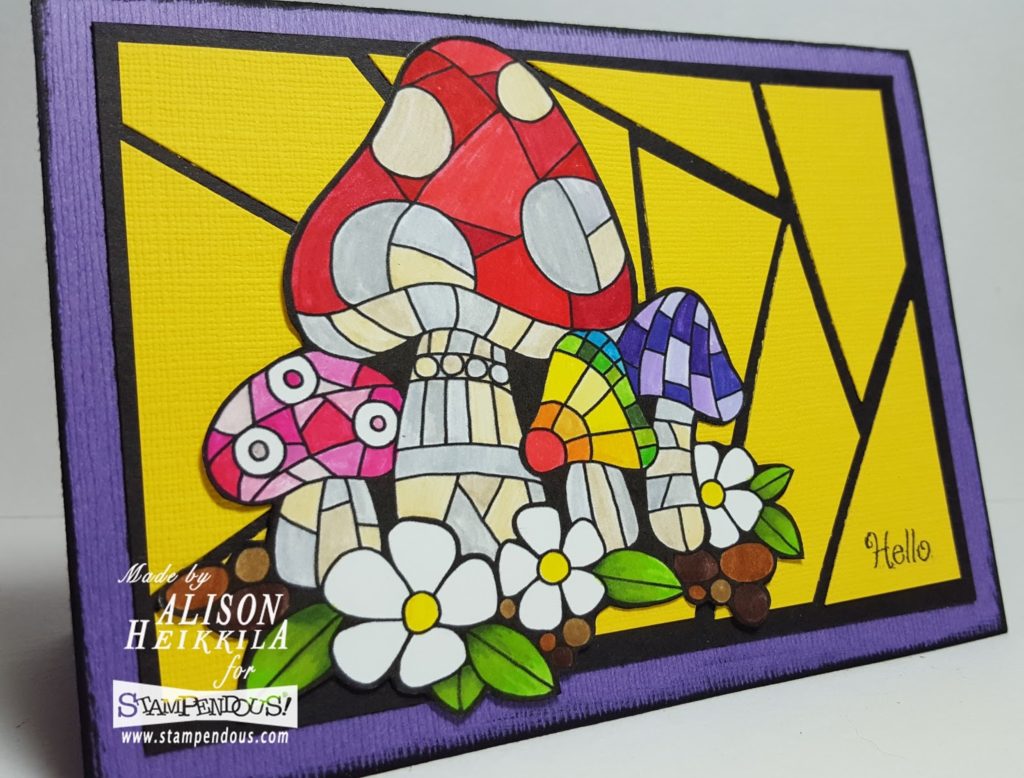
Hello there! Today I have a card that I admittedly made some time ago for Stampendous, but never shared on my blog. I really like the look of mushrooms, and their link to the fairy realm, so I enjoy using them in projects. This Mosaic Mushroom stamp is fun to color, and gives the look of a stencil, without it actually being one. Below is my full tutorial.
Supplies:
Stampendous:
W177– Mosaic Mushrooms
SSCM5002: House Mouse Painted Wishes
MPW811: Mixed Media White Paper
STF082– VersaFine Onyx Black Ink
Other:
Tombow Dual Brush Markers- 020, 025, 055, 062, 126, 170, 173, 195, 452, 493, 515, 603, 606, 636, 620, 703, 723, 725, 743, 800, 815, 835, 845, 847, 856, 885, 899, 933, 947, 977, 990, 993, N89, N95,
My Colors Cardstock: Fireflies, Black Magic
Bazzill: Pixie Dust
Directions:
1. Stamp the image on to Mixed Media Paper with VersaFine ink. Color using the markers listed above. Fussy cut.
2. Create the card base with Pixie Dust. Cut to 5 1/2″ x 8.” Make a mat of Black Magic in the size 5″ x 3 1/2.” Cut a smaller mat of Fireflies to 4 1/2″ x 3.”
3. Using a paper cutter or scissors, slice the Fireflies mat into random, angular shapes, to mimic a mosaic. As you cut the pieces, reform the original rectangle on your workspace to make it easier to complete the card later. Glue the cut pieces on to the Black Magic mat, leaving space in between each piece, and a border around the edges.
4. Using a sentiment from Painted Wishes, stamp on to one of the Fireflies pieces in the lower right corner using VersaFine.
5. Adhere the mushrooms using Zip Dry Glue off center.
I’ll be back tomorrow with another project featuring the new Curio Stamps, also from Stampendous. Thanks for stopping by. Have an inspiring day!


Leave a Reply