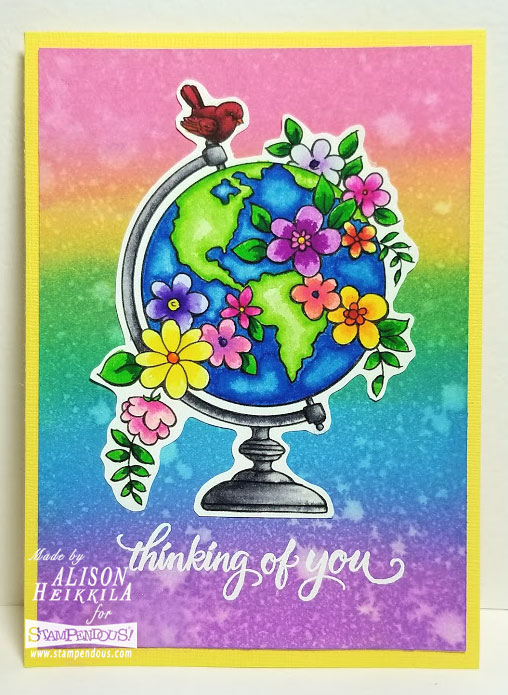
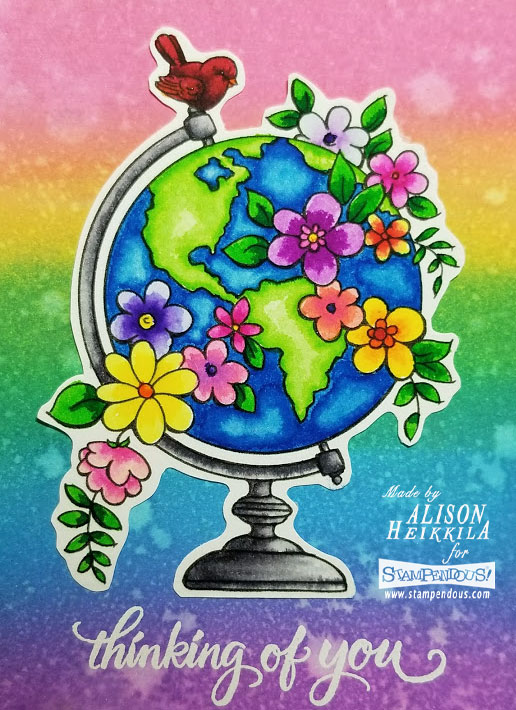
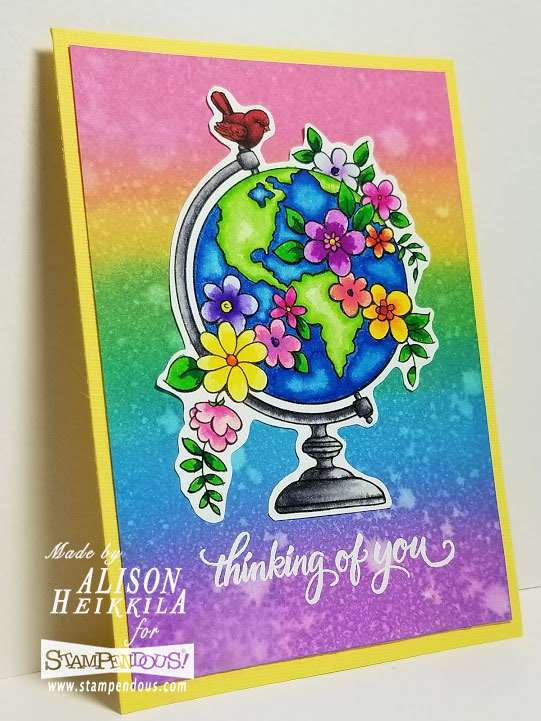
Hello! This week, the Stampendous Design Team has been sharing projects from the brand new October Catalog. I am loving so many of these stamps, and I hope that you do too! Today’s project features the Blooming Globe stamp, coincidentally, with another type of rainbow background (did you see my post on Monday?). I guess I’m getting all of these bright, cheery colors out of my system before the 31 Days of Halloween begins in a few days! Check out my directions on how to recreate this card yourself below.
Supplies:
Stampendous:
P314: Blooming Globe
SSC1272: Brushed Wishes
DP100: Detail White Embossing Powder
Other:
My Colors Cardstock: Yellow Corn
Zig Clean Color Real Brush Markers: 022, 023, 026, 027, 029, 030, 032, 040, 041, 045, 047, 050, 051, 052, 081, 082, 083, 084, 090, 099, 200, 202, 220, 222, 302, 803
Imagine: VersaFine Ink: Onyx Black, VersaMark Ink
Ranger: Distress Oxide Inks in: Picked Raspberry, Wild Honey, Lucky Clover, Salty Ocean, Wilted Violet, Ink Blending Tools
Canson: Mixed Media Paper
Strathmore: Smooth Bristol Paper
Scrapbook Adhesives: Tape Runner
Water Spritzer Bottle
Directions:
1. Stamp the image with VersaFine ink on to Mixed Media paper.
2. Color the image with the Zig Clean Color Markers indicated.
3. Cut the image out. I chose to leave a white border around it.
4. Cut a piece of Smooth Bristol Paper to the size of 5 1/4″ x 3 3/4.”
5. Using Ink Blending Tools, swipe each of the Distress Oxides across the Bristol Paper in a horizontal line, in rainbow order.
6. Blend the colors as necessary to get a fully blended rainbow.
7. Spritz the Distress Oxides with water to get them to react. Blot off excess water after letting it sit for a minute or two to get lighter colors. Let dry completely.
8. Create the card base out of Yellow Corn cardstock, cut to the size of 5 1/2″ x 8.”
9. Temporarily place the Blooming Globe on the Oxide background to figure out placement for the sentiment.
10. Stamp the sentiment with VersaMark ink and heat emboss with Detail White Embossing Powder.
11. Attach the Blooming Globe to the background, and the background to the card base.
I hope you enjoyed the previews this week. If you missed any posts, please visit the Stampendous Blog for all of the links. Thanks so much for stopping by. Have an inspiring day!


Beautiful stamp. The background looks very nice and your coloring looks great on the globe. [Bunny]
So pretty!
This is truly gorgeous! I love the background you made.
These brilliant colors are so festive and eye catching! A definite smile Maker! TFS!
This is a great design.
Love the flowers on the globe.
Wonderful coloring.
thanks for sharing.