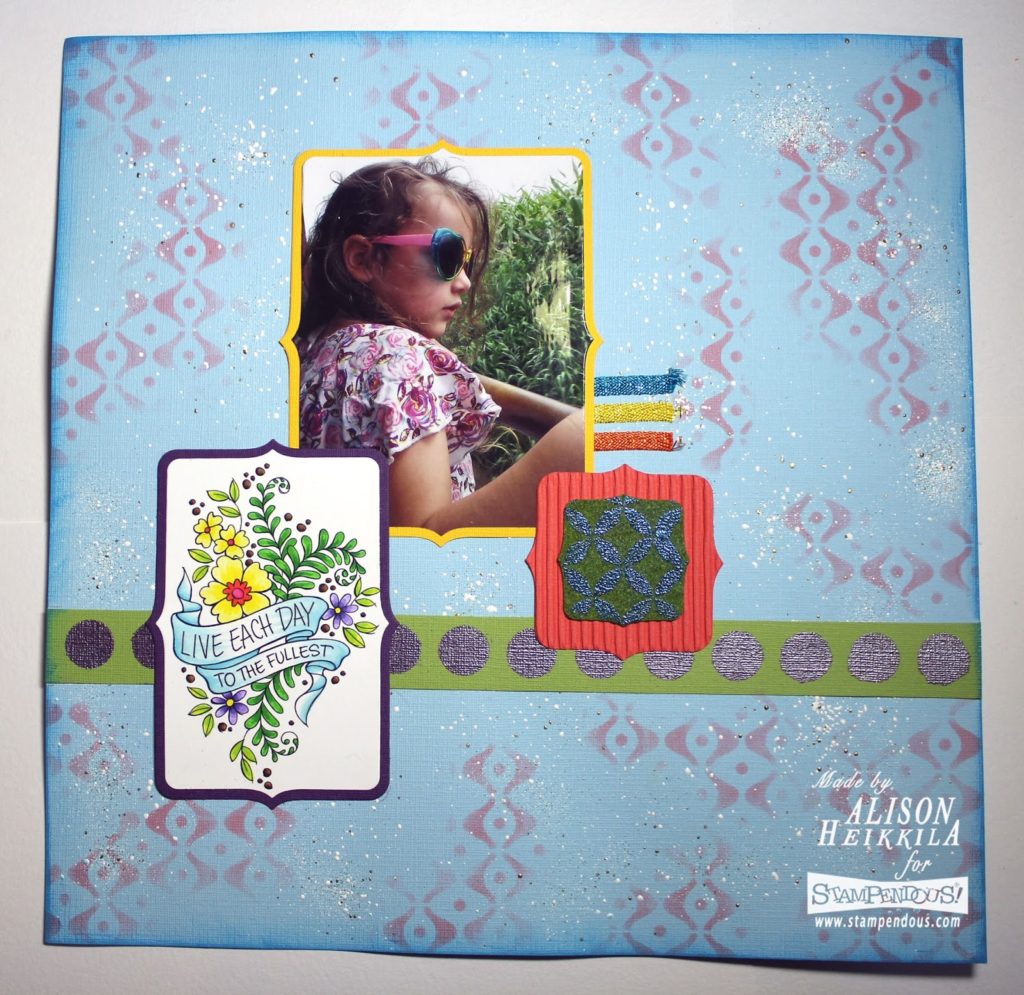
Hi! This week, the Stampendous team has been sharing lots of projects featuring flowers and foliage. Today, I am sharing a scrapbook page. Gosh…it’s been far too long since I have had one of these up here in Bloggy Land. The photo I used is of my daughter when we went on a trip to Strausburg Railroad in Pennsylvania. Whenever we go there, we ride in an open air car…they are so relaxing, and the breeze that comes in is wonderful. My kids love to lean out (just a little) and let the wind blow through their hair.
Supplies:
Stampendous:
P285: Live Each Day
DCP1005: Fitted Frames Set A
DCP1006: Fitted Frames Set B
DWLX7011: Big Dots Stencil
DWLJ808: Cathedral Windows Large Stencil
DWLX7012: Waves and Dots Stencil
FREG029: Shabby Blue Embossing Enamel
PK03: Gemstone Embossing Powder Kit
EI101: Boss Gloss Embossing Ink with Dauber
P285: Live Each Day
DCP1005: Fitted Frames Set A
DCP1006: Fitted Frames Set B
DWLX7011: Big Dots Stencil
DWLJ808: Cathedral Windows Large Stencil
DWLX7012: Waves and Dots Stencil
FREG029: Shabby Blue Embossing Enamel
PK03: Gemstone Embossing Powder Kit
EI101: Boss Gloss Embossing Ink with Dauber
MPW811: Mixed Media Paper
Acrylic Stamp Handle
STF082: Onyx Black VersaFine InkCreative Impressions: Ribbon
Acrylic Stamp Handle
STF082: Onyx Black VersaFine InkCreative Impressions: Ribbon
Others:
Tombow Dual Brush Watercolor Markers: 055, 062, 805, 905,173, 133, 245, 195, 606, 603, 491, 451, 452, 977, 879
My Colors Cardstock: Sky, Plum, Grasshopper, Banana Pepper
My Colors Cardstock: Sky, Plum, Grasshopper, Banana Pepper
DCWV: Corrugated Cardstock, Cork Cardstock
Imagine Crafts: Electric Blue Radiant Neon Ink, Pink Petunia Versa Magic Ink
Beacon Adhesives: Zip Dry Glue
Directions:
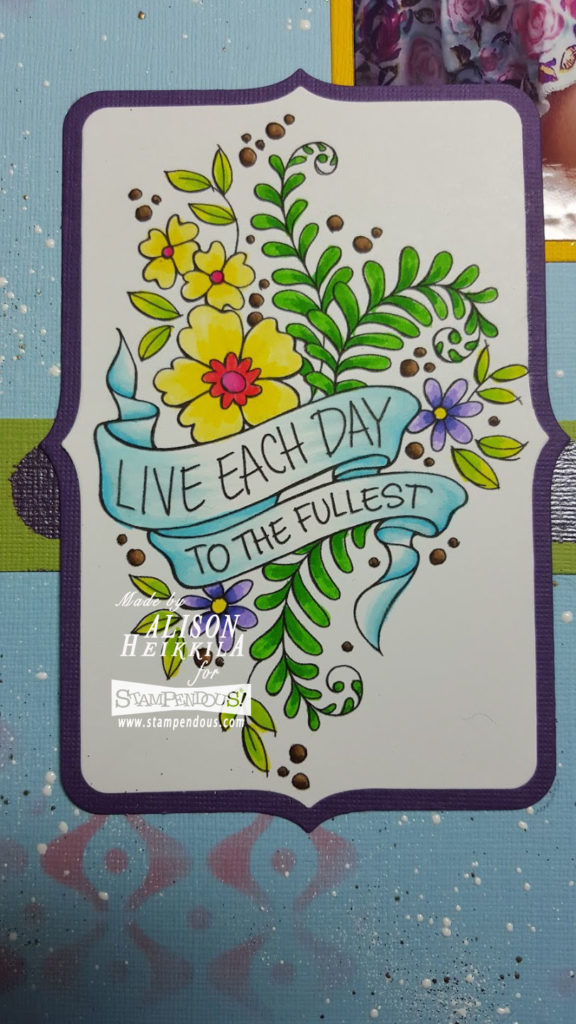
1. Stamp the Live Each Day image on to Mixed Media Paper using Onyx Black VersaFine ink. Color the image using the Tombow markers listed above. Use letter “P” from the Fitted Frames to cut out the image. Next, use the coordinating “P” frame with Plum My Colors cardstock for a mat. Attach layers with Zip Dry Glue.
2. Use Sky My Colors cardstock as your 12 x 12 base. Using the Big Dots stencil, take a piece of Grasshopper cardstock, make a 12″ single row of dots using the Boss Gloss dauber. Sprinkle Tanzanite embossing powder (from the Gemstone Kit) on to the dots and heat set.
3. For the photo, use the letter “R” die to crop it, and then the larger “R” for the mat in Banana Pepper cardstock. Glue wt Zip Dry. I used the large “F” for the corrugated cardboard.
4. I used the little “C” for the cork sheet. I used the Boss Gloss dauber, along with the Cathedral Windows Large stencil. I heat embossed Sapphire powder (also from the Gemstone kit) on to it. Attach to the corrugated piece with Zip Dy.
5. I inked the Waves and Dots stencil randomly across my Sky background paper using Versa Magic Pink Petunia ink and a sponge dauber. I then sprinkled Shabby Blue embossing enamel over the background and heat set it from underneath. Next, I inked the edges of the background with Electric Blue Radiant Neon ink..
6. I glued all of my layers down, and added 3 small pieces of sparkly ribbon for a little more texture.
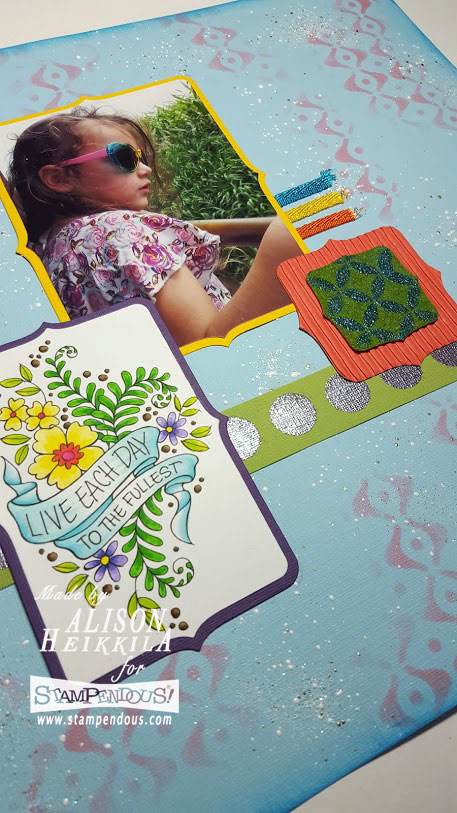
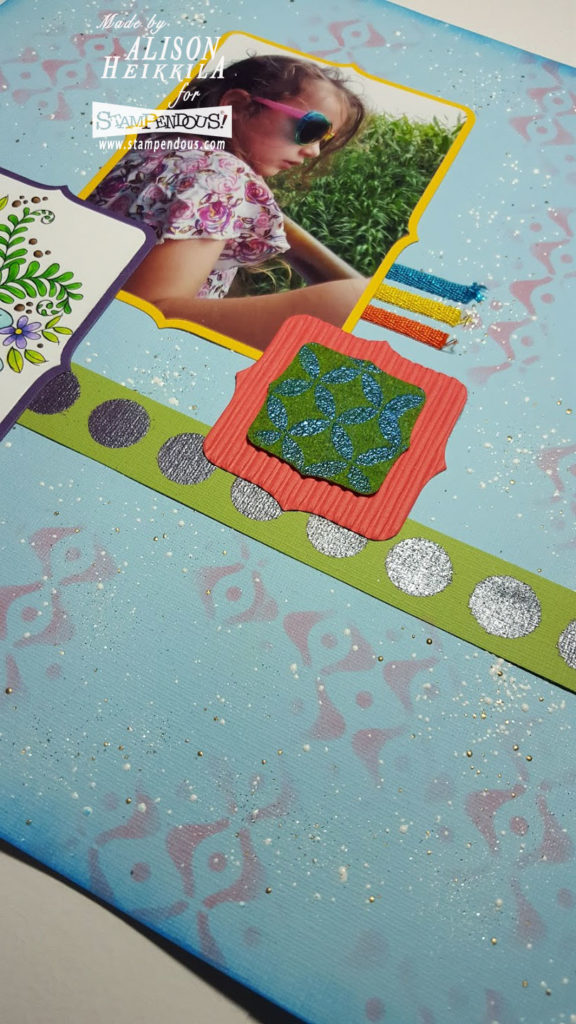
You can see the shine of the embossing powders here. The texture too. I love having lots of texture on my scrapbook pages.
That’s it for me today. Please be sure to visit the links below to see more projects from the Stampendous team. Thanks for stopping by. Have an inspiring day!
Stampendous(that’s me!)


Leave a Reply