I
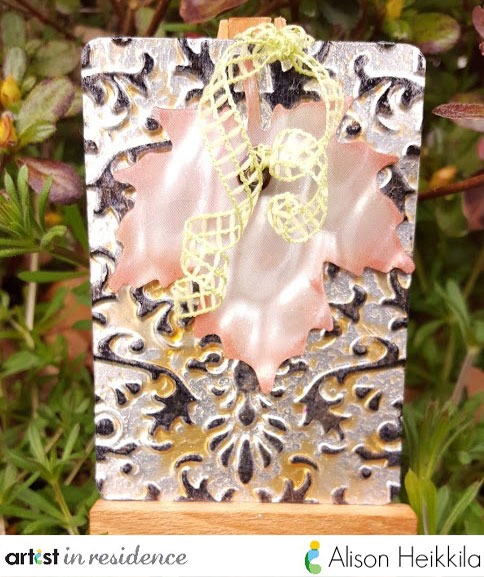
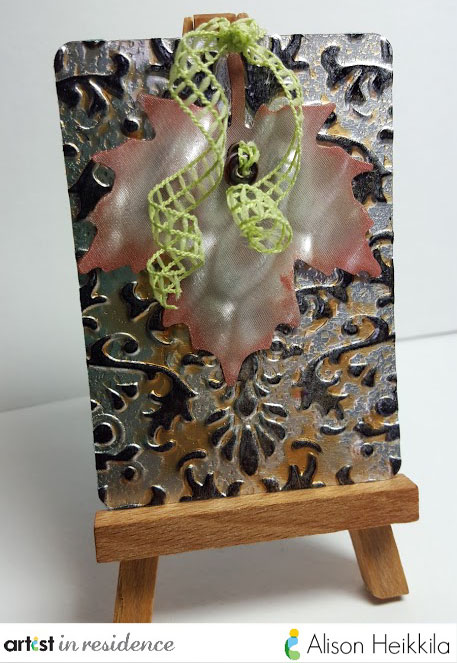
really enjoy making ATC’s, but I’ve never made one out of metal. I decided to
give it a go with Imagine Crafts’ Sheet Metal since they offer an actual ATC size. With this
tutorial, you can vary the tools to accommodate what you already have.
Directions:
1. Emboss Sheet Metal with Embossing folder by running it through a die
cut/embossing machine. Ink the raised image with Jet Black StazOn ink. For more
color and texture, I spritzed the metal with Desert Sand irRESISTables, and I
let it dry.

2. Take a
large punch (I used a Maple Leaf) and punch out some Vertigo. I used
Rattlesnake. I love the varying image of this particular Vertigo sheet. Ink the
edges with Celestial Copper Delicata ink.
large punch (I used a Maple Leaf) and punch out some Vertigo. I used
Rattlesnake. I love the varying image of this particular Vertigo sheet. Ink the
edges with Celestial Copper Delicata ink.

3.
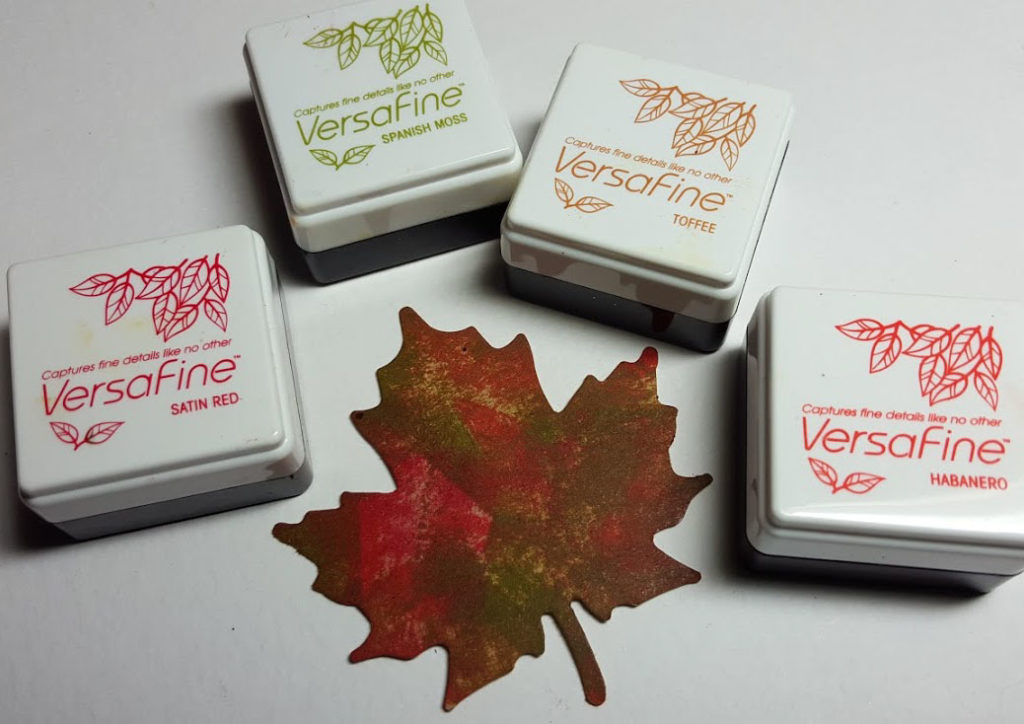
Use the same punch again, but this time punch a piece of Kraft colored
cardstock. Ink the leaf using VersaFine inks. I used Habanero, Spanish Moss,
Toffee, and Satin Red. I punch a small hole into the 2 leaves (at the same
time, to be sure they were in the same place, and then added an eyelet. I also
punched a hole in the Sheet Metal, where I wanted the leaf’s hole to be.
4.
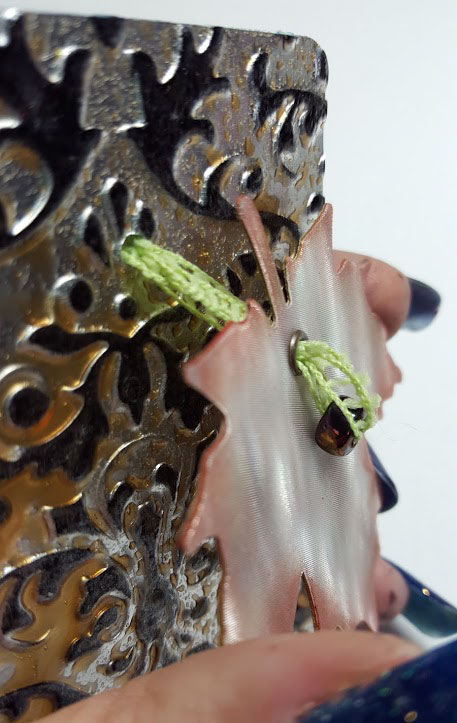
Using a bead with a large hole, run a piece of ribbon through it. I used about
6 inches of ribbon, but you can make it longer or shorter if you wish. Feed the
bead halfway through the ribbon, then insert both ends through the eyelet in
the leaves and then through the Sheet Metal.
Using a bead with a large hole, run a piece of ribbon through it. I used about
6 inches of ribbon, but you can make it longer or shorter if you wish. Feed the
bead halfway through the ribbon, then insert both ends through the eyelet in
the leaves and then through the Sheet Metal.
Tie a loop
to your desired length. I wanted the ends to hang over my ATC, so I left them
long, but my loop in the back is long enough to hang the ATC if I decide to.
to your desired length. I wanted the ends to hang over my ATC, so I left them
long, but my loop in the back is long enough to hang the ATC if I decide to.
That’s it!
Again, feel free to change out the shape of the punch and/or the embossing
folder for many, many different looks. Changing the colors of inks and sprays
will also totally alter the completed ATC. Have fun with it!Supplies:
Again, feel free to change out the shape of the punch and/or the embossing
folder for many, many different looks. Changing the colors of inks and sprays
will also totally alter the completed ATC. Have fun with it!Supplies:
Imagine
Crafts: Sheet Metal: ATC Size Vertigo: RattlesnakeDelicata Ink: Celestial Copper from 4 Ink PadStazOn Ink: Jet Black irRESISTables: Desert Sand
Time to Complete: 20
Minutes, plus drying time
Crafts: Sheet Metal: ATC Size Vertigo: RattlesnakeDelicata Ink: Celestial Copper from 4 Ink PadStazOn Ink: Jet Black irRESISTables: Desert Sand
Other:
May Arts Ribbon
Bead, Eyelet
Embossing Folder: Darice
Maple Leaf
Punch: EK Success
Time to Complete: 20
Minutes, plus drying time


Leave a Reply